
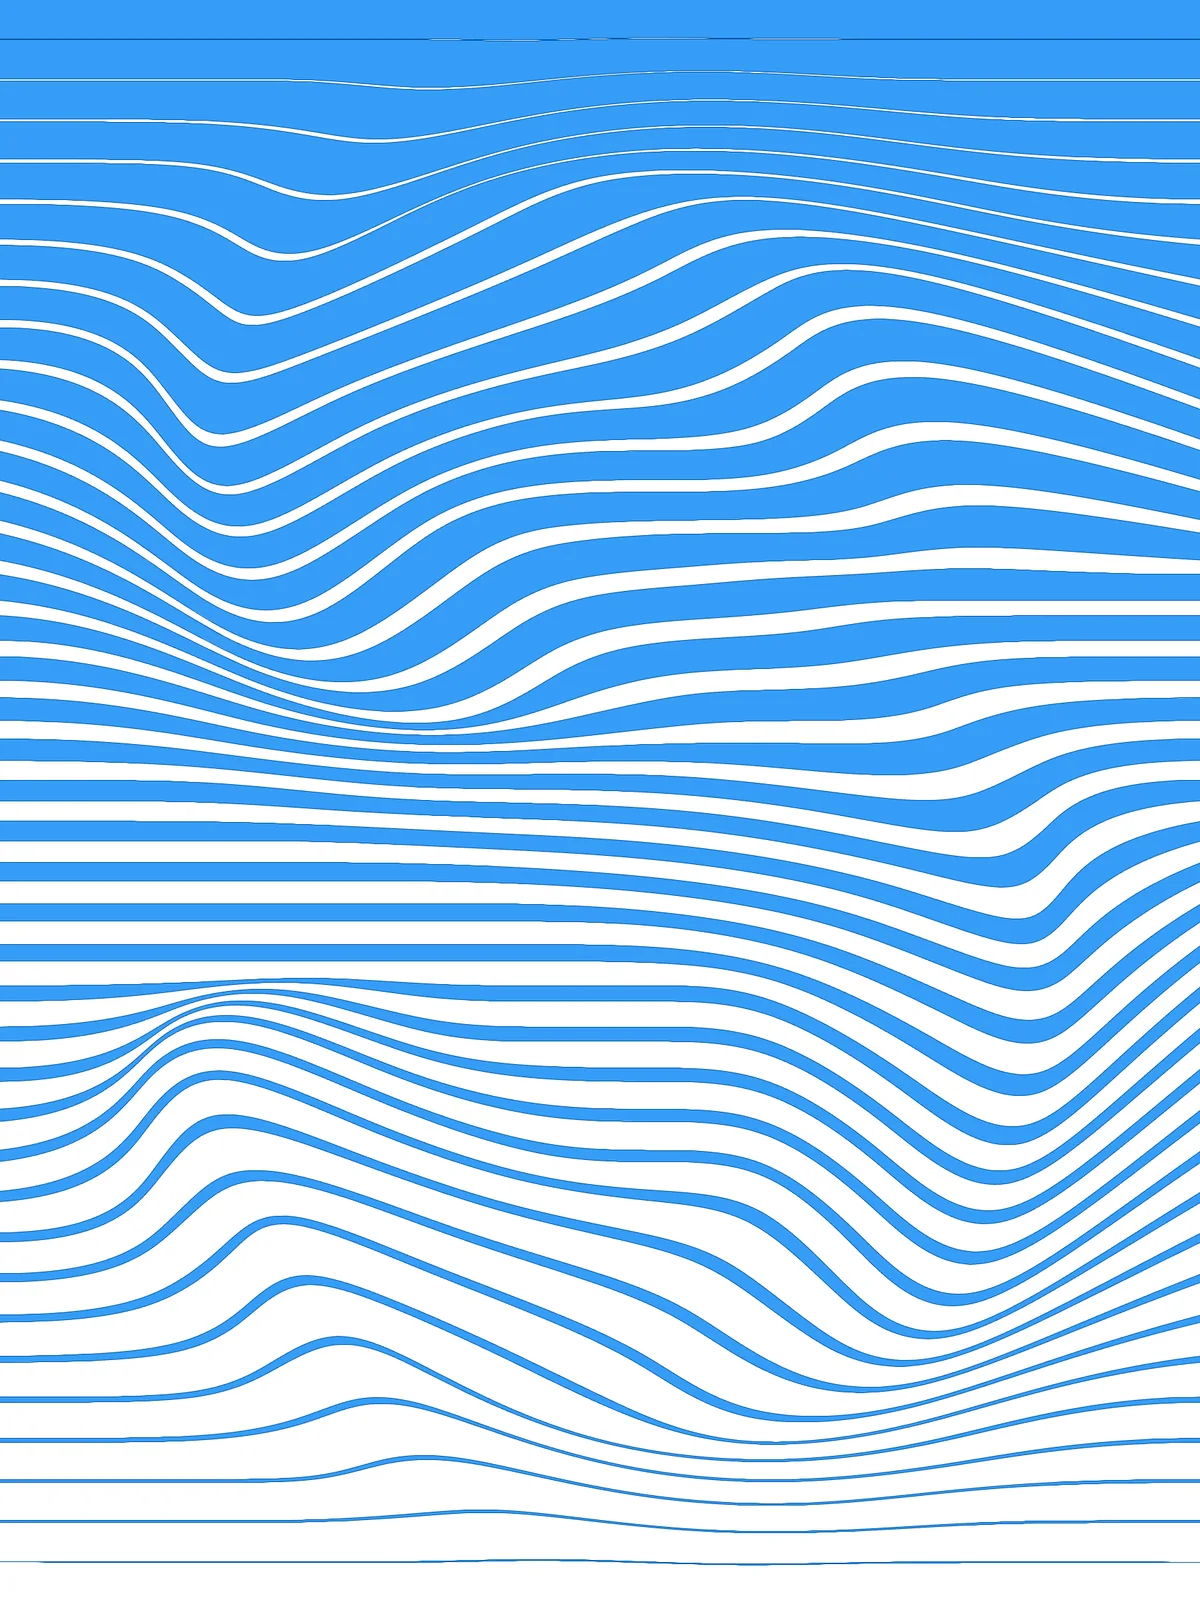
Inputs
Reference in Rhino
Surface
The surface the lines are drawn on. It must be a planar (flat) surface.
Curve
The curve that smudges the lines. Lines close to it are dragged along its direction. Draw it in the plane of the surface.
Main Sliders
Also try: set the start (A) of the first Construct Domain above 0, so the lines at the bottom already have some thickness.
Notes
- The direction of your curve matters. The lines are dragged along the curve’s direction, so flipping the curve in Rhino (
Flip) drags the smudge the other way. - The ends of each line never move. Only the points in between are dragged, so the lines stay anchored at the edges of the surface.
- The bottom line has no thickness at all. The thickness grows from 0, so the lines near the bottom stay very thin. Use the Also try tweak above to give them a starting thickness.
Design Logic
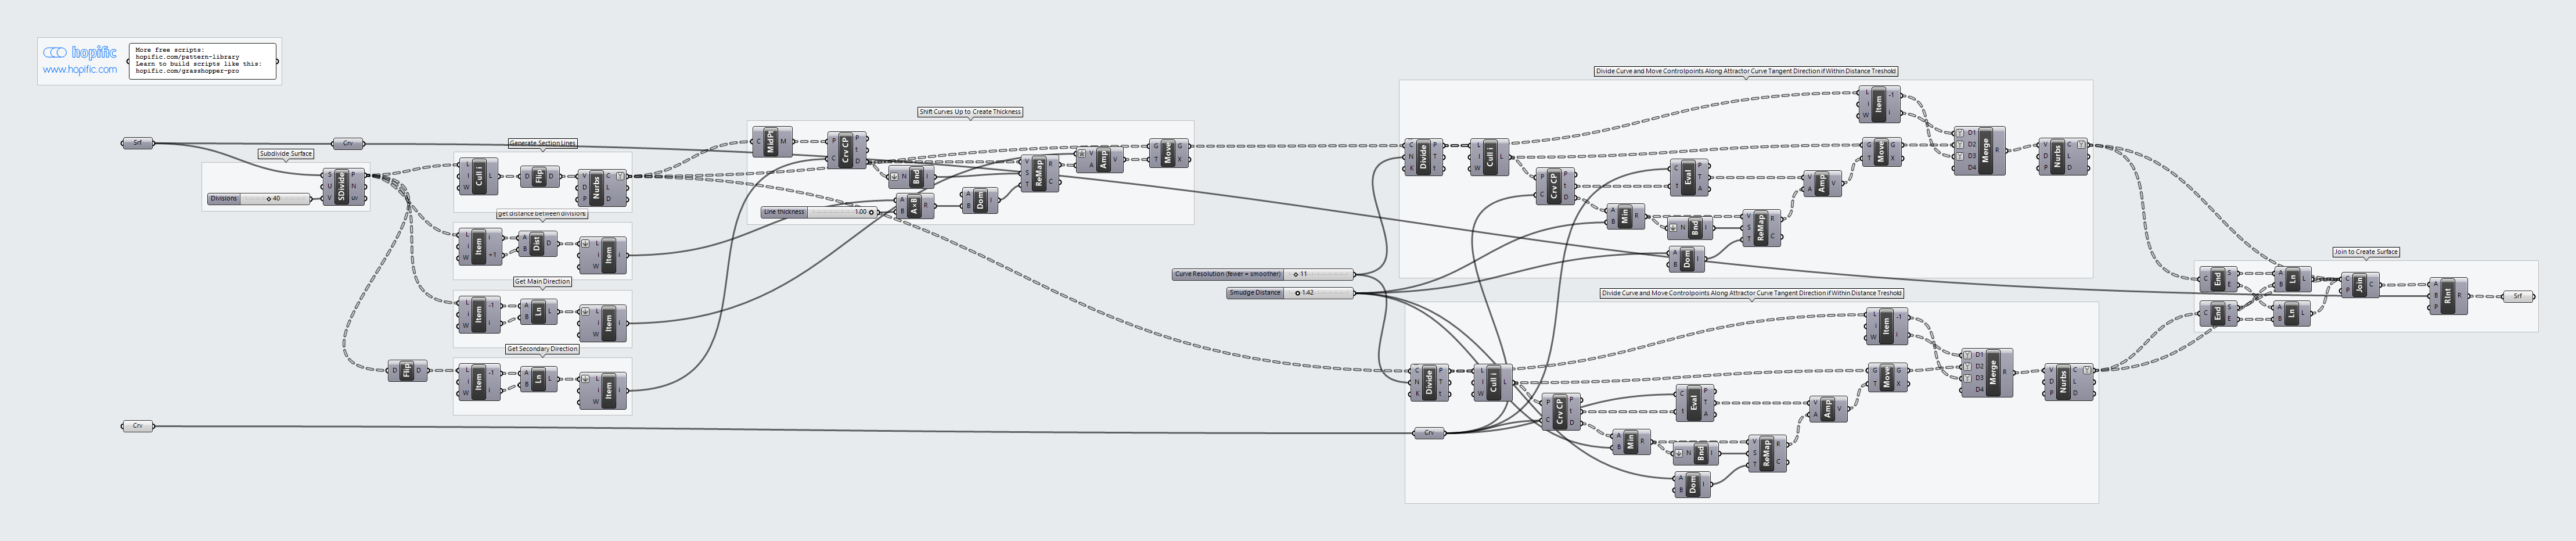
How the script builds the pattern, step by step.
| Step | How the script does it |
|---|---|
| 1. Split the surface into rows | Divide Surface makes two columns of points down the surface. Cull Index drops the top row, and Flip Matrix and Nurbs Curve draw a straight line across each row. |
| 2. Measure the row spacing and directions | List Item and Distance measure the gap between rows. Line draws one line along the side of the surface and one along the bottom edge, to use as directions. |
| 3. Copy each line upward to give it thickness | Curve Middle and Curve Closest Point measure how far each line is from the bottom edge. Bounds and Remap Numbers turn that into a shift from 0 up to the row spacing times Line thickness, and Amplitude and Move shift a copy of each line up by it. Each line and its copy become the two edges of a band. |
| 4. Measure each point’s distance to your curve | Divide Curve puts points on both edges of every band, and Cull Index leaves out the end points. Curve Closest Point measures how far each point is from your curve, and Minimum caps the distance at Smudge Distance. |
| 5. Drag the points along the curve | Bounds and Remap Numbers give the closest points a move of Smudge Distance, fading to nothing at Smudge Distance away. Evaluate Curve finds the direction of your curve at the closest point, and Amplitude and Move drag each point that far in that direction. |
| 6. Rebuild smooth lines | List Item and Merge add the end points back, and Nurbs Curve draws a smooth curve through the points. |
| 7. Close the bands and trim them | End Points and Line close the ends of each band, and Join Curves joins them. Region Intersection trims the bands to the outline of the surface, and a Surface parameter turns them into surfaces. |
Want to learn how to build scripts like this on your own? Check out the Grasshopper Pro course.