
Inputs
Reference in Rhino
Surface
The surface the sticks are built on. It must be a planar (flat) surface.
Curve
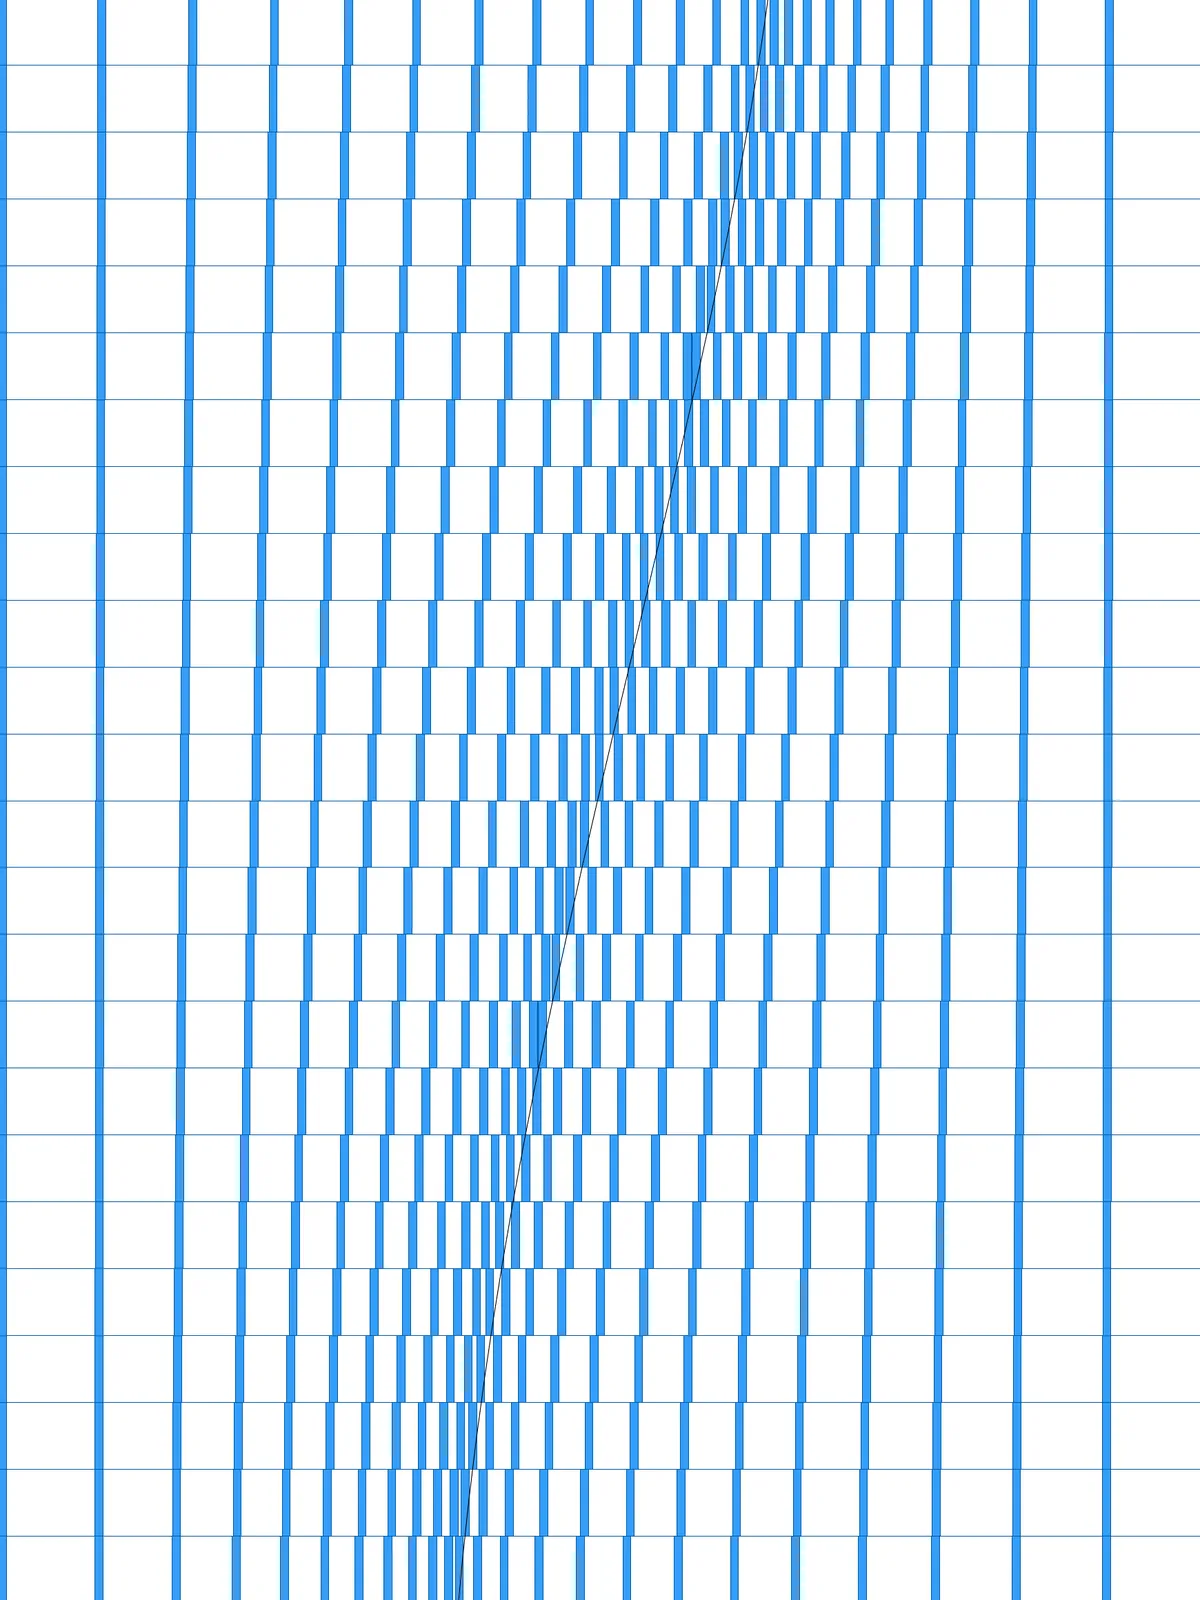
The line the sticks are pinched along. It must run all the way across the surface, in the direction of the sticks, so it crosses every row.
Main Sliders
Also try: set the Boolean Toggle Allow Overlapping Panels to True. All the sticks are kept, and in the seam they overlap into a solid band.
Notes
- Let the curve cross every row once. A row the curve doesn’t cross gets no pinch, and a curve that crosses a row twice gives that row an odd shape.
- The seam borrows its sticks from the rest of the row. Each row has a fixed number of sticks, so a deeper pinch leaves wider gaps away from the curve. Raise Number of Sticks to fill them.
- Sticks that would overlap are thinned out. With Allow Overlapping Panels off, the script removes sticks that sit closer together than Panel Width, so the seam stays dense but open.
- The sticks are not trimmed to the surface. Check the edges after baking: the last stick of a row can sit just past the edge.
Design Logic
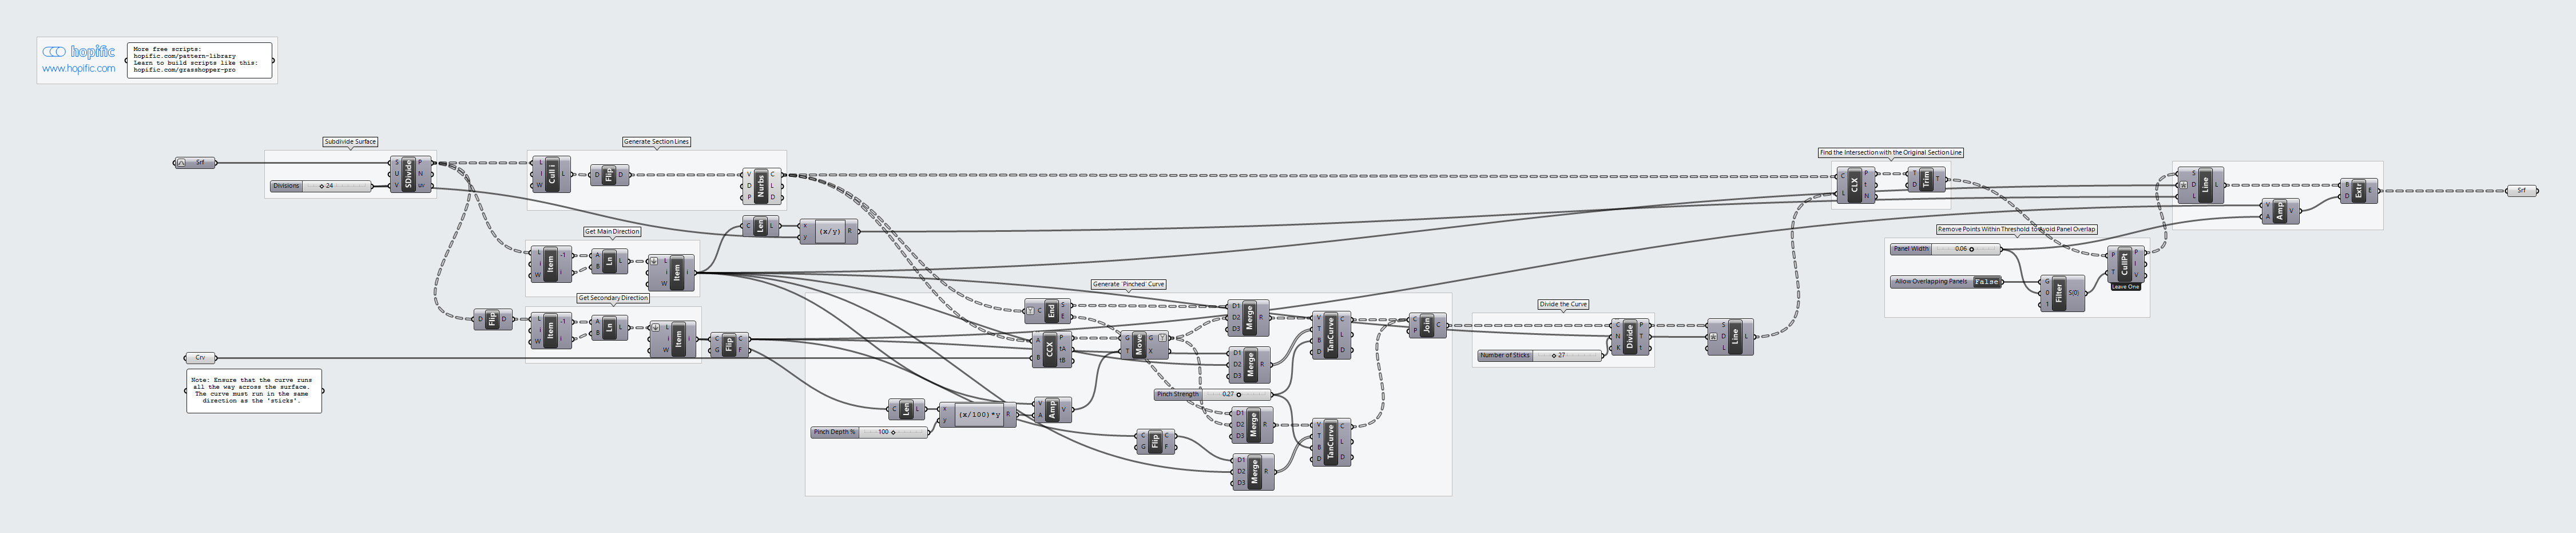
How the script builds the pattern, step by step.
| Step | How the script does it |
|---|---|
| 1. Split the surface into rows | Divide Surface makes a grid of points: one division in U, and Divisions in V. |
| 2. Find the two directions of the surface | List Item and Line draw one edge in each direction. The first gives the direction of the sticks, and its Length divided by Divisions gives the stick length. The second gives the direction across the rows, and its Length sets the size of the pinch. |
| 3. Draw a line for each row | Cull Index, Flip Matrix and Nurbs Curve join the points into one straight line per row. |
| 4. Bend each row into a pinched guide curve | Curve | Curve finds where each row crosses your curve, and Move with Amplitude pushes that point away from the row by Pinch Depth %. Two Tangent Curve components run from each end of the row to the pushed point, and Join Curves joins them into one curve with a deep dip at the crossing. |
| 5. Space the sticks along the guide curve | Divide Curve places points evenly along the dipped curve. Many of them land on the steep sides of the dip. |
| 6. Bring the points back onto the row | Line SDL and Curve | Line project each point straight back onto the original row line. The points from the dip all land close to the crossing, which makes the dense seam. Trim Tree groups the points by row again. |
| 7. Remove points that would overlap | Cull Duplicates removes points closer together than Panel Width. Stream Filter sets that distance to 0 when Allow Overlapping Panels is on. |
| 8. Draw the sticks | Line SDL draws a line one row long from each point, in the direction of the sticks. Extrude with Amplitude gives it the Panel Width. |
Want to learn how to build scripts like this on your own? Check out the Grasshopper Pro course.