
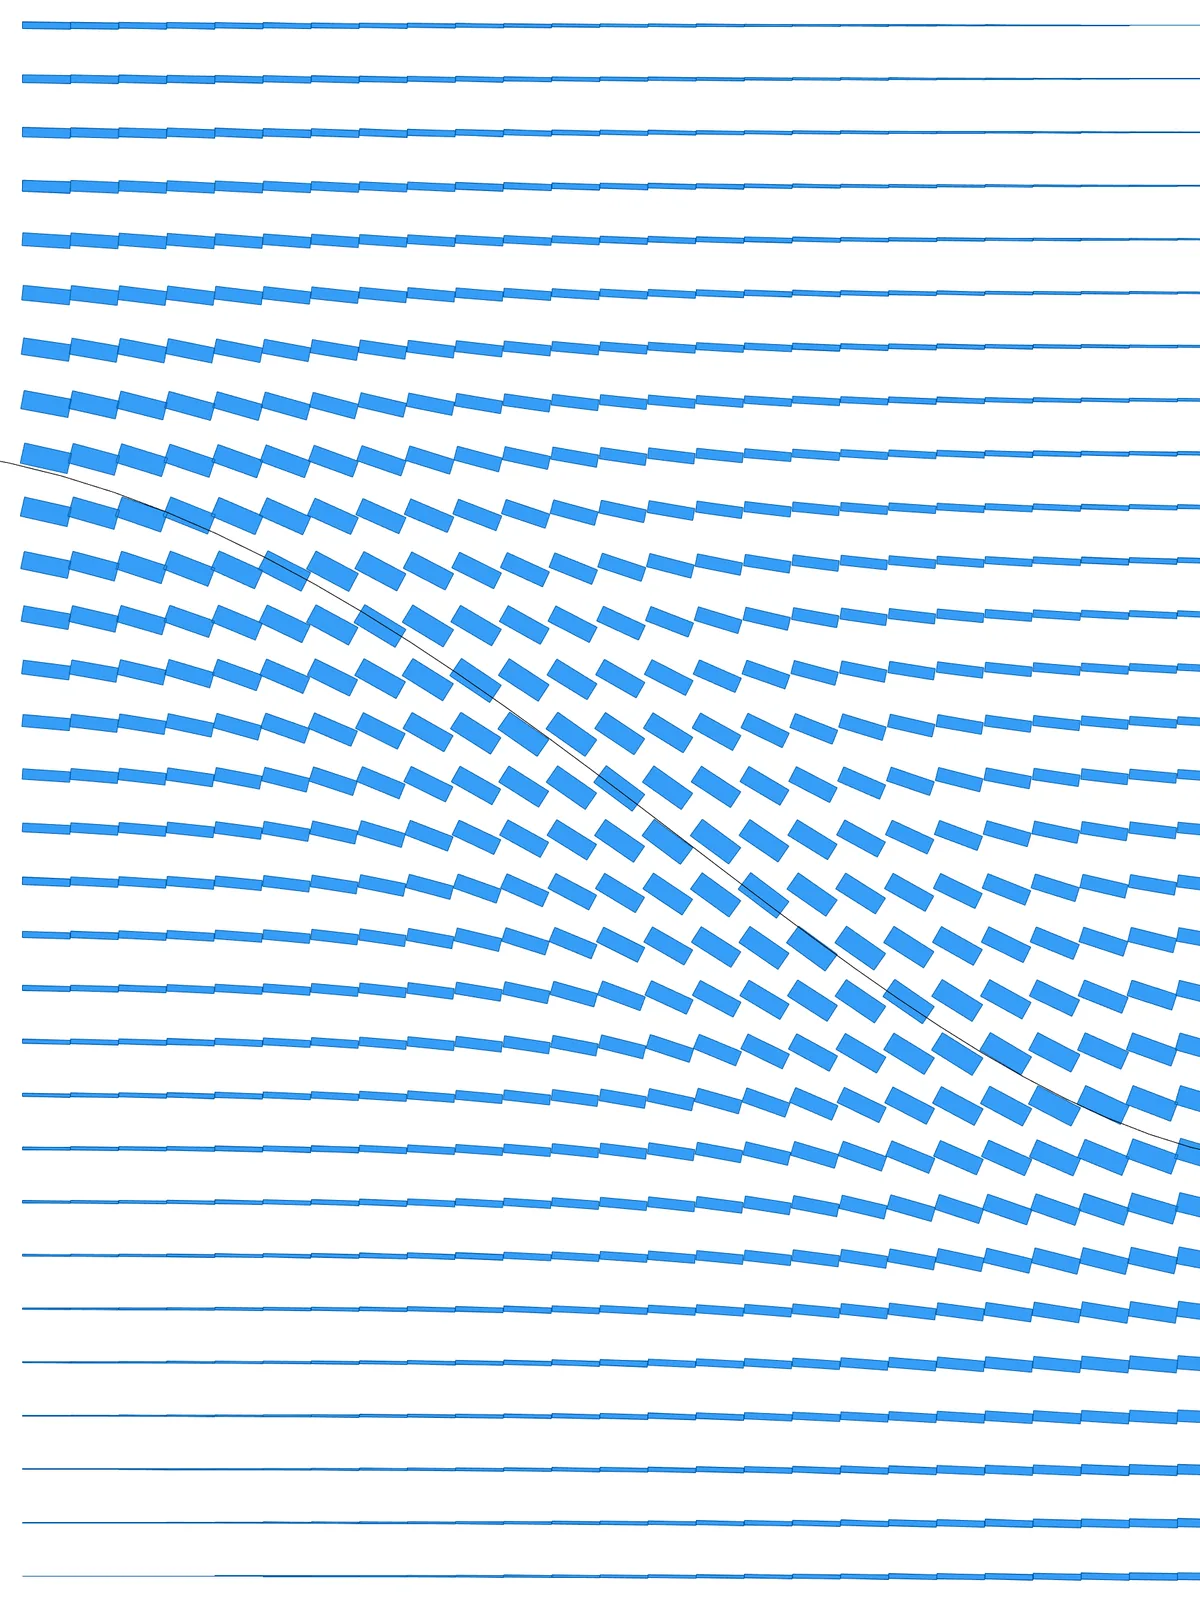
Inputs
Reference in Rhino
Surface
The surface the lines are drawn on. It must be a planar (flat) surface.
Curve
The curve that raises the ridge. Near it, the lines turn to follow its direction and get thicker. It must lie in the same plane as the surface.
Main Sliders
Also try: reshape the two Graph Mapper components to make the ridge wider or narrower, and to change how quickly the lines thicken toward the curve.
Notes
- Draw the curve in the plane of the surface. The script measures distances and directions in that plane; a curve above or below it gives odd results.
- The lines are made of dashes, one per cell. Far from the curve the dashes meet end to end and read as continuous lines. Near it they turn and break into angled segments, which is what raises the ridge.
- Set Rotation Far to 1 as well to make every dash follow the curve’s direction, so the whole surface echoes its shape.
Design Logic
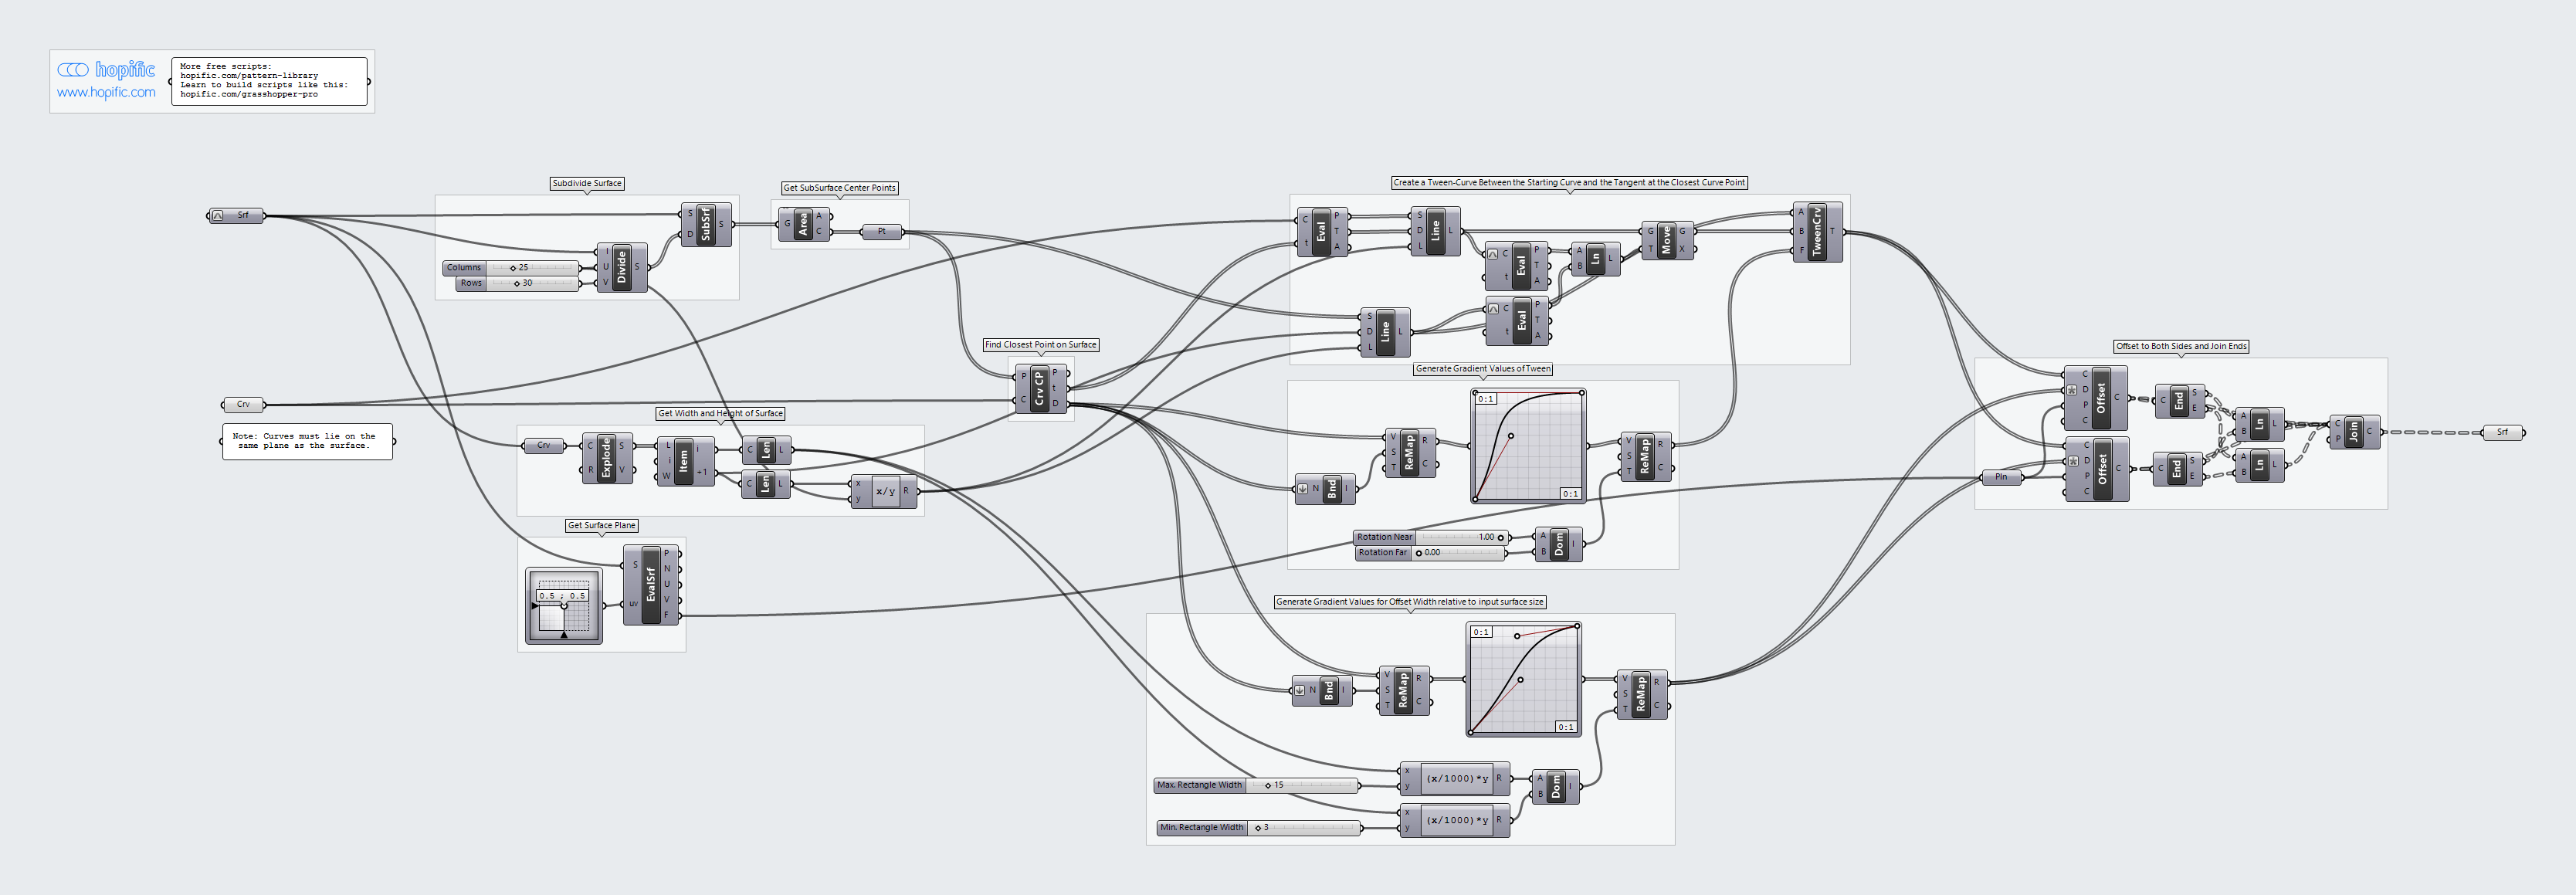
How the script builds the pattern, step by step.
| Step | How the script does it |
|---|---|
| 1. Split the surface into cells | Divide Domain² and Isotrim cut the surface into a grid of small rectangles, and Area finds the centre of each. |
| 2. Measure the surface | Explode breaks the surface outline into its sides, and List Item and Length measure two of them. One length divided by Columns gives the dash length; the other is the base for the line thickness. |
| 3. Draw a straight dash and a curve-following dash | Line SDL draws a dash from each cell centre, parallel to the side of the surface. Curve Closest Point and Evaluate Curve find the curve’s direction at the nearest point, and a second Line SDL draws a dash in that direction. Evaluate Curve, Line and Move bring it to the cell centre. |
| 4. Turn the dashes near the curve | Bounds and Remap Numbers turn each cell’s distance to the curve into a value from 0 to 1. A Graph Mapper shapes it and Remap Numbers maps it between Rotation Near and Rotation Far. Tween Curve blends between the straight dash and the curve-following dash by that amount. |
| 5. Thicken the dashes near the curve | Two Expression components scale Max. Rectangle Width and Min. Rectangle Width to the size of the surface. The same distances go through a second Graph Mapper, and Remap Numbers maps them from Max. Rectangle Width (near) to Min. Rectangle Width (far). |
| 6. Turn the dashes into rectangles | Offset Curve copies each dash to both sides by half its width. End Points, Line and Join Curves close the copies into a rectangle, and a Surface parameter turns it into a flat piece. |
Want to learn how to build scripts like this on your own? Check out the Grasshopper Pro course.