
Inputs
Reference in Rhino
Surface
The surface the pattern is built on. The script reads its edges to set the directions of the rows and the sticks, so use a four-sided surface; a rectangle works best. It must be a planar (flat) surface.
Main Sliders
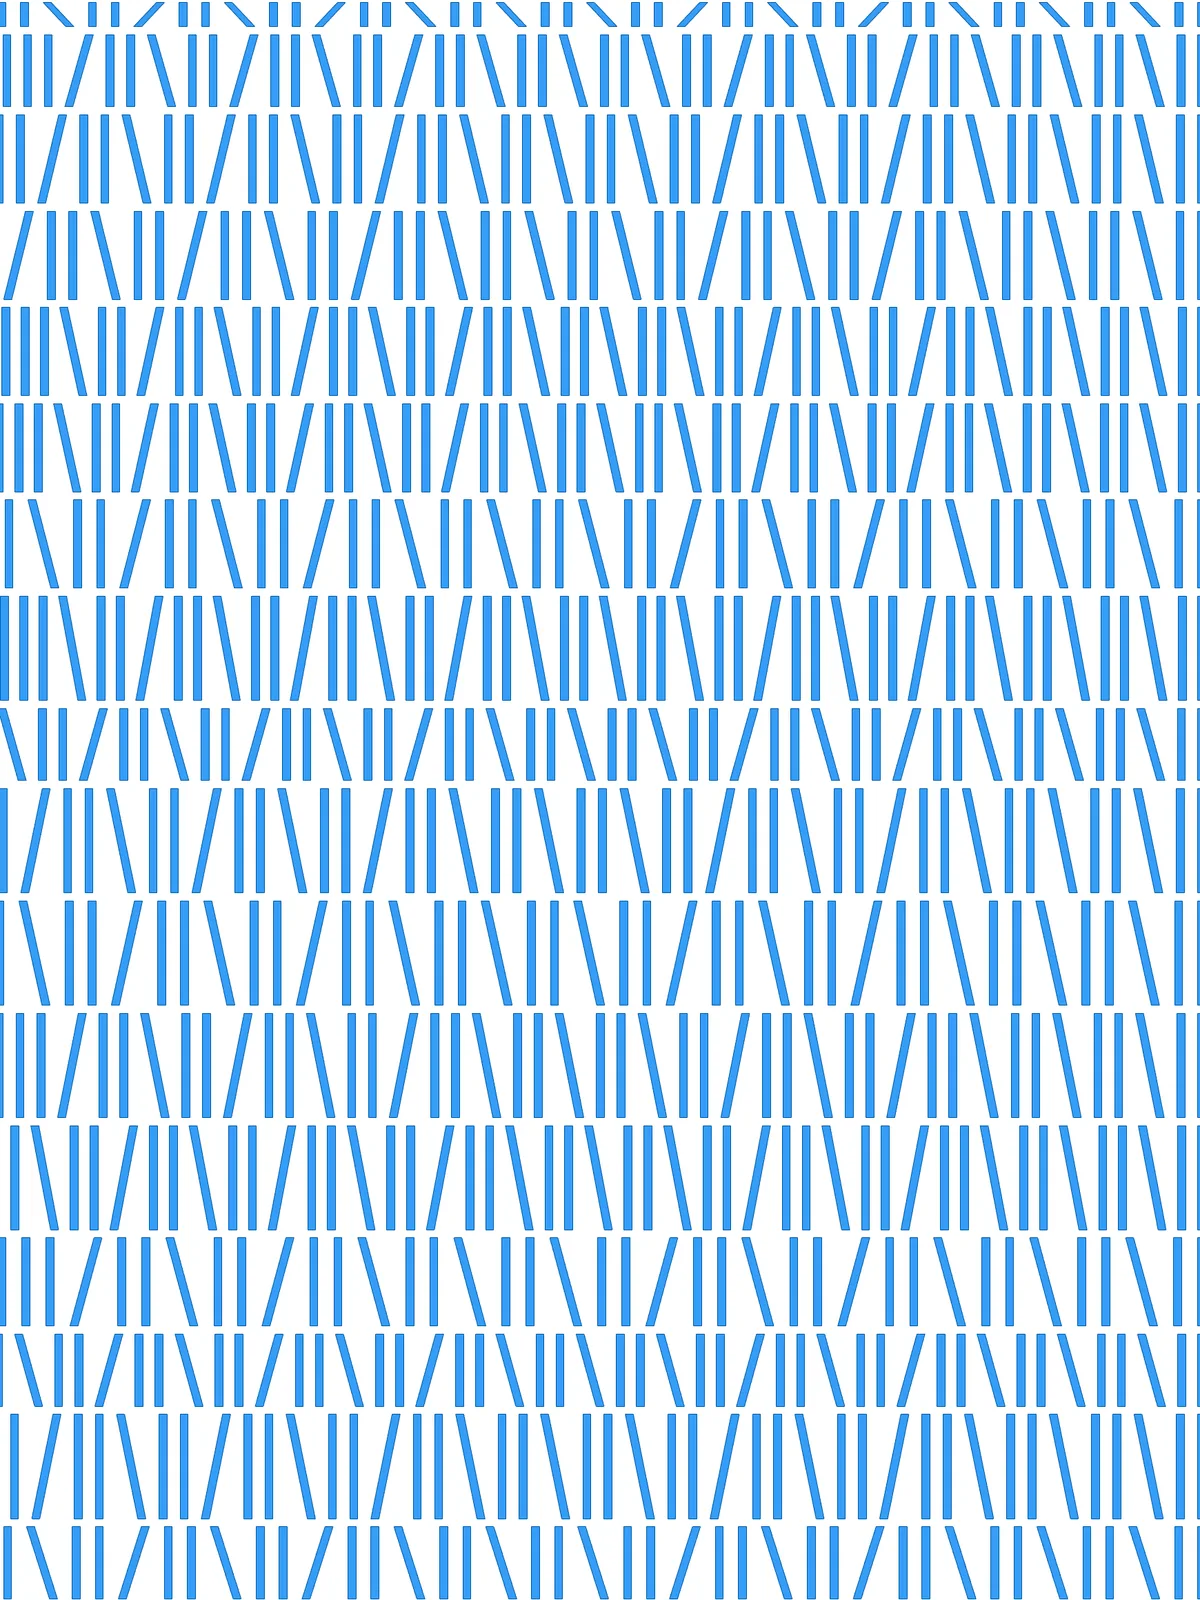
Also try: set the unnamed slider in the Randomized Selection Pattern group from 2 to 0 or 1. The pairs of straight sticks then become leaning sticks too, and every book on the shelf tilts.
Notes
- Use the Flip Direction toggle to turn the pattern 90°. It swaps which surface edge the rows follow and which one the sticks follow.
- Keep the stick width well below the spacing. Stick Width as % of Length and the two Segment Length sliders are set separately, so wide sticks in a tightly spaced row will overlap.
- Row height changes how far a stick leans. A leaning stick runs from the foot of one stick to the top of the next, so in tall rows it stands almost upright and in short rows it tilts more.
Design Logic
How the script builds the pattern, step by step.

| Step | How the script does it |
|---|---|
| 1. Find the two directions of the surface | Brep Edges gets the edges of the surface. Shift List (driven by Flip Direction) and List Item pick one edge for the direction of the rows and the edge next to it for the direction of the sticks. Flip Curve turns the opposite edge round so both sides of the surface run the same way. |
| 2. Set three row heights | Length measures the edge the rows stack along, and three Expression components turn Segment A, B and C into actual heights. |
| 3. Mix the heights into a random stack | Mass Addition and an Expression work out how many times the three heights must repeat to fill the edge, and Duplicate Data repeats them. Jitter shuffles the order, Mass Addition adds them up into running totals, and Insert Items adds a 0 for the first row. |
| 4. Draw the row lines | Evaluate Length places a point at each running total on both side edges. Flip Matrix and Nurbs Curve join each pair of points into a line across the surface. Shatter and Length measure the height of each row. |
| 5. Give each row its own spacing | Construct Domain builds the spacing range from Segment Length Min and Segment Length Max, Random picks a spacing for each row and Multiplication applies Scale Multiplier. Divide Length places points along each row line at that spacing. |
| 6. Draw the sticks and the gaps | Amplitude makes a vector as long as the row height, Move copies each point up by it, and Line joins the two into a stick. Extend Curve with negative values shortens both ends by Gap as % of Length, leaving a gap between rows. |
| 7. Make some sticks lean | Partition List groups the sticks in pairs. End Points, List Item and Line draw the two diagonals across each pair, and Group keeps the straight pair together. Weave, Random and a Panel build a pattern of “straight pair, then one stick leaning left or right at random”, and Pick'n'Choose applies it. |
| 8. Give the sticks their width | Ungroup separates the sticks. Two Move components shift each stick sideways in both directions by Stick Width as % of Length, and End Points, Merge and a closed Nurbs Curve join the four corners into an outline. Surface fills it. |
Want to learn how to build scripts like this on your own? Check out the Grasshopper Pro course.