
Inputs
Reference in Rhino
Surface
The surface the bricks are built on. It must be a planar (flat) surface.
Main Sliders
Also try: set the Boolean Toggle called Flip Direction to False, so the row with a single brick moves to the opposite edge of the surface.
Notes
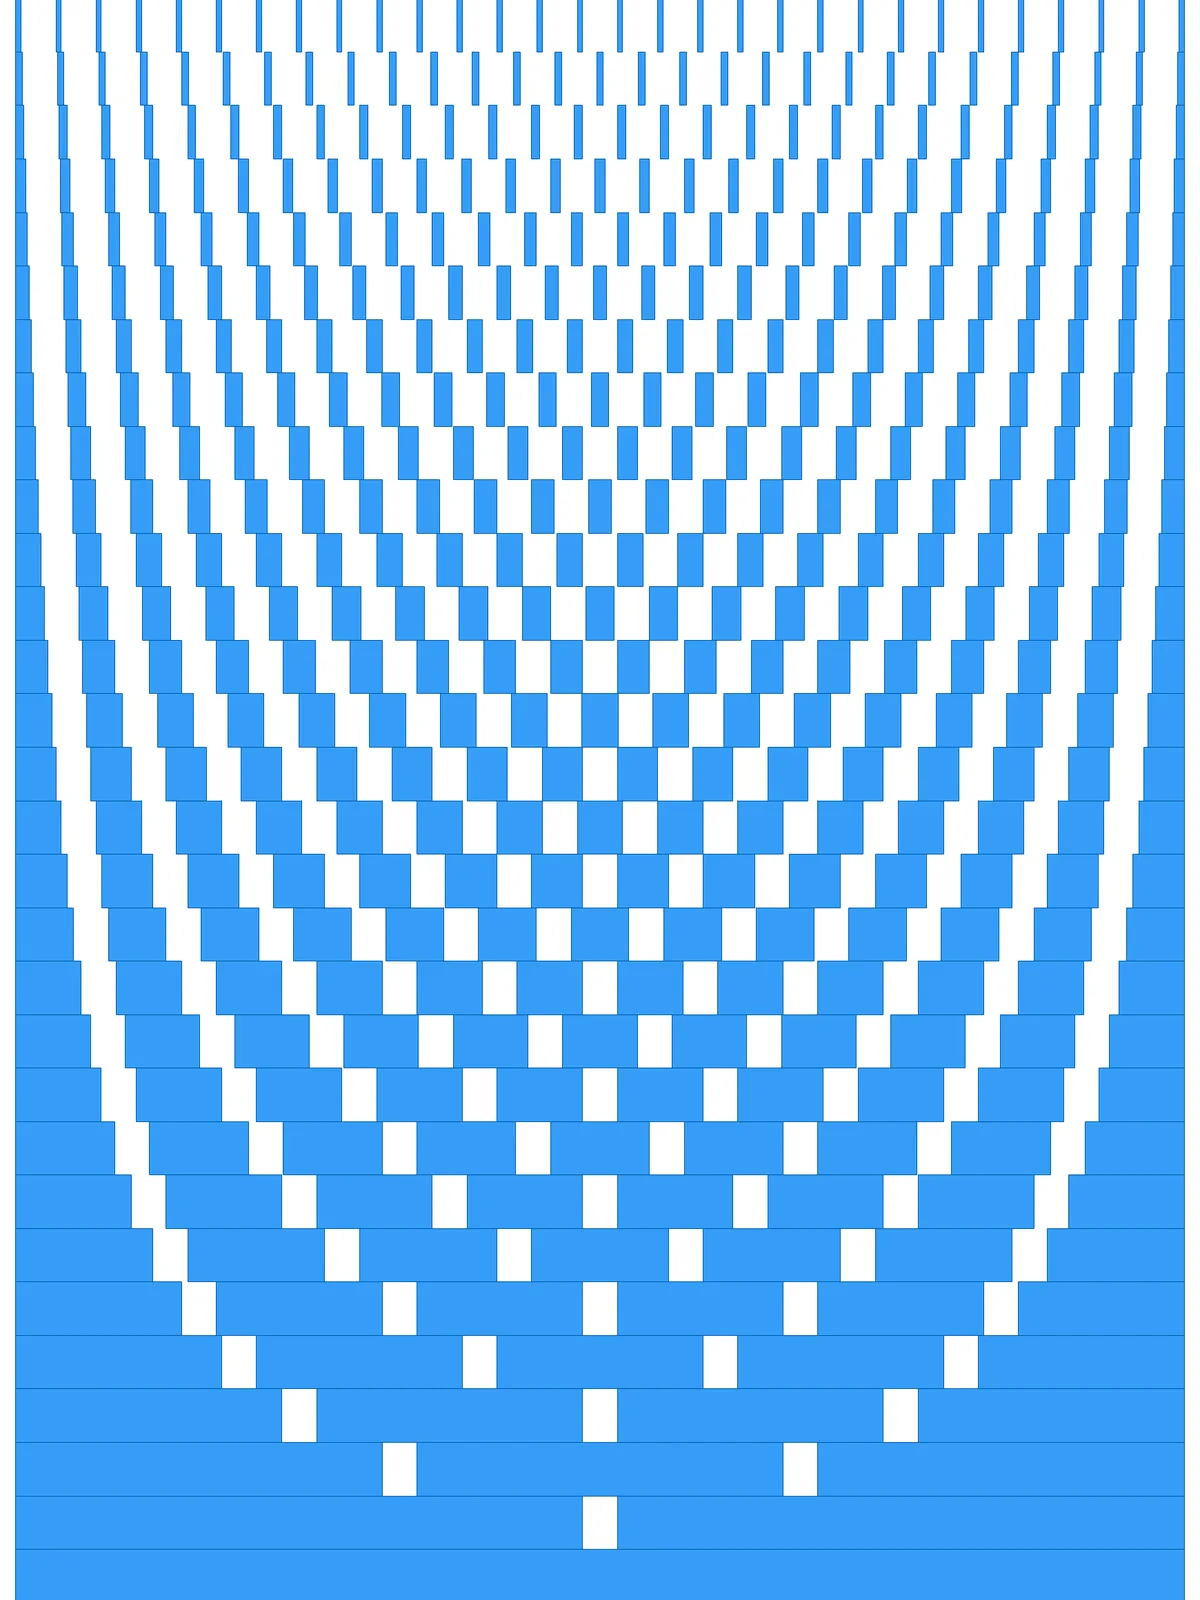
- The arcs come from simple fractions. Each row is split into one more equal brick than the row before. The gaps at a half, a third, a quarter and so on of each row line up into arcs across the panel.
- Every gap has the same width. What changes from row to row is the brick length: long bricks next to the starting edge, short ones at the far edge.
- The gap can’t swallow the bricks. The script caps it at just under half the brick length in the row with the most bricks, so even the shortest bricks keep a sliver of material.
Design Logic
How the script builds the pattern, step by step.

| Step | How the script does it |
|---|---|
| 1. Split the surface into rows | Divide Surface makes a grid of points. Cull Index, Flip Matrix and Nurbs Curve draw a line along the starting edge of each row. |
| 2. Order the rows from the starting edge | Flip Matrix, List Item and Line draw the two outer edges of the grid, and Stream Filter picks one with the Flip Direction toggle. Curve Middle and Curve Closest Point measure how far each row is from that edge, and Sort List orders the rows from near to far. |
| 3. Give each row one more division | Tree Statistics counts the rows and Series makes the numbers 1, 2, 3 and so on. Divide Curve splits each row into that many equal parts. |
| 4. Limit the gap size | Tree Statistics, List Item and Tree Branch take the row with the most divisions. List Item, Line and Length measure its spacing and take just under half of it. Minimum then uses whichever is smaller: that value or the Gap Size slider. |
| 5. Open a gap at every division | Amplitude makes a vector along the rows, and two Move components shift each division point to both sides by the gap. Curve Closest Point and Shatter cut the row at the shifted points, and Cull Pattern removes every other piece: the gaps. |
| 6. Give the bricks their height | Length and Division work out the row height from the Divisions slider, Amplitude turns it into a vector across the rows, and Extrude turns each remaining piece into a brick. |
Want to learn how to build scripts like this on your own? Check out the Grasshopper Pro course.