
Inputs
Reference in Rhino
Surface
The surface the sticks are built on. The rows are stacked in its V direction. It must be a planar (flat) surface.
Main Sliders
Also try: change the seed (S) of the Random components that have one set to 2 for a different shake.
Notes
- The top and bottom edges stay straight. The script keeps the first and last row lines untilted, so the surface has a clean finish.
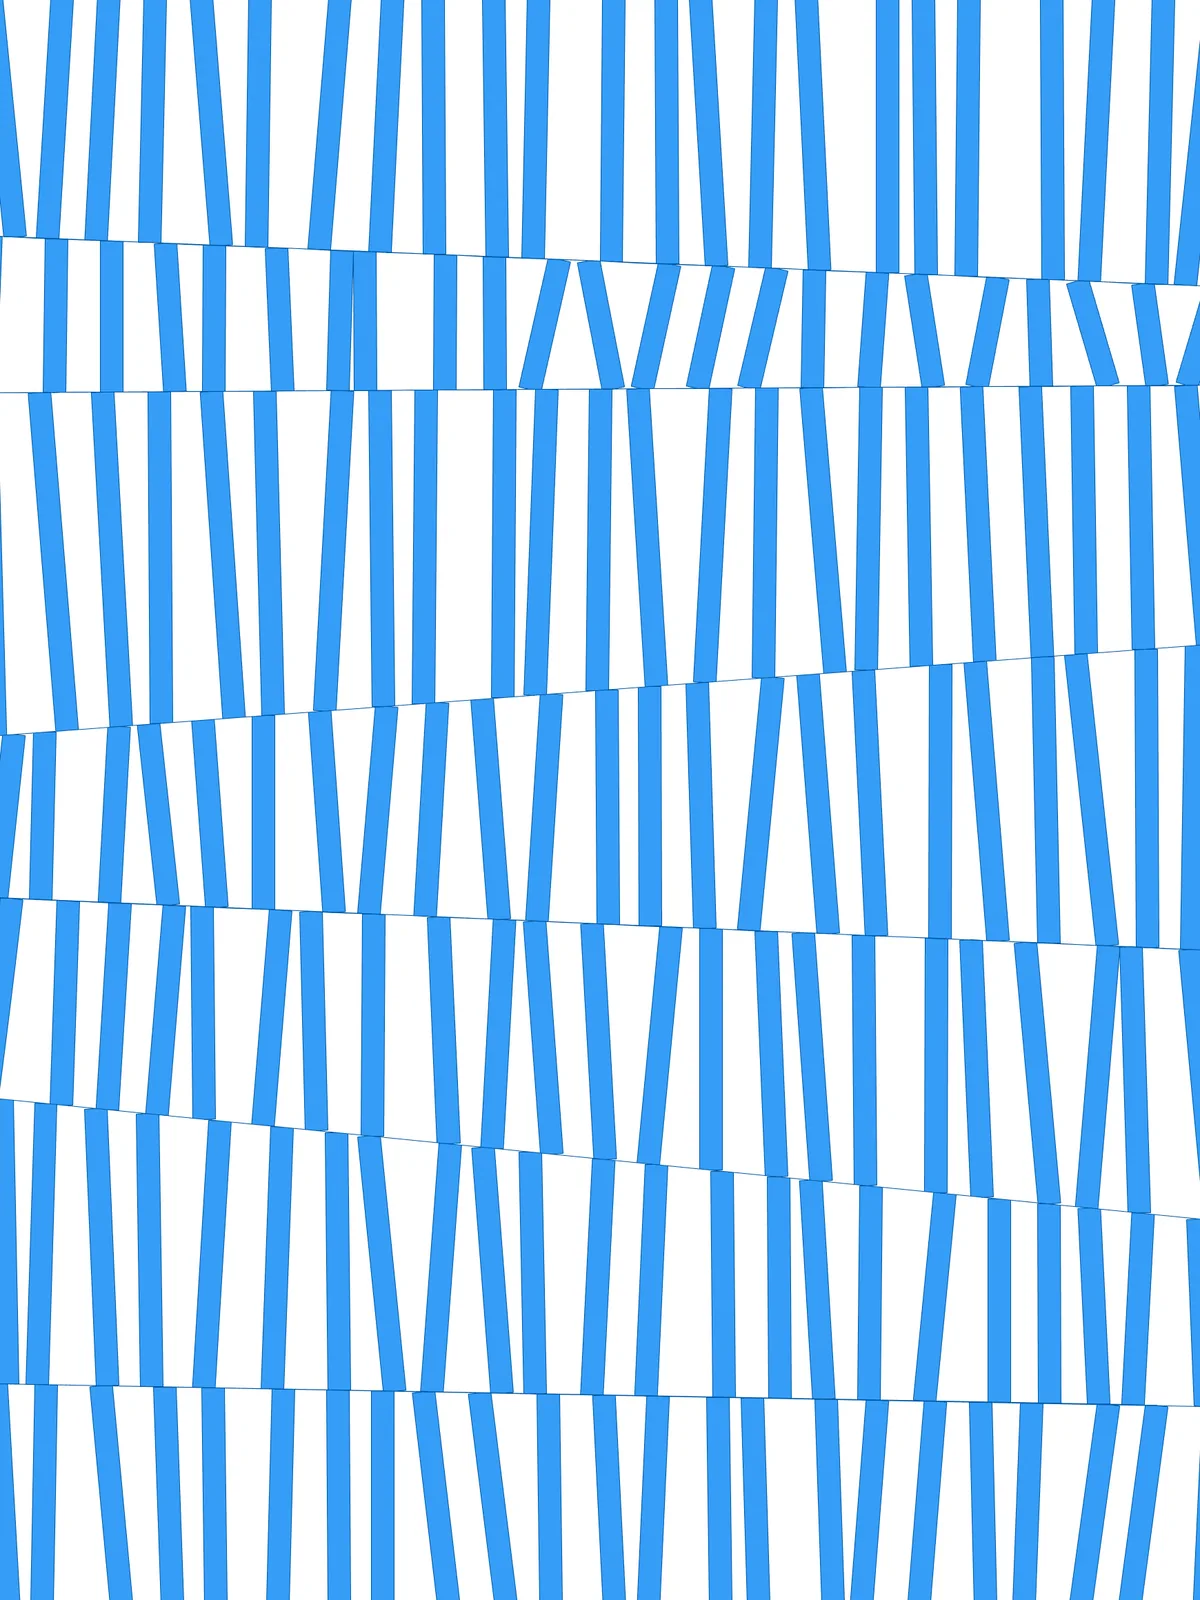
- The irregular look comes from position, not width. All sticks have the same thickness; they look uneven because their ends slide at random and they are cut at a slant where the rows meet.
- Element Thickness is a real distance. Scale it to your surface. If Element Thickness gets close to the stick spacing, neighbouring sticks will merge.
- The script gives two results: the trimmed sticks and the outlines of the rows. Bake the outlines too if you want to keep the row lines.
Design Logic
How the script builds the pattern, step by step.

| Step | How the script does it |
|---|---|
| 1. Split the surface into rows | Divide Surface places points along both sides of the surface, Divisions rows apart. Flip Matrix pairs them up across the surface, and List Item, Line and Length find the direction and height of a row. |
| 2. Tilt the lines between rows | Multiplication and Construct Domain set a range from Shift Multiplier and the row height. Random picks a shift for each end of each line. Tree Statistics, Tree Branch and Replace Items set the shifts of the first and last line to 0. Amplitude and Move shift the ends, and Nurbs Curve redraws the tilted lines. |
| 3. Pair neighbouring lines into rows | Shift List pairs each line with the next one. Loft makes the outline of each row from its pair, to trim with later. |
| 4. Place the stick ends | Divide Curve places points evenly along both lines of each row. Length and an Expression give the spacing, and Random, Amplitude and Move slide every point along its line by a random amount within Amount of Element Movement. |
| 5. Connect the ends into sticks | Relative Item matches each point with the same point on the other line of the row, and Line joins them. Extend Curve lengthens each stick at both ends by End Extension so the trim is clean. |
| 6. Give the sticks their thickness | Offset Curve copies each stick to both sides by half of Element Thickness. End Points, Line and Join Curves close the copies into a rectangle. |
| 7. Trim the sticks to their row | Tree Statistics, Deconstruct Path and List Item find the outline of each row, and Region Intersection keeps only the part of each stick inside it. |
Want to learn how to build scripts like this on your own? Check out the Grasshopper Pro course.