
Inputs
Reference in Rhino
Surface
The surface the panels are built on. It must be a planar (flat) surface.
Main Sliders
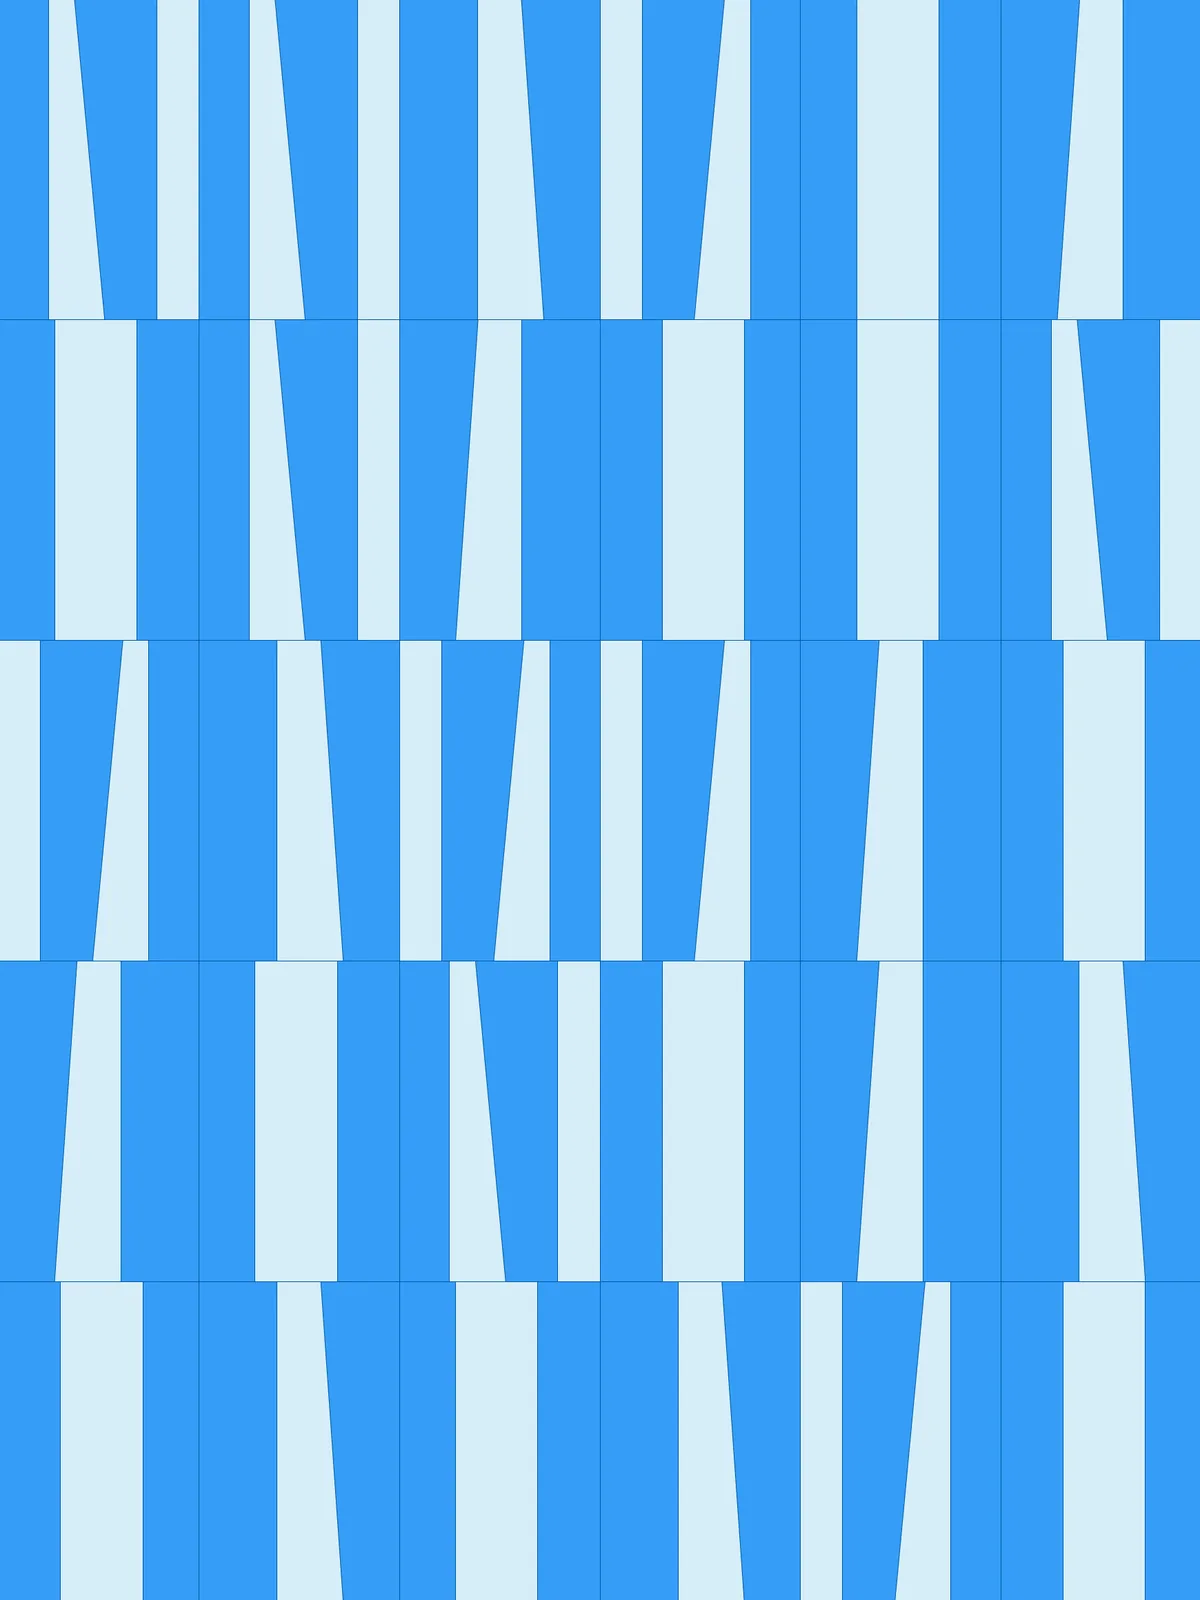
Also try: change the seed (S) of the Jitter to sort the cells into three different random groups.
Notes
- The cells are split into three random groups. Each group has its own copy of the segment, tilt and shift sliders, from Group 1 at the top of the canvas to Group 3 at the bottom. Give the groups clearly different values to make the variation visible.
- The segments repeat or get cut off. If the three percentages add up to less than 100, the sequence starts again across the rest of the cell; if they add up to more, the panels that don’t fit are dropped and the last panel fills the remaining width.
- At a Shift Amount of 1 or −1, the top of the tilted line can reach a neighbouring line, and the panel between them narrows to a triangle. Stay a little inside that range to keep every panel four-sided.
- The two colours are only a preview. The two outputs of the last
Dispatchhold the two alternating sets of panels, so you can bake each set on its own.
Design Logic
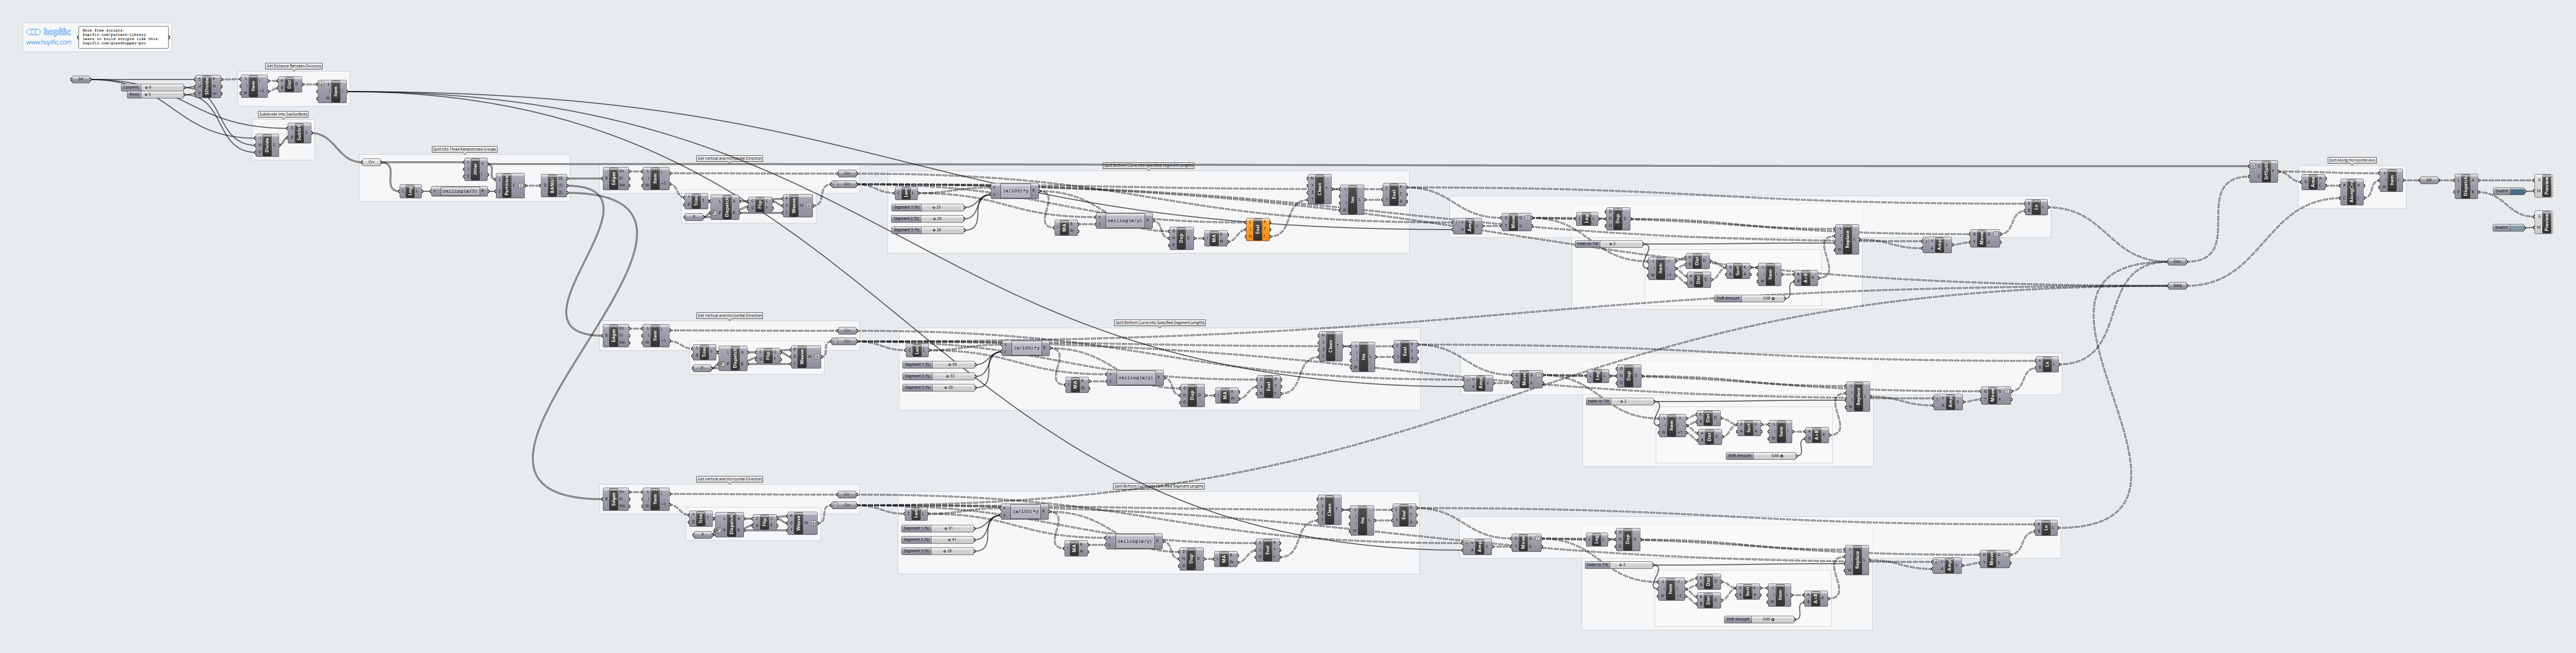
How the script builds the pattern, step by step.
| Step | How the script does it |
|---|---|
| 1. Split the surface into cells | Divide Domain² and Isotrim cut the surface into a grid of cells. Divide Surface, List Item and Distance measure the height of one cell. |
| 2. Sort the cells into three random groups | Jitter shuffles the cells. List Length and an Expression work out a third of the count, Partition List splits them into three groups, and Explode Tree sends each group to its own copy of the next steps. |
| 3. Find each cell’s edges | Brep Edges and List Item take a side edge (for the upward direction) and the bottom edge of each cell. Dispatch, Flip Curve and Weave reverse the bottom edge of every second cell, so those cells are measured from the other side. |
| 4. Mark the panel widths along the bottom edge | Length and an Expression turn the three segment percentages into lengths. Mass Addition, a second Expression and Duplicate Data repeat them enough times to cover the edge, and another Mass Addition adds them up. Evaluate Length finds those positions, Clean Tree drops the ones past the end, Insert Items adds both ends of the edge, and Evaluate Curve places the points. |
| 5. Copy the points to the top of the cell | Amplitude sets the side-edge direction to the cell height, and Move shifts each point up to the top of the cell. |
| 6. Tilt one line | List Item picks the top point at Index to Tilt and its two neighbours. Two Distance components, Sort List and List Item find the nearer neighbour, and Multiplication scales that distance by Shift Amount. List Length, Duplicate Data and Replace Items give that one point the shift and every other point zero, and Amplitude and Move slide it along the top. |
| 7. Cut the cells into panels | Line joins each bottom point to its top point. Surface Split cuts every cell along these lines, and Area, Sort Along Curve and List Item put the panels in order across the cell. |
| 8. Colour every second panel | Dispatch splits the panels into two alternating sets, and two Custom Preview components with a Colour Swatch each show them in two tones. |
Want to learn how to build scripts like this on your own? Check out the Grasshopper Pro course.