
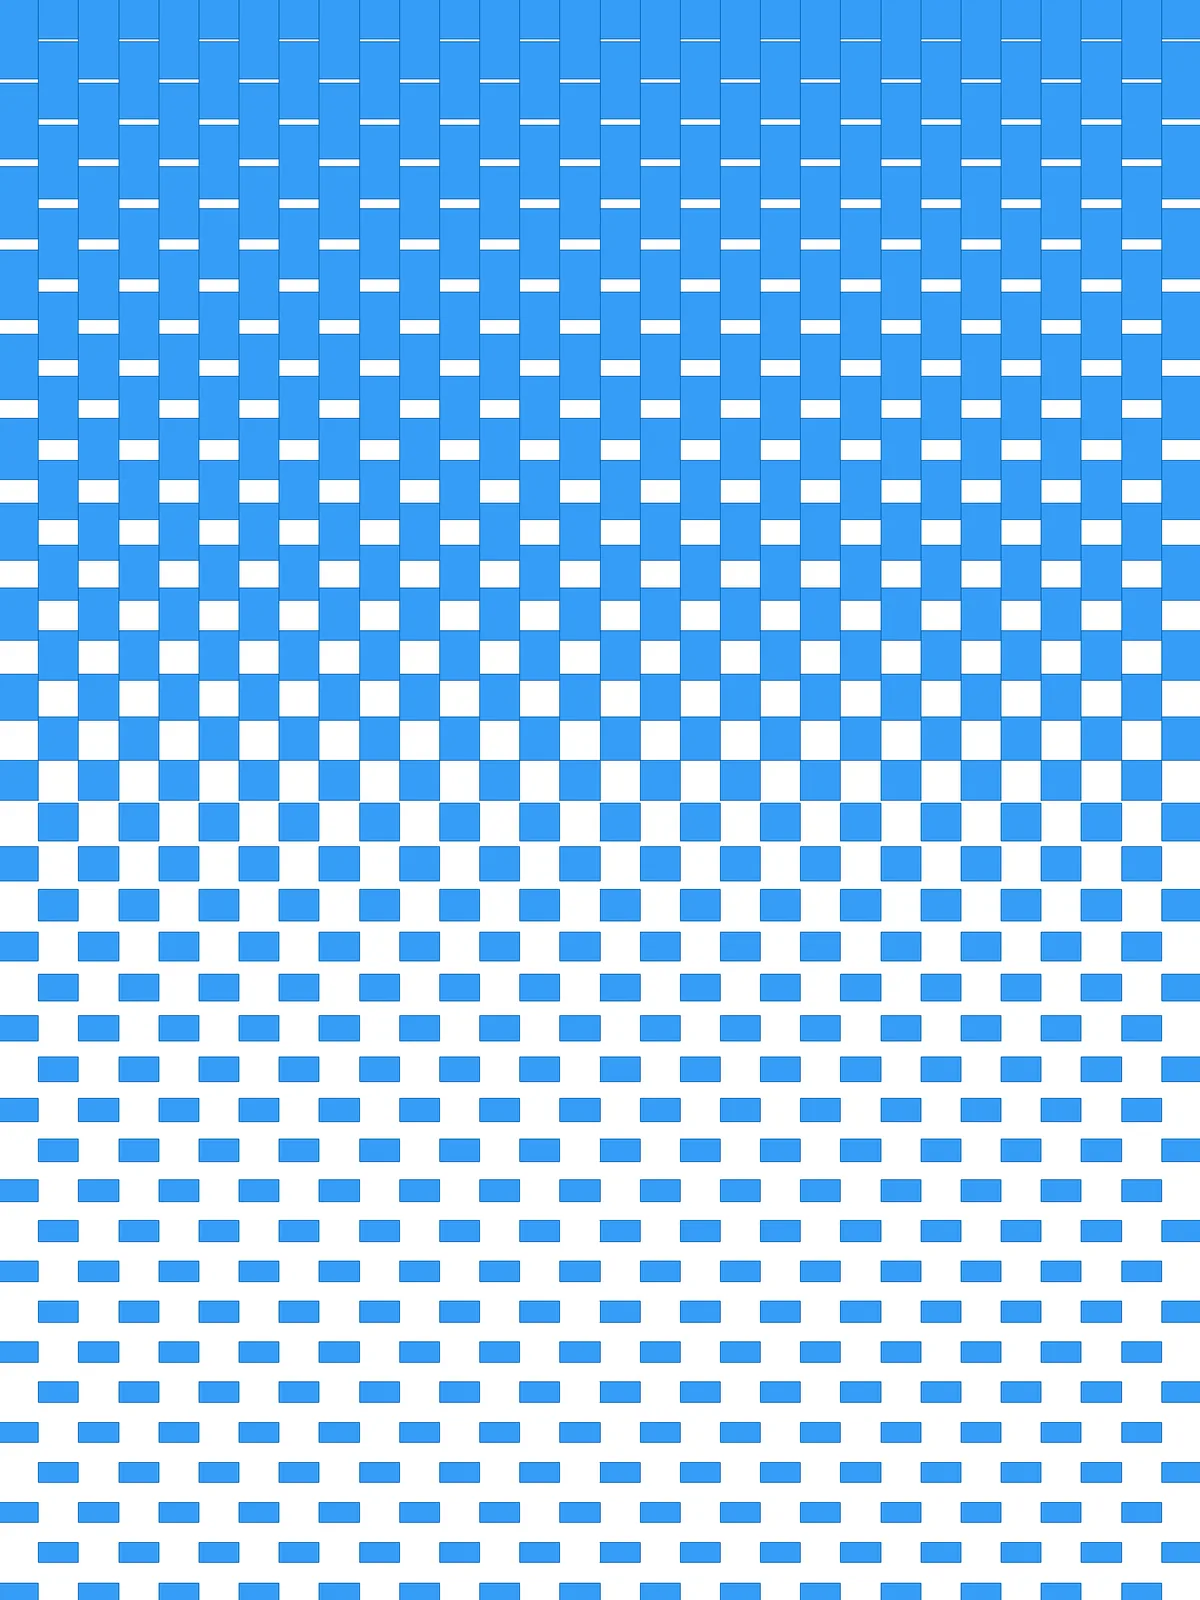
Inputs
Reference in Rhino
Surface
The surface the bricks are built on. It must be a planar (flat) surface.
Curve
The attractor. Bricks closest to it are the narrowest; bricks furthest from it are the largest. Run it along the edge where you want the pattern most open.
Main Sliders
Also try: reshape the Graph Mapper to change where across the surface the bricks switch from narrow to full size.
Notes
- Place the curve where you want the pattern most open. A line along the bottom edge gives bricks that narrow from top to bottom; a curve through the middle opens the pattern there and closes it toward both edges.
- Each brick grows from one of its edges, not from its centre. That edge stays in place, so every brick keeps a clean line on one side while it narrows or grows.
- Keep max scale below 2 to keep gaps between the bricks. At 2 the largest bricks close the gaps completely, and above 2 they start to overlap their neighbours.
- Keep Columns and Rows in proportion to your surface, so the cells keep an even shape. The bricks get their proportions from min scale and max scale.
Design Logic
How the script builds the pattern, step by step.
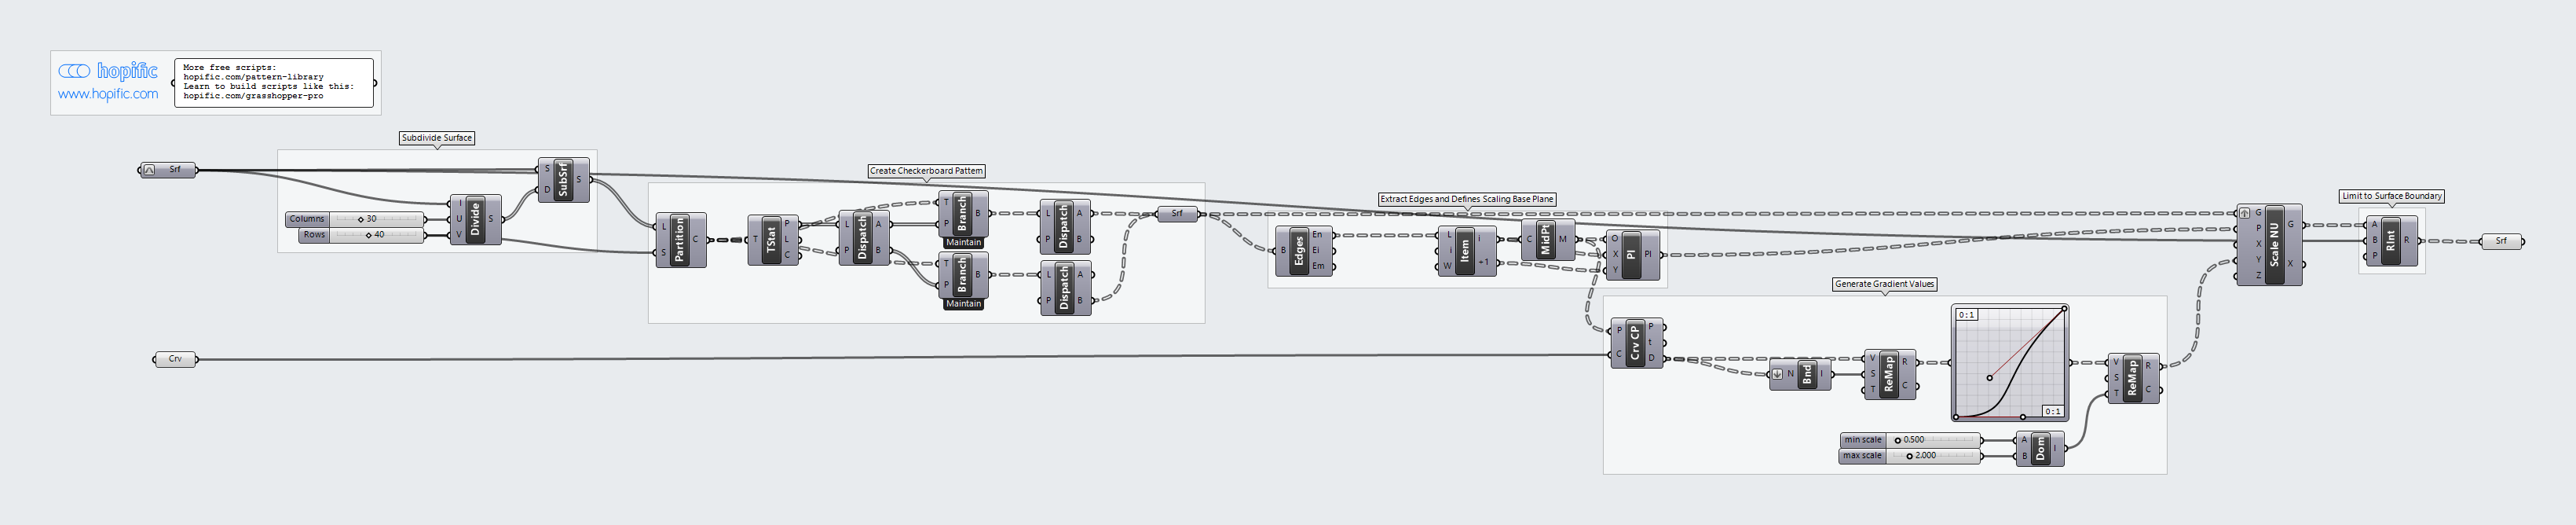
| Step | How the script does it |
|---|---|
| 1. Split the surface into cells | Divide Domain² and Isotrim cut the surface into a grid of small rectangles. |
| 2. Pick every other cell | Partition List groups the cells by column. Tree Statistics, Tree Branch and Dispatch keep alternating cells, shifted on every other column, so you get a checkerboard of bricks. |
| 3. Set the edge each brick grows from | Brep Edges and List Item take two neighbouring edges of each brick. Curve Middle finds the middle of the first edge, and Construct Plane builds a plane there, aligned with the brick. |
| 4. Measure each brick’s distance to your curve | Curve Closest Point measures how far that edge middle is from the curve. Bounds and Remap Numbers turn those distances into values from 0 to 1. |
| 5. Scale the bricks in one direction | A Graph Mapper shapes the gradient, and Construct Domain with Remap Numbers maps it between min scale and max scale. Scale NU then scales each brick in one direction from its plane: narrow near the curve, large far from it. |
| 6. Trim to the surface | Region Intersection keeps only what falls inside the surface, so bricks that grow past the edge are cut off. |
Want to learn how to build scripts like this on your own? Check out the Grasshopper Pro course.