
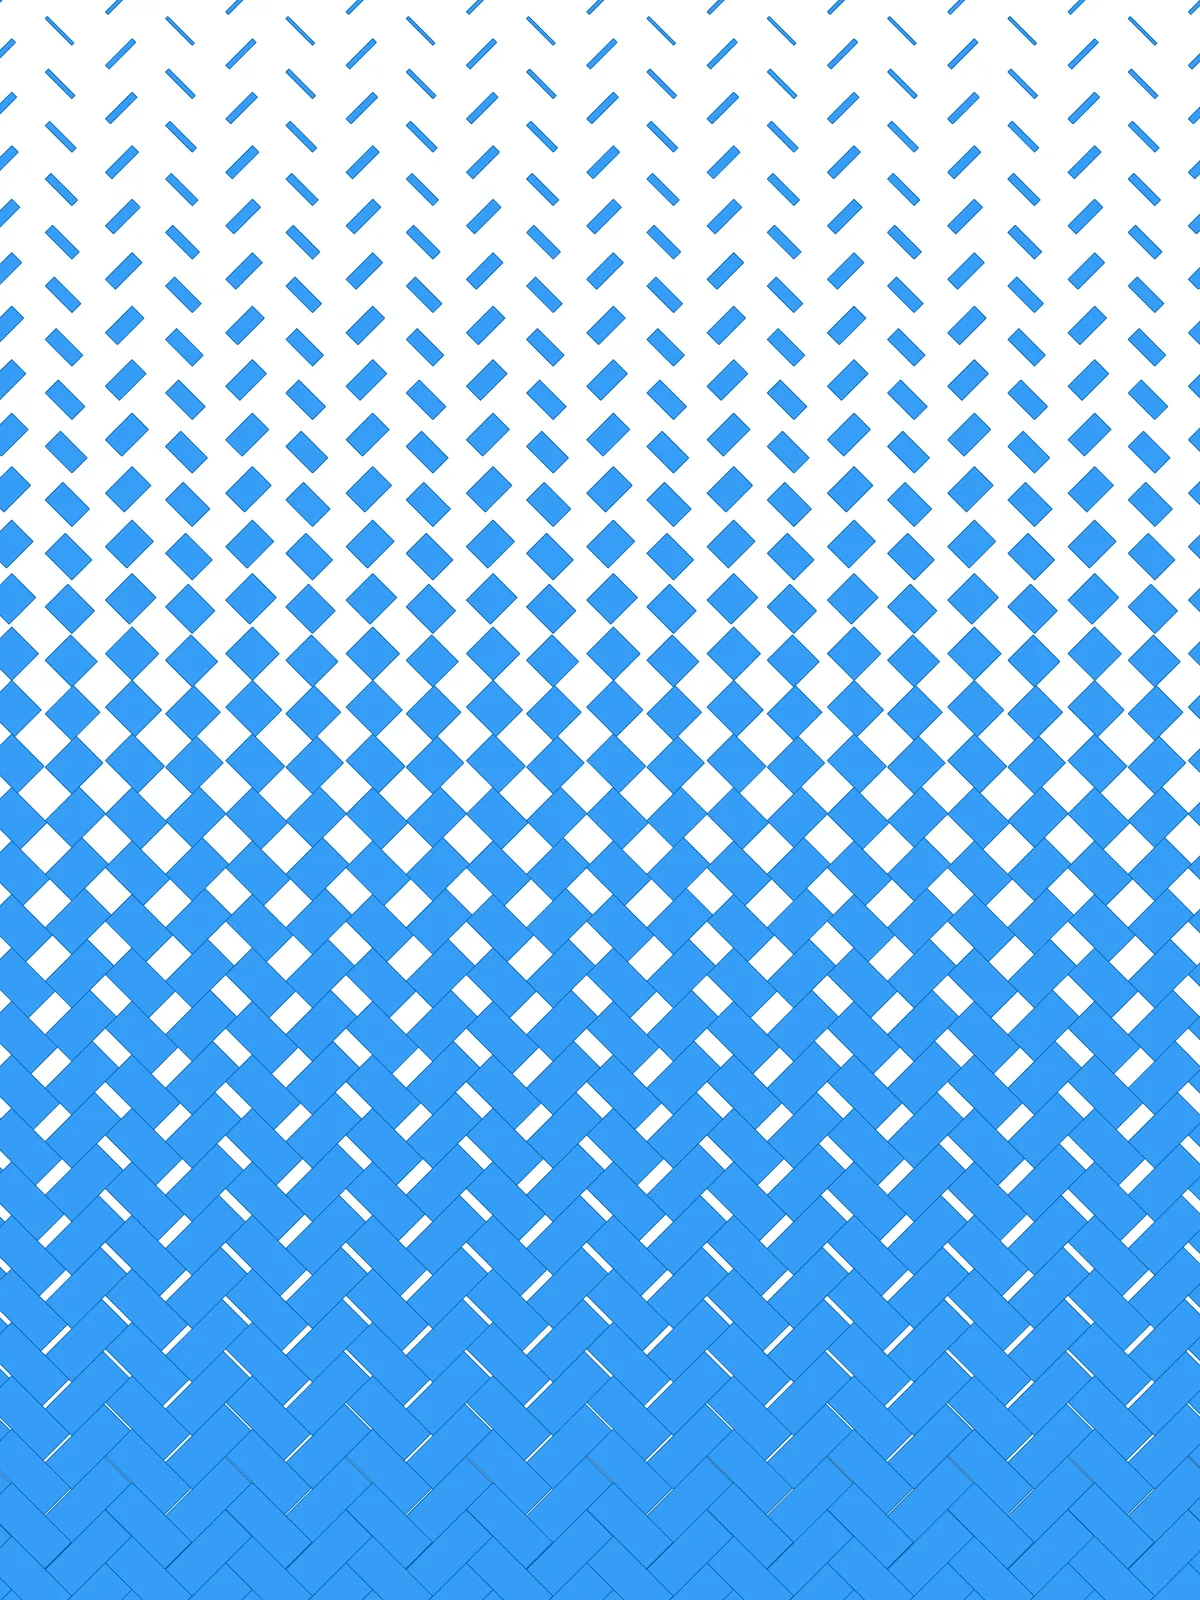
Inputs
Reference in Rhino
Surface
The surface the paving covers. The columns of pavers run along its V direction. It must be a planar (flat) surface.
Curve
The attractor curve that drives the gradient. Draw it as a straight line along one edge of the surface, such as the bottom edge: pavers near it stay full size and shrink toward the opposite edge.
Main Sliders
Also try: reshape the Graph Mapper to change how quickly the pavers shrink across the surface.
Notes
- The pavers get shorter, not narrower. Each one shrinks along its length toward one end, so the herringbone stays in place while gaps open between the pavers.
- Balance Divisions and Brick Scale. The paver length comes from the column spacing and the width from Brick Scale, so change them together to keep a brick-like proportion.
Design Logic
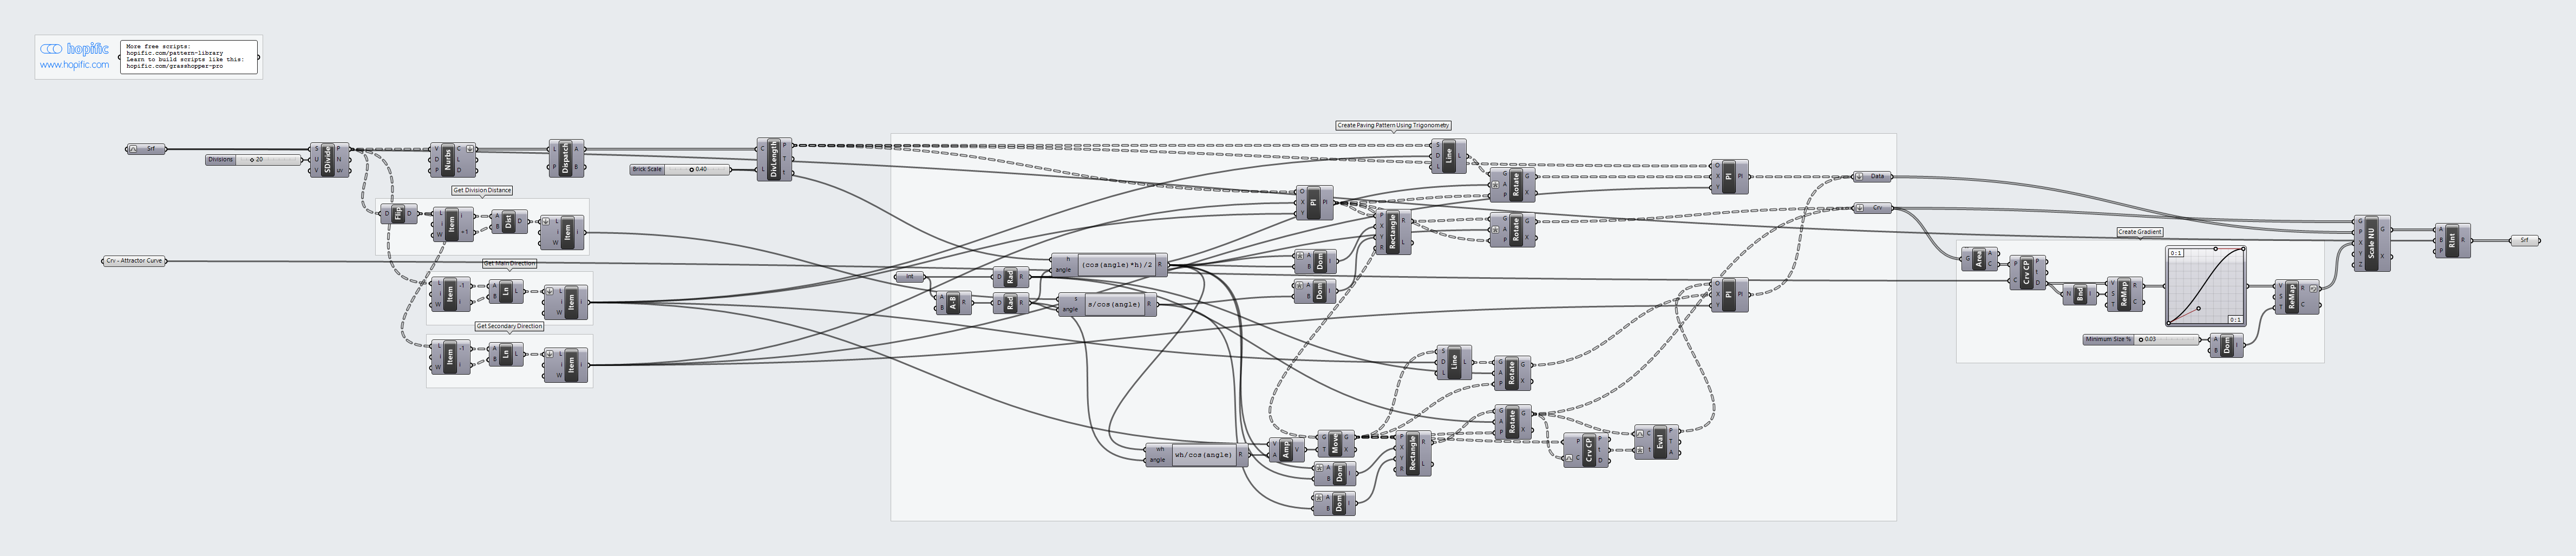
How the script builds the pattern, step by step.
| Step | How the script does it |
|---|---|
| 1. Draw the columns | Divide Surface and Nurbs Curve draw a line along each column of the surface. Dispatch keeps every other line; the pavers start from these. |
| 2. Measure the grid | Flip Matrix, List Item and Distance measure the spacing between the columns. Line gives the directions along and across the surface. |
| 3. Work out the paver size with trigonometry | Integer, Subtraction and Radians set the 45° laying angle. Three Expression components use cosines to work out a length that spans exactly one column diagonally, and a width that fits Brick Scale along the column. |
| 4. Lay the first set of pavers | Divide Length places points Brick Scale apart along each line, and Construct Plane sets up a plane at each. Construct Domain and Rectangle draw a paver on each plane, and Rotate turns it diagonally. |
| 5. Lay the second set to make the herringbone | Amplitude and Move shift the planes by half a paver along the column. A second Rectangle and Rotate draw pavers leaning the other way, which completes the herringbone. |
| 6. Measure each paver’s distance to your curve | Area finds the centre of each paver and Curve Closest Point measures its distance to the curve. Bounds and Remap Numbers turn the distances into values from 0 to 1. |
| 7. Turn distance into paver length | A Graph Mapper shapes the gradient and Remap Numbers maps it between Minimum Size % and 1. |
| 8. Shorten the pavers and trim | Line SDL, Rotate and Construct Plane set up a plane along each paver, at its start for the first set and at its far end (found with Curve Closest Point and Evaluate Curve) for the second. Scale NU shortens each paver along its length, and Region Intersection trims the result to the surface. |
Want to learn how to build scripts like this on your own? Check out the Grasshopper Pro course.