
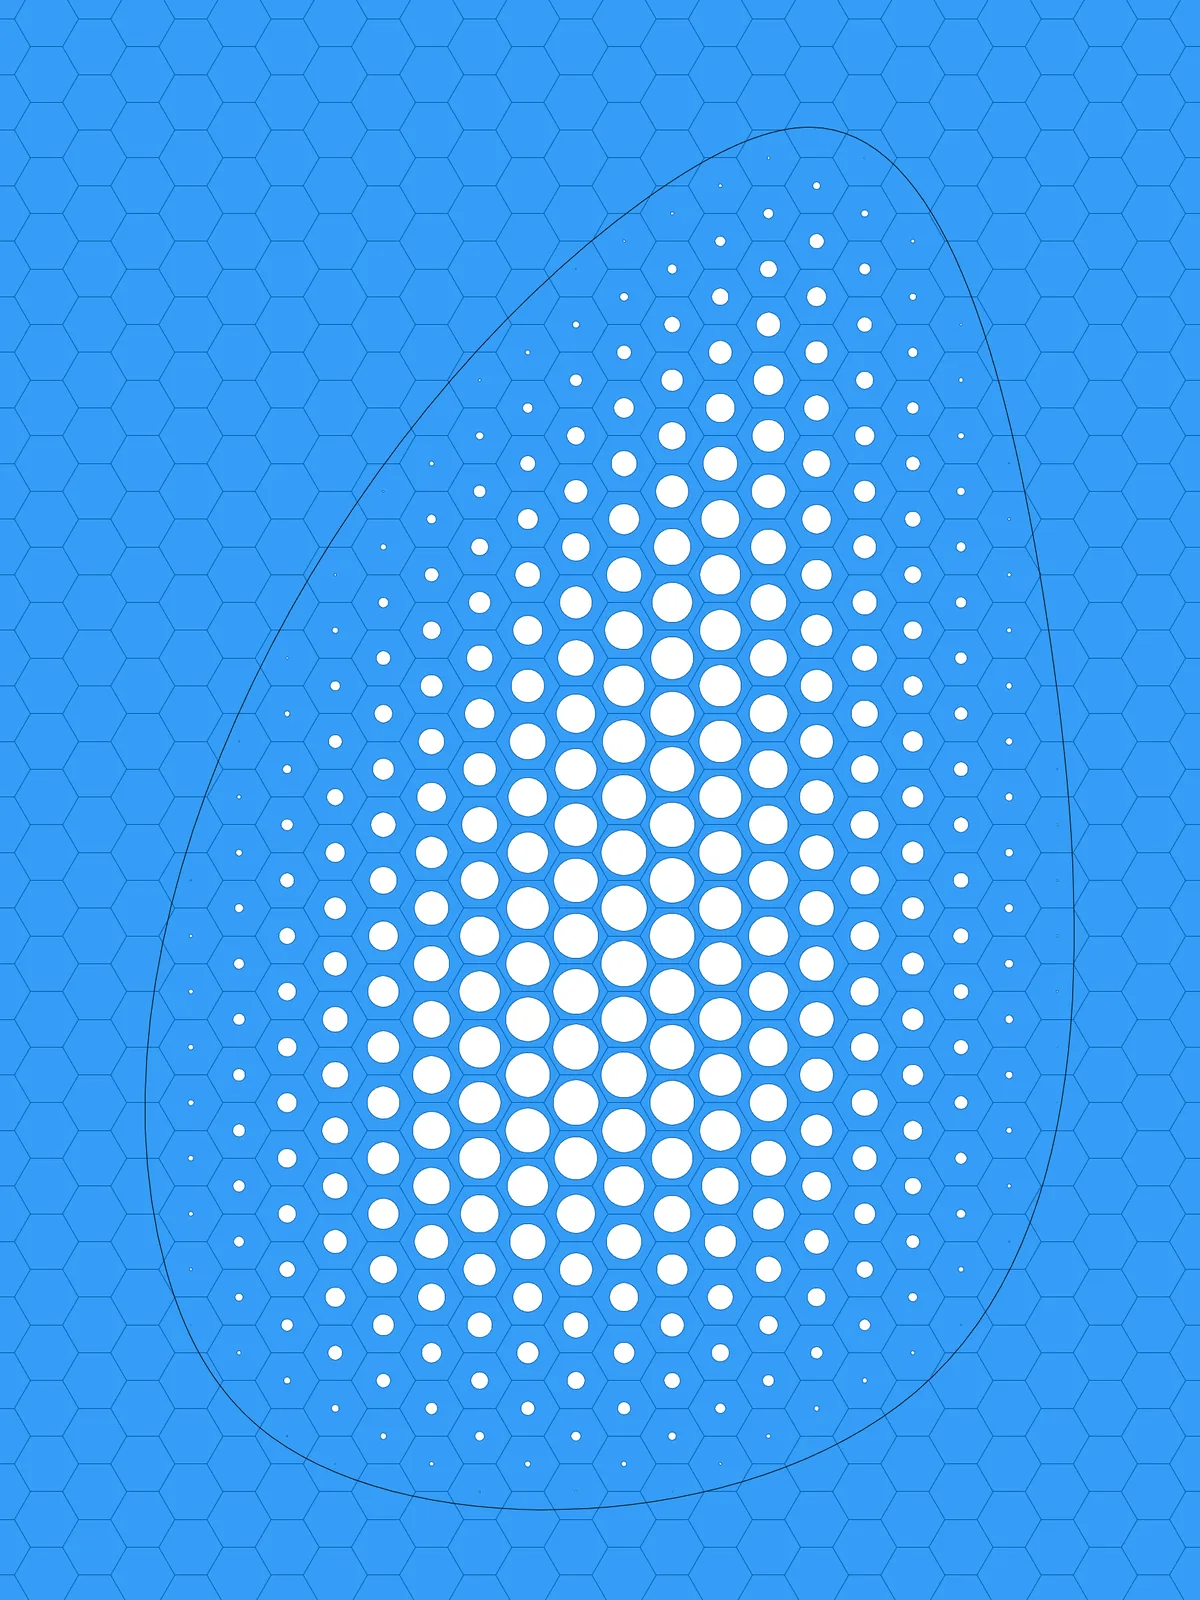
Inputs
Reference in Rhino
Surface
The surface to perforate. It must be a planar (flat) surface. The hexagon grid starts from one corner and follows its edges, so a rectangle works best.
Curve
The region that gets perforated. It must be closed and lie on the surface.
Main Sliders
Also try: reshape the Graph Mapper to change how quickly the holes grow from the edge of the region toward its middle.
Notes
- Draw the curve closed and on the surface. Only hexagons whose centre falls inside it get a hole; the rest of the surface stays solid.
- The holes fade out toward your curve. They are largest at the hexagon furthest inside the region and shrink to nothing at the hexagon closest to the curve, so the edge of the region has no hard line.
- The result is made of hexagonal pieces. Each hexagon is its own flat surface, with or without a hole.
Design Logic
How the script builds the pattern, step by step.
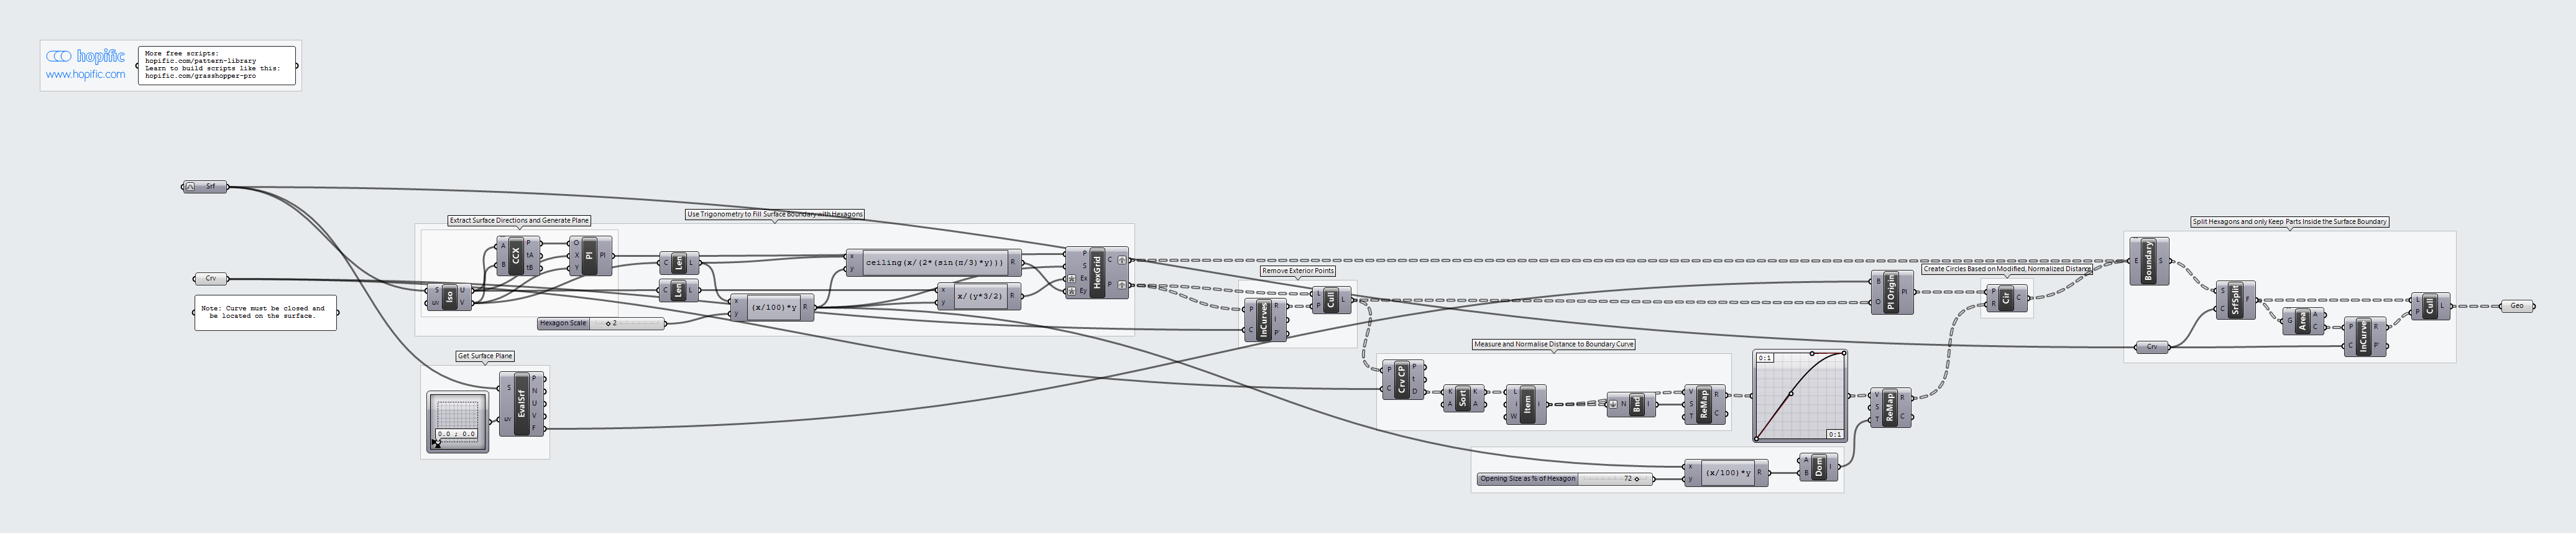
| Step | How the script does it |
|---|---|
| 1. Find the surface’s corner and directions | Iso Curve takes the two edges that meet at the surface’s corner. Curve | Curve finds the corner, and Construct Plane builds a plane there, aligned with the two edges. |
| 2. Fill the surface with hexagons | Length measures both edges. An Expression turns Hexagon Scale into a hexagon size, and two more use the hexagon’s geometry (with sin(π/3)) to work out how many hexagons are needed in each direction. Hexagonal draws a grid that covers the whole surface. |
| 3. Keep only the hexagons inside your curve | Point in Curves tests whether each hexagon’s centre lies inside the curve, and Cull Pattern removes the centres outside it. |
| 4. Measure each centre’s distance to the curve | Curve Closest Point measures how far each remaining centre is from the curve. Bounds and Remap Numbers turn those distances into values from 0 (closest to the curve) to 1 (furthest inside). |
| 5. Turn distance into hole size | A Graph Mapper shapes the gradient. An Expression turns Opening Size as % of Hexagon into the largest radius, and Construct Domain with Remap Numbers maps the values between 0 and that radius. |
| 6. Draw the holes | Evaluate Surface gives the plane of the surface. Plane Origin moves it to each centre, and Circle draws a circle there with the radius from step 5. |
| 7. Build the hexagons and trim them | Boundary Surfaces turns each hexagon, together with its circle, into a flat surface with a hole. Surface Split cuts these along the edge of your surface, and Area, Point In Curve and Cull Pattern keep only the pieces inside it. |
Want to learn how to build scripts like this on your own? Check out the Grasshopper Pro course.