
Inputs
Reference in Rhino
Surface
The surface the pattern is built on. The rows run straight from one side to the other, so a rectangle works best. It must be a planar (flat) surface.
Main Sliders
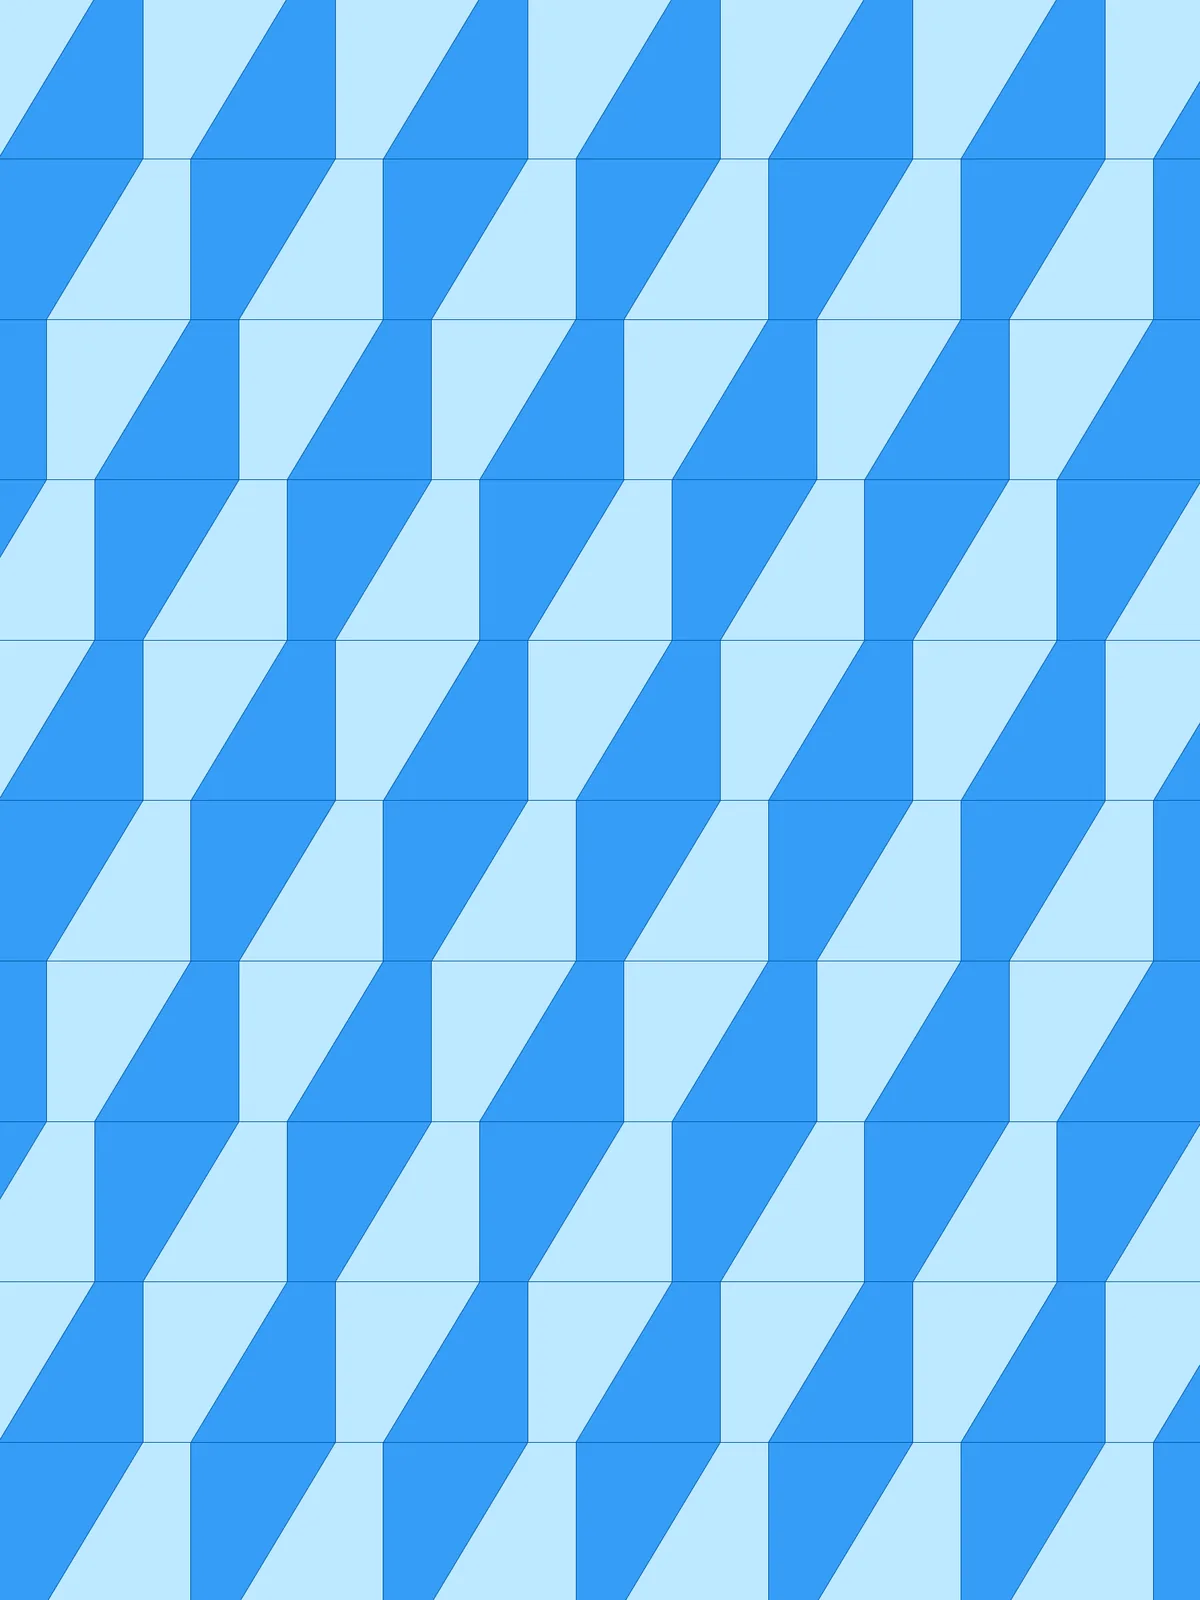
Also try: change the values stored in the Dispatch pattern parameter from True, False to True, True, False. One colour then takes two panels out of every three.
Notes
- The twist comes from the difference between the two widths. The bigger the gap between them, the more the slanted edges lean. Set them equal and every edge stands straight.
- Fewer Divisions make taller panels, so the slanted edges get steeper. More Divisions flatten them.
- The two colours are only a preview. They come from the two
Custom Previewcomponents. The twoSurfaceoutputs before them hold the two sets of panels, so you can bake each set on its own.
Design Logic
How the script builds the pattern, step by step.

| Step | How the script does it |
|---|---|
| 1. Draw the row lines | Divide Surface places points down both sides of the surface. Flip Matrix and Nurbs Curve join each pair into a line across. |
| 2. Set the two panel widths | List Item and Line draw a line along the first row, and Length measures it to get the surface width. An Expression turns Pattern Segment Width A and B into actual widths as a % of it. |
| 3. Step each row sideways | Series makes a list of steps, one width A more for every row. Extend Curve lengthens the start of each row line by its step, so each row begins a little further out than the one before. |
| 4. Mark the alternating widths along each row | Mass Addition, an Expression and Duplicate Data repeat the two widths (A, B, A, B…) until they fill the row. Mass Addition and Insert Items turn them into running positions, and Evaluate Length places a point at each one. |
| 5. Connect each row to the next | Relative Item with the offset {+1}[+1] from the Panel pairs every point with the next point in the row above, and Line joins them. Because of the sideways step, these lines alternate between straight and slanted. |
| 6. Close the panels | Graft Tree and Shift List pair each line with its neighbour. End Points, Line and Join Curves close each pair into a four-sided outline, and Surface fills it. |
| 7. Split the panels into two colours | Trim Tree groups the panels by row. Tree Statistics, Series and Shift List shift a True/False pattern by one step on every row, and Dispatch uses it to sort the panels into two sets. |
| 8. Trim to the surface | Region Intersection cuts both sets to the outline of the surface, and two Custom Preview components show them in two colours. |
Want to learn how to build scripts like this on your own? Check out the Grasshopper Pro course.