Inputs
Reference in Rhino
Surface
The surface the pattern is built on. It must be a planar (flat) surface.
Curve
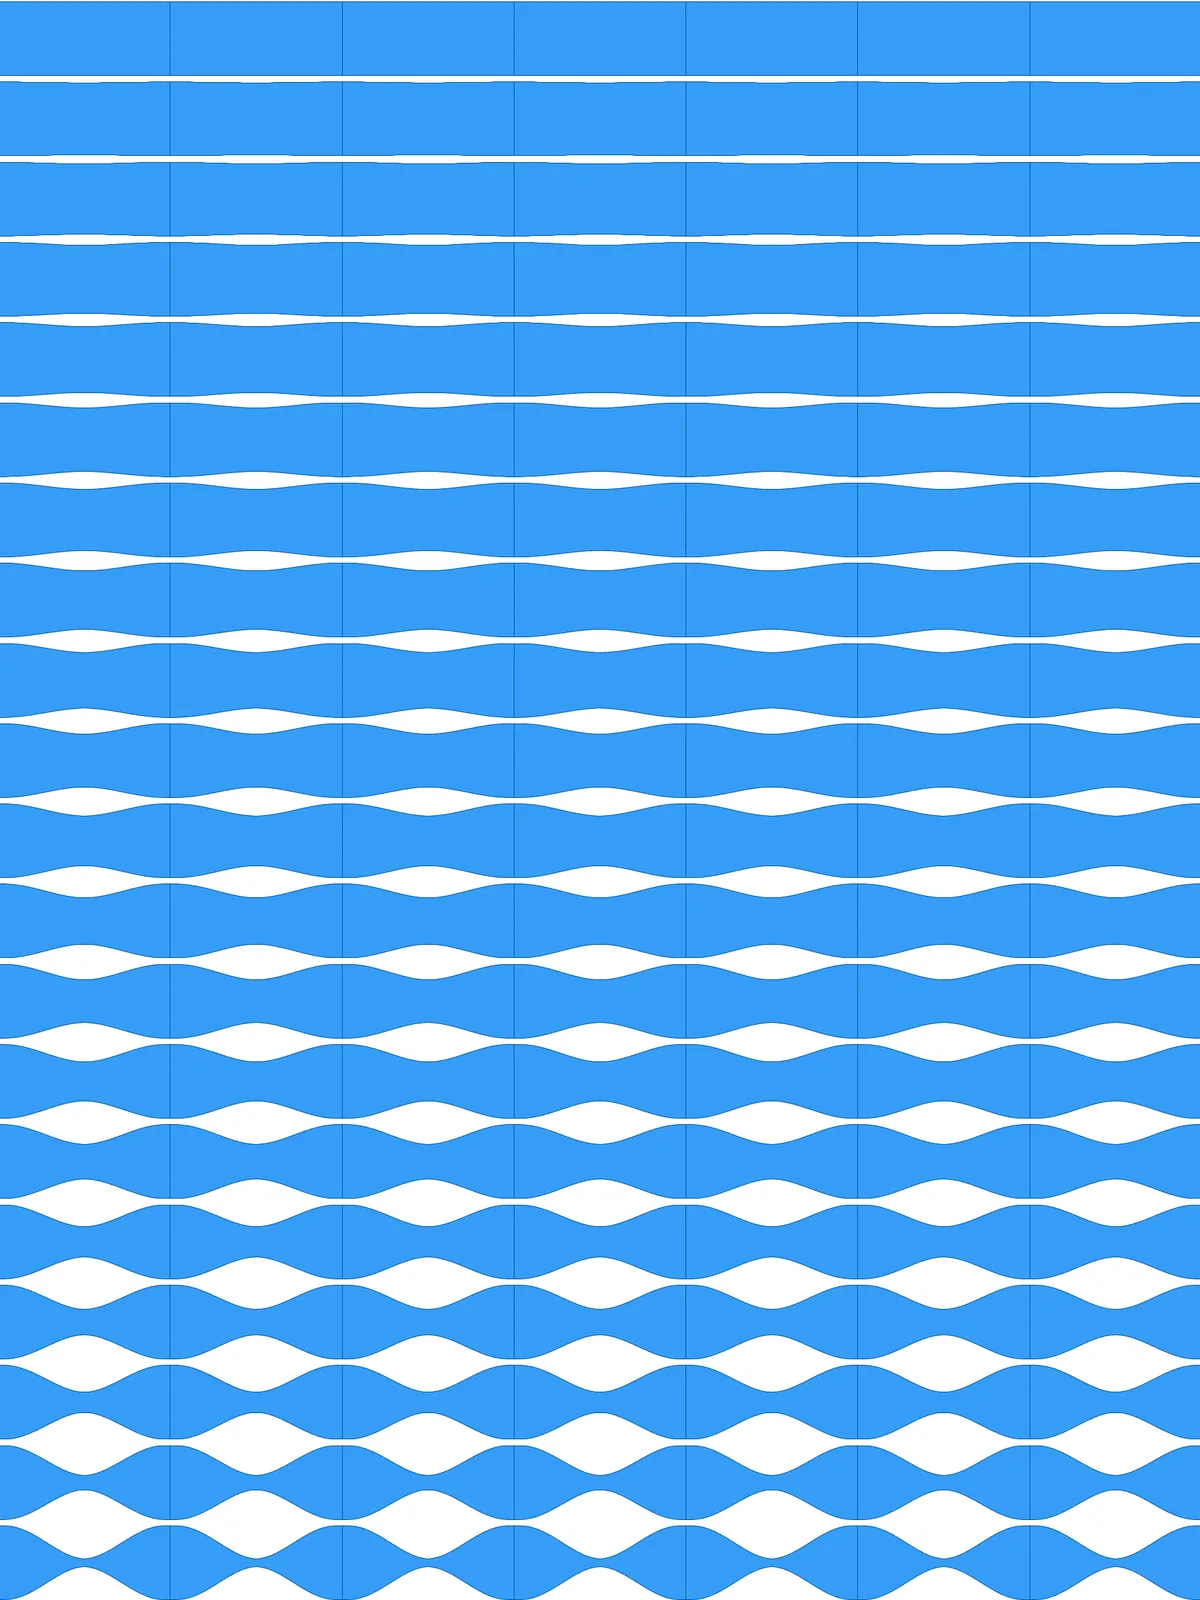
The attractor. Tiles close to it are pinched the most; tiles far from it keep straight edges.
Main Sliders
Also try: reshape the Graph Mapper to change how quickly the pinch fades as you move away from the curve.
Notes
- The lenses are the gaps. Each tile’s top edge bends down and its bottom edge bends up, so the space between two rows opens into a lens shape while the tiles themselves get thinner in the middle.
- High Pinch Amount values make very thin tiles. At the default 89 the thinnest tiles are only about a tenth of their height at the centre. The slider stops at 99, because at 100 the top and bottom edges would meet in the middle of the tile.
- Place the curve where you want the strongest waves. A curve along the bottom edge of the surface makes the waves grow toward the bottom; a curve through the middle makes them strongest there.
Design Logic
How the script builds the pattern, step by step.
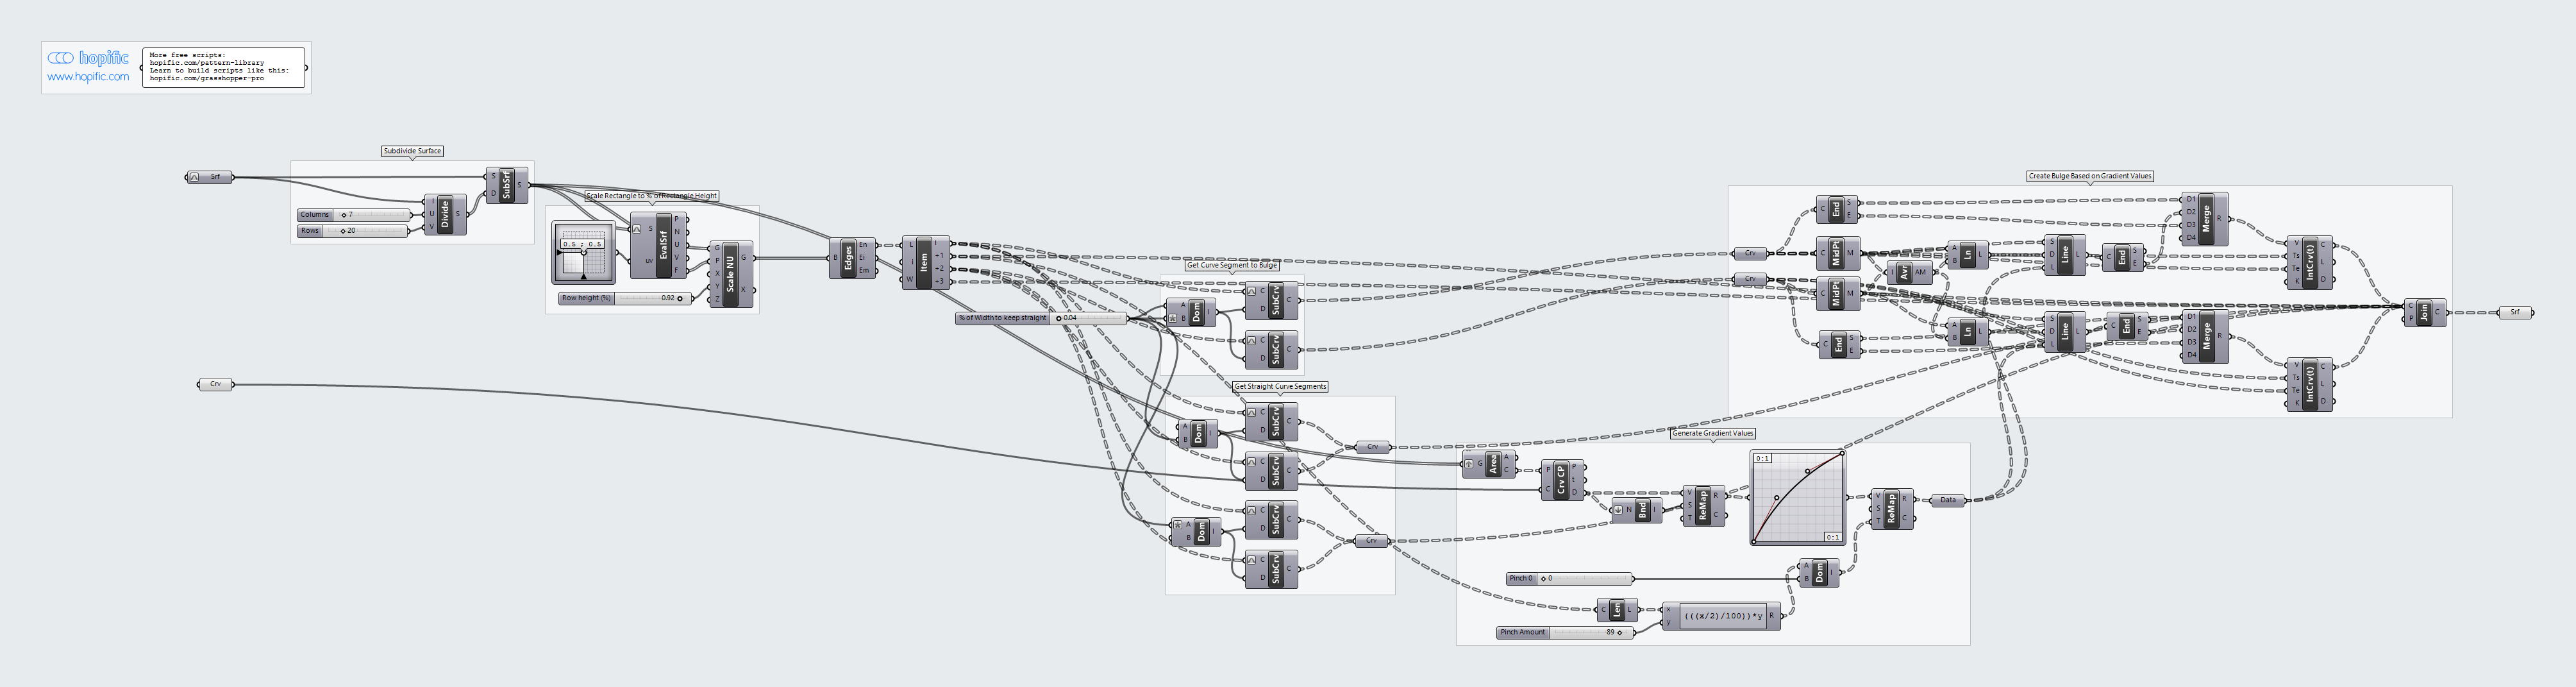
| Step | How the script does it |
|---|---|
| 1. Split the surface into tiles | Divide Domain² and Isotrim cut the surface into a grid of small rectangles. |
| 2. Open a gap between the rows | Evaluate Surface and an MD Slider find the centre plane of each tile, and Scale NU scales the tile in height only, by Row height (%). |
| 3. Split the top and bottom edges | Brep Edges and List Item pick out the edges of each tile. Construct Domain and Sub Curve cut the top and bottom edges into a short straight piece at each end and a middle piece that will bend. |
| 4. Turn distance into an amount of pinch | Area finds the centre of each tile and Curve Closest Point measures how far it is from the curve. Bounds, Remap Numbers and a Graph Mapper shape the gradient. Length and an Expression work out Pinch Amount as a length, and Construct Domain and Remap Numbers map the gradient from that length at the curve down to nothing far from it. |
| 5. Pull the middle of each edge inward | Curve Middle finds the middle of the top and bottom pieces and Average finds the point between them. Line and Line SDL draw a line from each middle toward that centre, as long as the pinch value, and End Points takes its end. |
| 6. Redraw the edges as curves | Merge collects the start of the piece, the pulled-in point and the end of the piece. Interpolate (t) draws a smooth curve through them that leaves and meets the straight pieces at the same angle. |
| 7. Close the tile | Join Curves joins the two bent edges, the two side edges and the straight end pieces into a closed outline, which is turned into a surface. |
Want to learn how to build scripts like this on your own? Check out the Grasshopper Pro course.