As a Grasshopper user, you know that connecting and manipulating shapes is a crucial part of the design process. But sometimes, it can be tricky to get your geometry to behave the way you want it to. That’s where this tutorial comes in. We’ll walk you through the steps for joining all the different kinds of geometry types in Grasshopper, including tips and tricks for solving problems you might run into. So let’s dive in and start learning how to join geometry in Grasshopper!
Jump to how to join curves in Grasshopper
Jump to how to join surfaces in Grasshopper
Jump to how to join volumes in Grasshopper
How to join curves in Grasshopper
You created individual curve segments that touch in one point and you want to join the curves in Grasshopper for further processing. You may want to simply connect multiple curves to one, or to close an open curve.
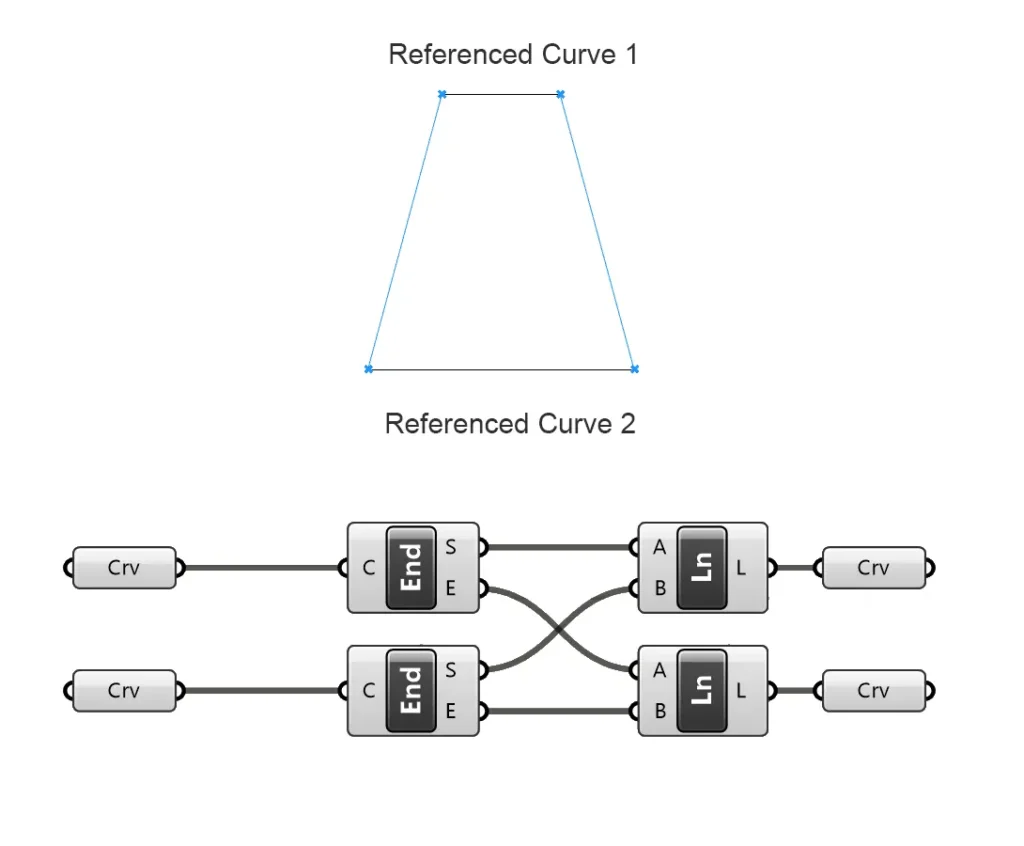
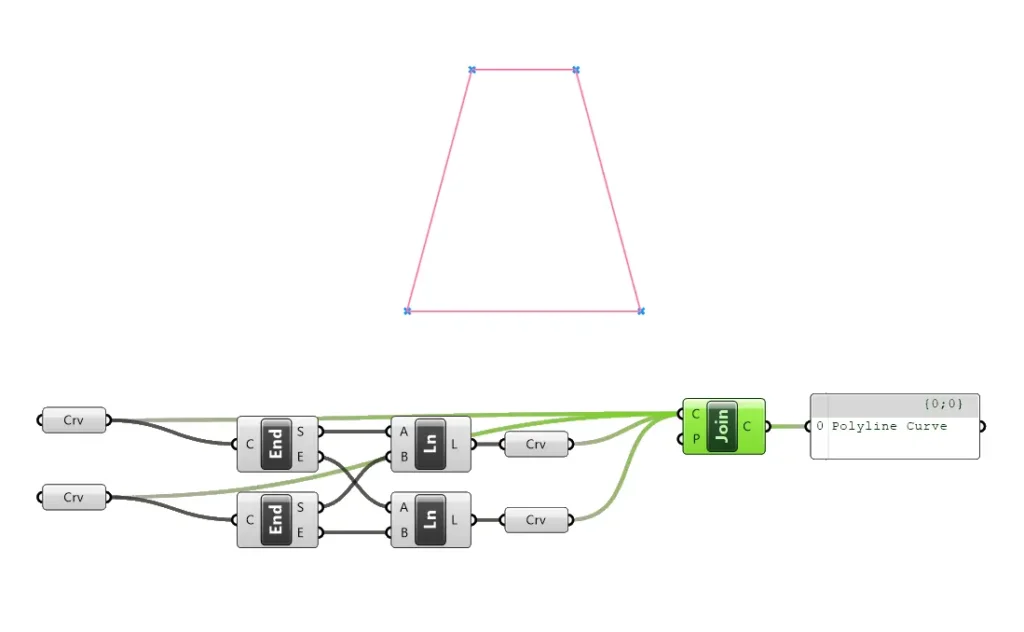
Let’s use this simple example: We referenced two curves of different lengths, got their End Points with the help of the End Points (End) component and connected the endpoints with a Line component.
Graphically in the Rhino viewport, we have the figure we wanted to create, but for we are actually still dealing with four individual curves.
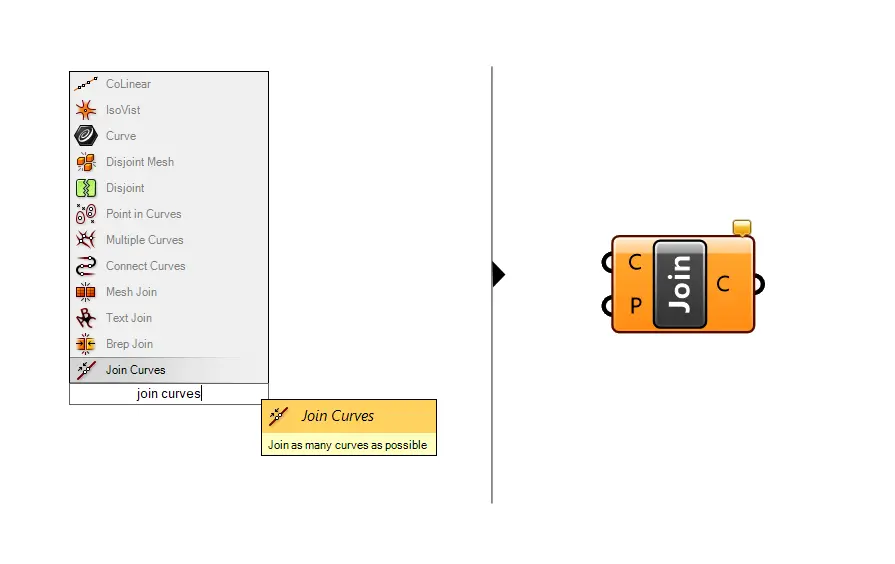
To join the curves and create a single, closed curve from them, we can use the Join Curves component. Double-click onto the Grasshopper canvas and type ‘Join Curves’ into the search bar to find it:
To join our separate line segments, all we need to do is feed all the curves into the C input of the Join Curves component. (To add multiple streams without replacing the existing wires, press down SHIFT as you create the connection).
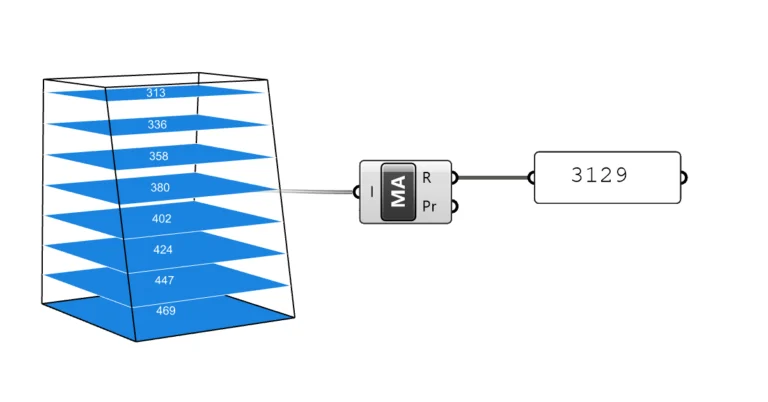
By adding a Panel we can check if it worked: and indeed it shows us that the output contains one closed polyline.
Closed curve, now what?
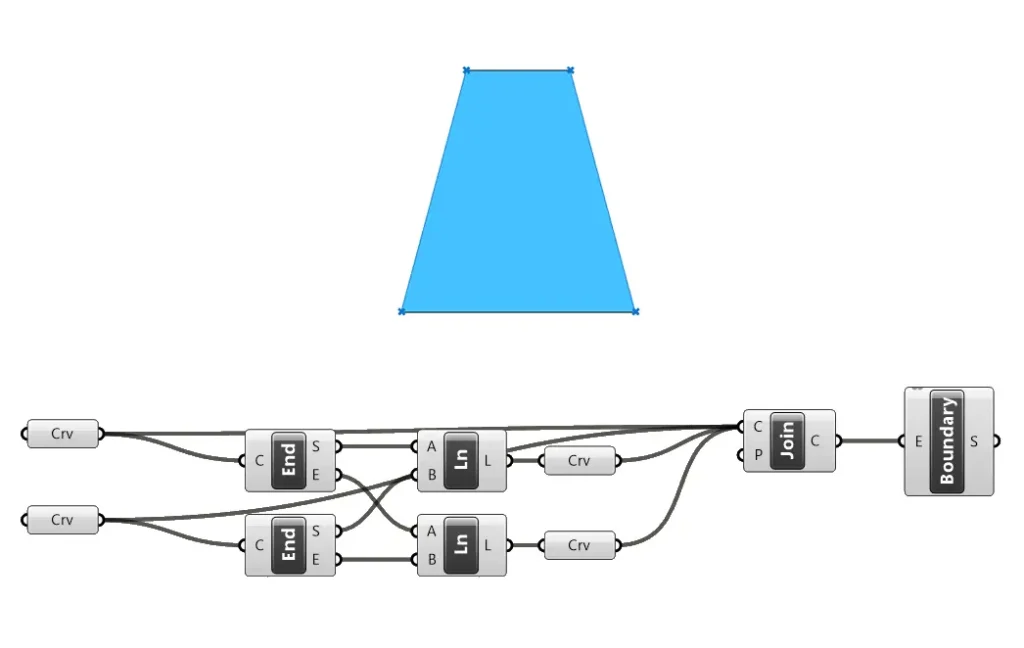
Now that the curve is joined we can use a number of operations that weren’t possible before: we can offset the curve, or turn it into a surface with the Boundary Surface component (the equivalent of the Planar Surface command in Rhino, more on divergent terminology between Rhino and Grasshopper here ). The Boundary Surface command only works if the curve we provide as input is both planar (all points are on the same plane i.e. a flat curve) and closed.
Once we’ve turned the closed curve into a surface, we can easily extrude it or continue developing our script.
Common problems when joining curves
If you are using the steps above to join curves, but the Join Curves component doesn’t return the expected curve, chances are something went wrong. Here are a few common problems when joining curves and their solutions:
Curves on different planes
Problem: The curves look like they touch but the Join Curves command doesn’t return a joined curve.
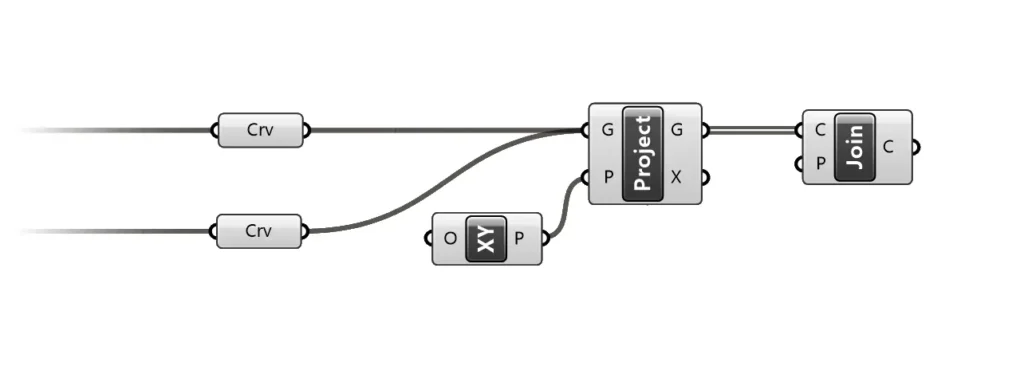
Solution: Sometimes the curves look like they have touching endpoints in plan, but in fact they are on different planes (even if just ever so slightly). Grasshopper is very sensitive about the location of geometry to join, so always make sure the curves are actually touching. If the objects are on different planes, project both curves onto a common plane before applying the Join Curves command.
In the example below I’ve added a Project component (description: ‘Project Curve onto a Plane’) and defined the XY-Plane (the ground plane) as the projection plane.
Curves in different data branches
Problem: All the input curves are correct and are touching, but the Join Curves command returns the original curves or joins only some of the curves.
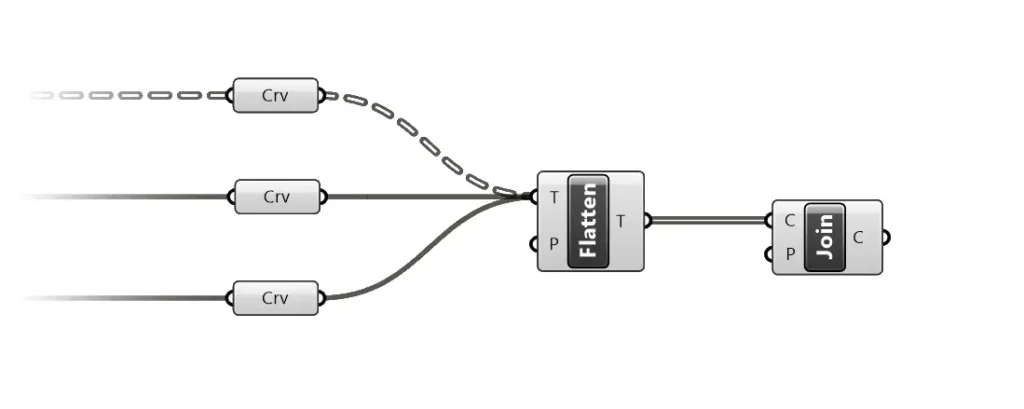
Solution: Since the Join Curves command is processing multiple objects at once and creating a new one from them, we need to make sure that all the curves we want to join are in the same data branch, that they are part of the same bucket of curves to join. If you dealing with a simple data structure (i.e. not joining multiple sets of curves at once) then flattening the input of the Join Curves component can help.
The flatten the input add a Flatten component to the canvas and run all the curve data streams through it before connecting its output to the Join Curves input.
Alternatively, right-click on the C-input and select Flatten in the drop-down menu.
How to join surfaces in Grasshopper
Unlike in Rhino, where we have one join command for all geometry types, in Grasshopper we need to use different components to join different geometry types.
If we’ve created multiple surfaces and we want to join them, we might be tempted to look for a component called ‘Join Surfaces’, but it doesn’t exist! Instead we need to use a component called Join Brep.
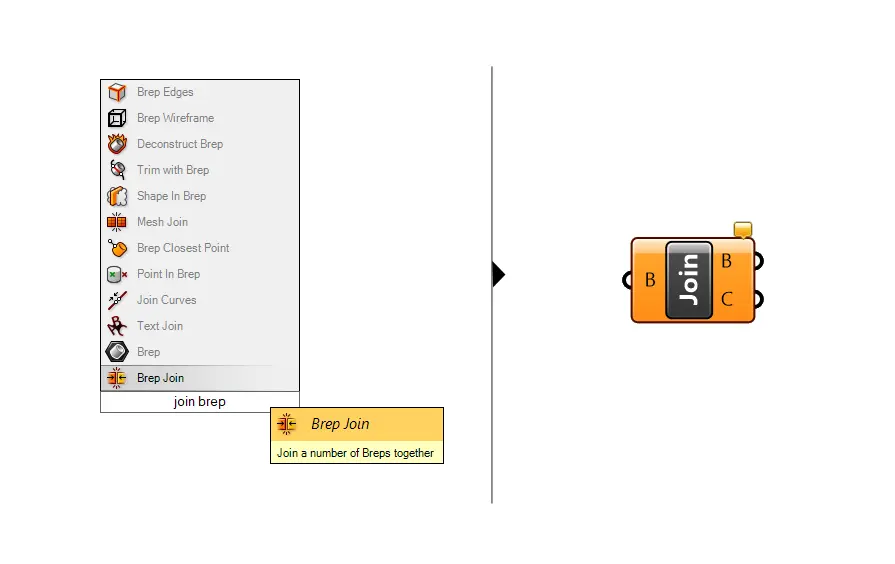
To Rhino and Grasshopper a Brep (short for boundary representation) describes any NURBS surface or collection of NURBS surfaces. A polysurfaces in Rhino would also be regarded as a Brep. Regardless whether it is closed or open.
Joining surfaces in Grasshopper follow an identical procedure as joining curves: we feed all the surfaces to be joined into the B-input of the Join Brep component.
Just like with curves, the conditions for the Join Brep component to run successfully, are that:
- the surfaces to be joined actually share a common edge
- that the surfaces to be joined are in the same data branch
The result of a successful Join Brep operation is one or more polysurfaces.
Exploding a polysurface
The resulting polysurface will keep all the edges of the original surfaces, and it can be ‘exploded’ back into it’s constituent surfaces by using the Deconstruct Brep component.
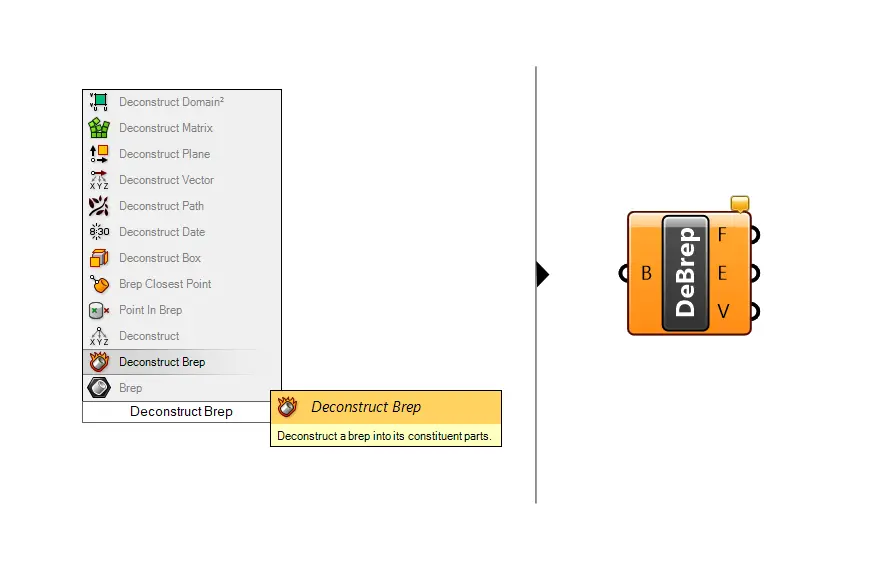
The Deconstruct Brep component will return three outputs: the surfaces that make up the polysurface (F), the edges (E) and the vertices (V).
In most cases, we’ll need the surfaces (F).
How to clean up the edges of planar, joined surfaces
If we join two planar surfaces that are located on the same plane, the resulting polysurface will still show the edges of the original surfaces. If we want to clean up the edges we can do so with a component called: Merge Faces.
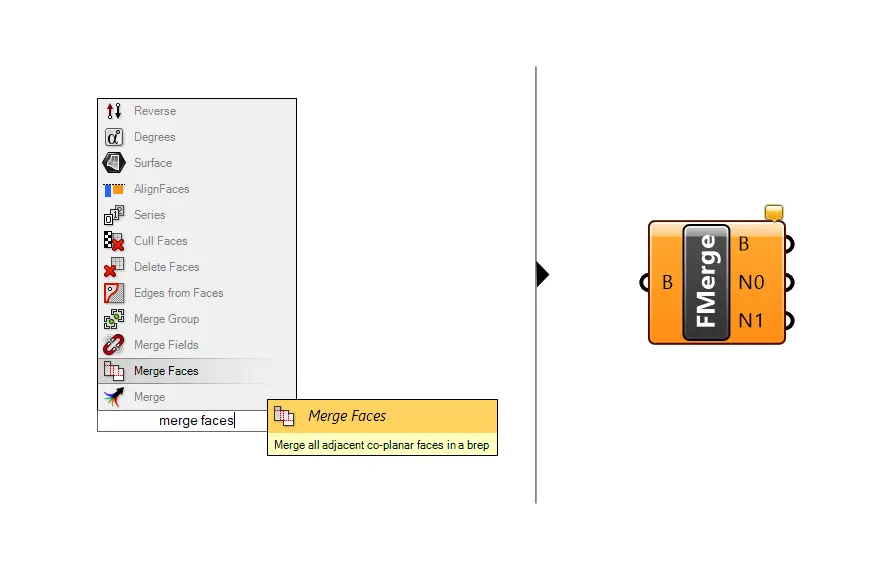
Below you can see the Merge Faces component in action: The interior, planar edges of the polysurfaces are ‘cleaned up’ leaving us with a clean outline.
How to join volumes in Grasshopper
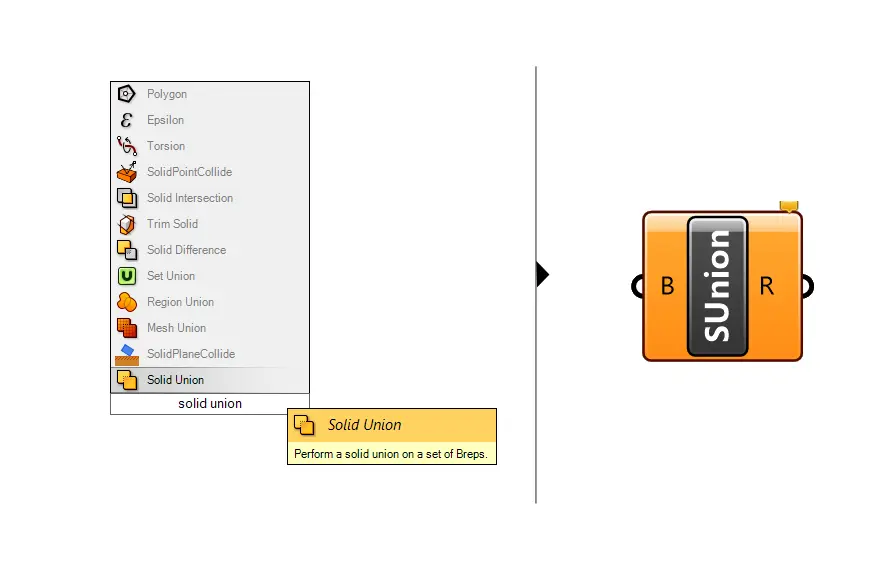
To join closed volumes in Grasshopper, we need to use the equivalent of the Boolean Union command in Rhino.
Grasshopper has a slightly different name for the same operation, it’s called Solid Union.
This difference in the naming applies to all Boolean operations:
Rhino – Grasshopper
Boolean Union → Solid Union
Boolean Difference → Solid Difference
Boolean Intersection → Solid Intersection
To Grasshopper, a ‘solid’ is a closed polysurface. As soon as a polysurface is closed, Grasshopper is able to clearly distinguish between inside and outside, and can therefore run all boolean operations/ solid operations.
For the Solid Union to work in Grasshopper there are two conditions:
- the polysurfaces must be closed
- the polysurfaces to join must touch or intersect.
- the polysurfaces must be in the same data branch
Conclusion
In conclusion, learning how to join geometry in Grasshopper is an essential skill for any designer using the platform. By following the steps outlined in this tutorial and keeping in mind the tips and tricks we’ve provided, you should now have a good understanding of how to join and manipulate different types of geometry in Grasshopper. As always, don’t be afraid to experiment and try out different techniques to find what works best for your designs. I hope this guide has been helpful and I wish you the best of luck in your future Grasshopper projects!
If you want to fast-track your way to becoming a Grasshopper expert, check out our course Grasshopper Pro – it will take you from beginner to advanced Grasshopper user in 6 weeks.