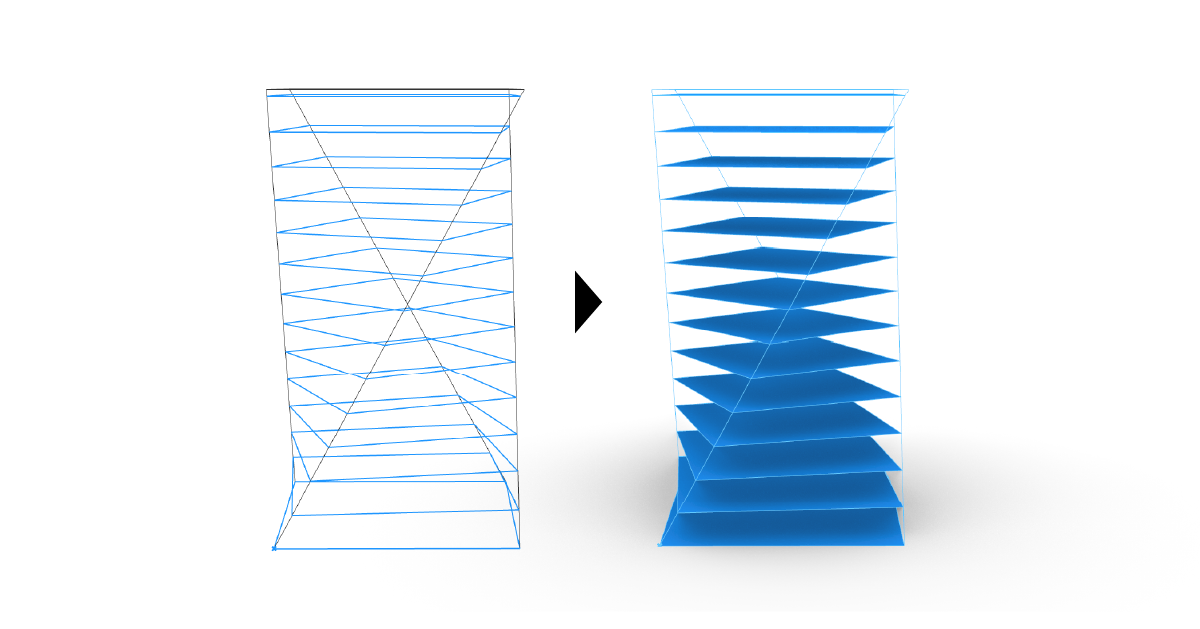
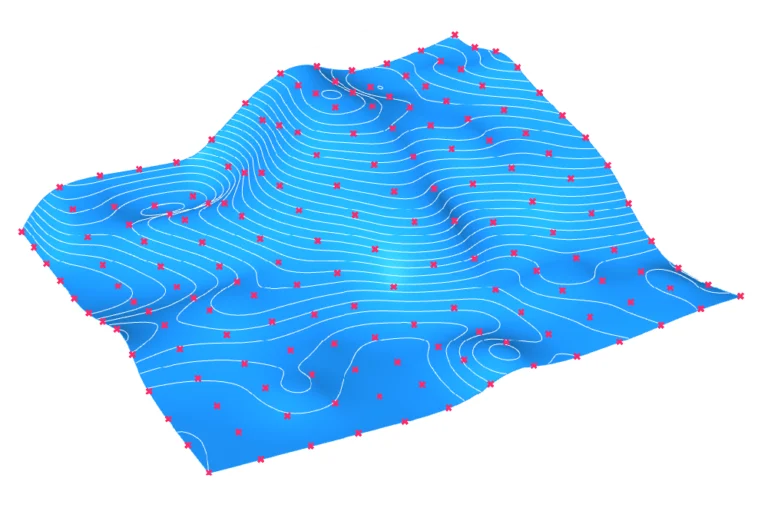
Transforming a contour into a surface in Grasshopper is a skill that you’ll find invaluable in your design journey. Today, we’ll delve into this process and explore two practical approaches for creating surfaces from closed curves in Grasshopper.
Let’s get started!
1. Creating Surfaces Using the Boundary Surface Component
The Boundary Surface component is your best option when it comes to converting a closed contour into a surface. This component is comparable to Rhino’s PlanarSrf command, and it has one purpose – to transform curves into surfaces. Some commands go by different names in Rhino and Grasshopper, you can learn more about it here: Essential Grasshopper terminology.
To add this component to your script, all you need to do is double-click an empty spot on your Grasshopper canvas and type ‘Boundary Surfaces‘. Click the first result that pops up, and you’re good to go!
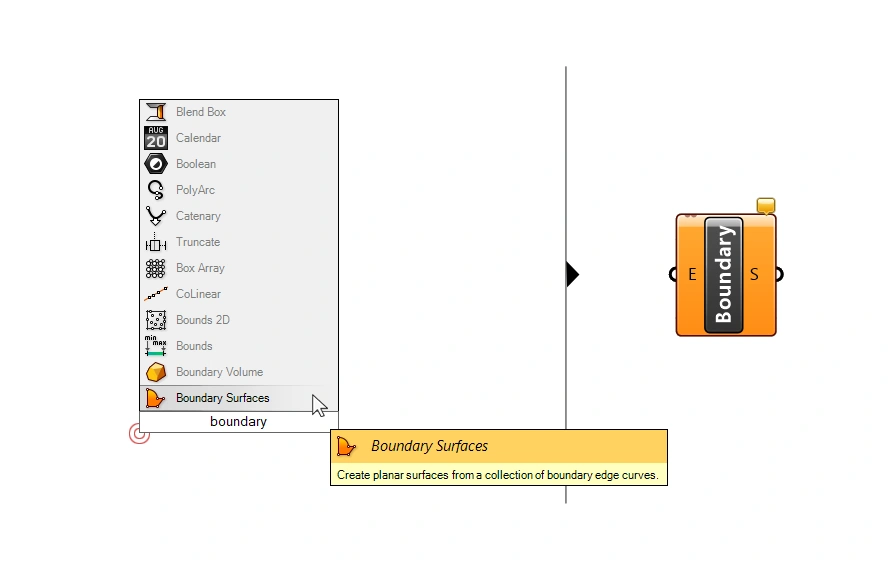
The Boundary Surface component has a very simple structure. You connect the contours you want to convert on its left side (E), and you’ll see the newly formed surface output (S) on the right.
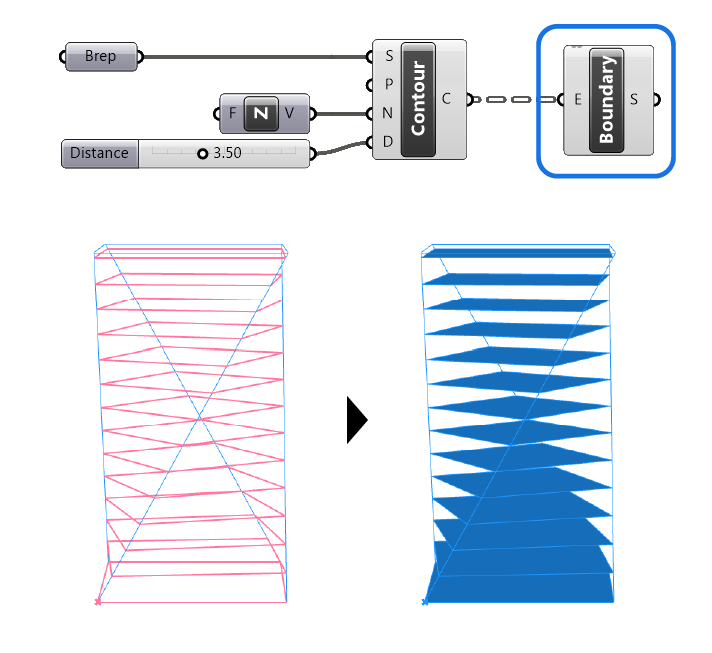
However, there’s a catch. To get the Boundary Surface component to work, two conditions need to be met:
- The curves must be closed.
- The curves need to be flat, meaning all control points lie on the same plane.
If you created the contours with the Contour component, they will be flat by definition, as a contour describes the intersection between an object and a plane. Whether the contour curve is closed or not on the other hand, depends on the geometry that is being contoured.
Make sure to contour closed polysurfaces (Breps) to ensure the resulting contours are closed.
The contour will be transformed into a surface regardless of its outline. Even if the outline isn’t rectangular. In that case Grasshopper fits a surface to cover the input contour, with the contour then acting as the surface’s trim curve.
If you are running into problems while using this component, verify if the contours you’re trying to convert are indeed closed. If the curves are open, locate and close them.
Extra Features of the Boundary Surfaces Component
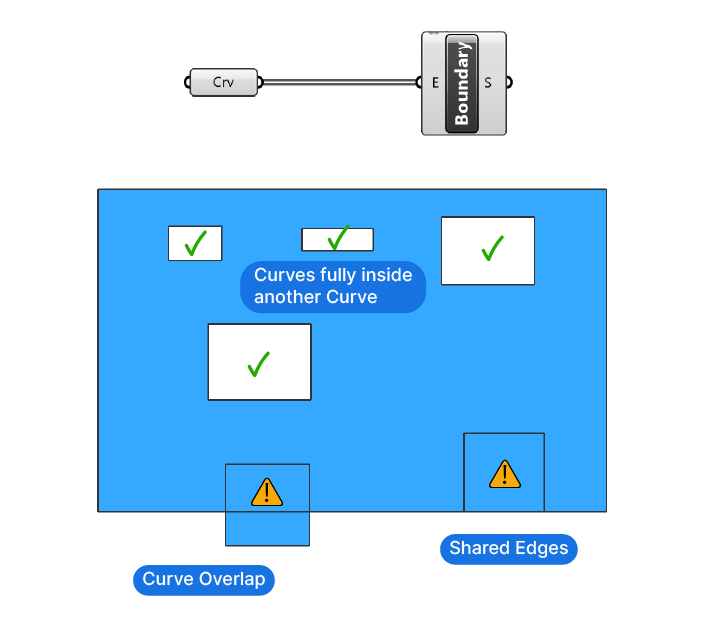
While the Boundary Surfaces component only has a single input and output, more is going on inside it. It is not just limited to transforming single closed contours into surfaces. It also can handle curves nested within each other. The component interprets the interior contours as ‘openings’, resulting in a surface that resembles a piece of Swiss cheese. Handy, isn’t it?
However, remember that this automatic subtraction only works if the interior contours are completely inside another contour. If the contours share an edge, or the contours overlap, the subtraction won’t occur.
2. Creating Surfaces Using the Surface Container Component
At times, we just want to convert simple, (non-nested) contours to surfaces. Here, Grasshopper’s Surface container component comes in handy with its automatic data-type conversion feature.
All you need to do is connect the contours to a Surface container component. Grasshopper then steps in to transform those contours into surfaces. This method is efficient for closed and flat contours.
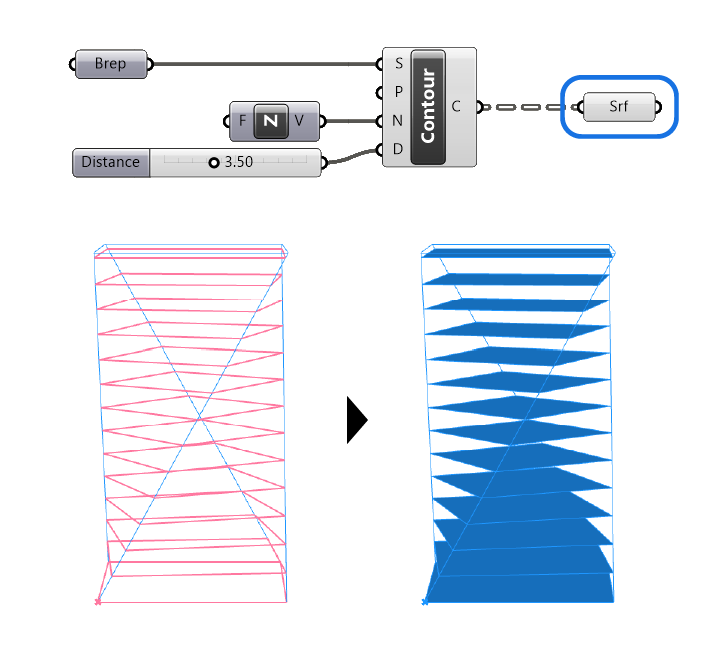
The Surface container component does lack one feature of the Boundary Surfaces component: it doesn’t automatically subtract contours when nested! Despite this, the technique scores high on speed. To give you an idea, converting 500 closed contours with this component took just 12 ms, compared to the 460 ms by the Boundary Surface component. That’s a speed increase of almost 38x!
This time-saving difference becomes more significant as you increase the number of contours you’re working on simultaneously.
The Bottom Line
To conclude, both the Boundary Surface and Surface Container components are practical methods for converting a contour to a surface in Grasshopper. By understanding how to use these tools effectively, you can significantly improve your productivity and design capabilities in Grasshopper.
Happy designing!

