Ever opened a Grasshopper script only to find every component lighting up orange because the referenced geometry in the original Rhino file it was built on has gone missing? Learning to internalize data in Grasshopper could be your game changer. Think of it as packing your project with everything it needs, so you can pick up exactly where you left off, anywhere, anytime—no need to lug around the original Rhino files like extra baggage.
Let’s walk through what internalizing data really means, how you can do it step by step, and when it’s especially handy to use this feature. By the end of this, you’ll see why it’s a game-changer for your Grasshopper workflow.
What ‘Internalizing Data’ means in Grasshopper
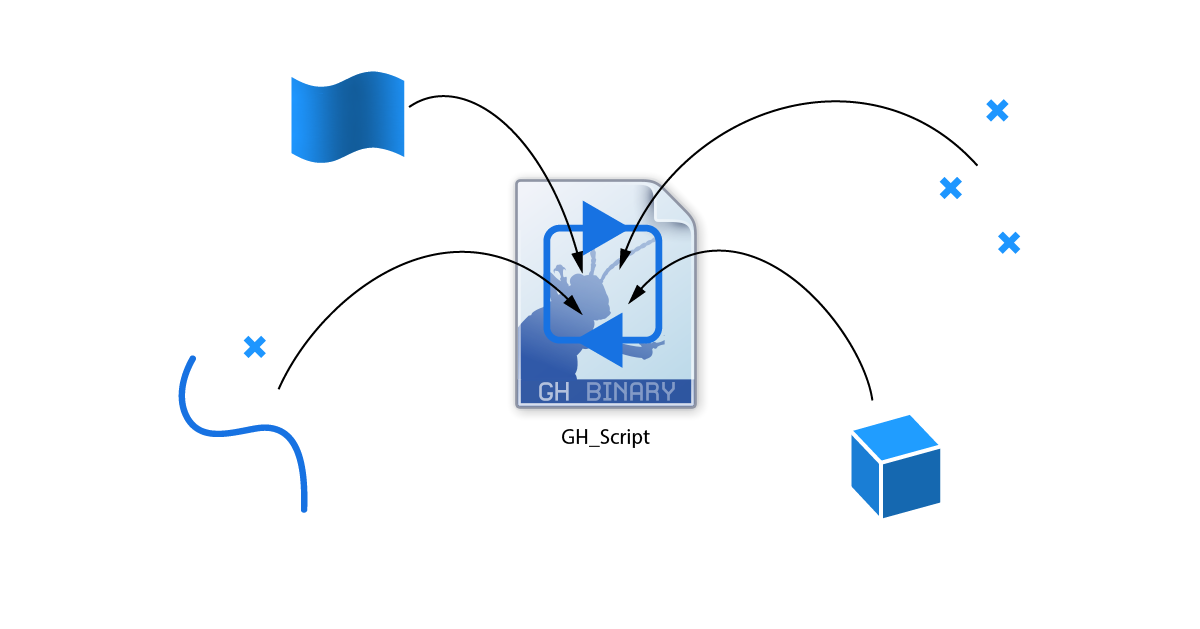
All Grasshopper components have inputs, and they can get data in one of two ways:
- either by referencing geometry directly from Rhino
- or when the data comes from elsewhere in the script, connected via a wire connection.
Internalizing data allows you to save the current input data of a component inside the component itself. This means that you can get rid of the referenced object in Rhino, or the wire connection that provided the data.
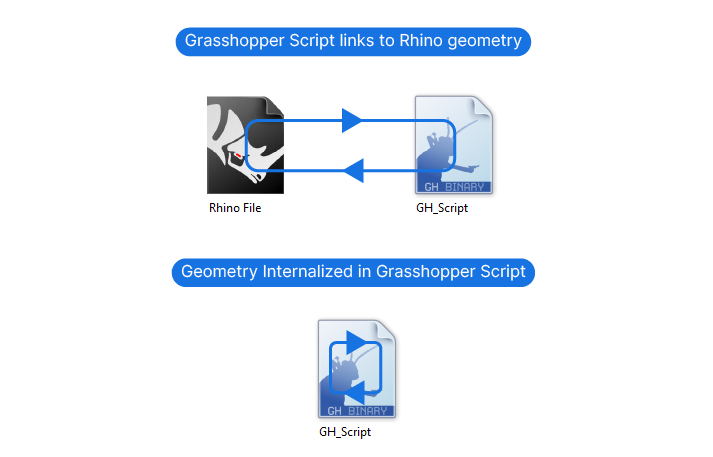
Here’s an example: Imagine you’ve referenced some geometry from Rhino and built your Grasshopper script based on that geometry. To run the Grasshopper script, you will always need to open both the Grasshopper file and the matching Rhino file, that contains the referenced geometry.
If you internalize the input data, the geometry you would usually reference from Rhino is going to be saved inside the Grasshopper script. This means that the script will run for anyone who opens the Grasshopper file, without the need of a matching Rhino file.
Internalizing works on a component by component basis – meaning that you have to manually internalize the data of all the components that are referencing geometry from Rhino.
How to Internalize Referenced Geometry in Grasshopper
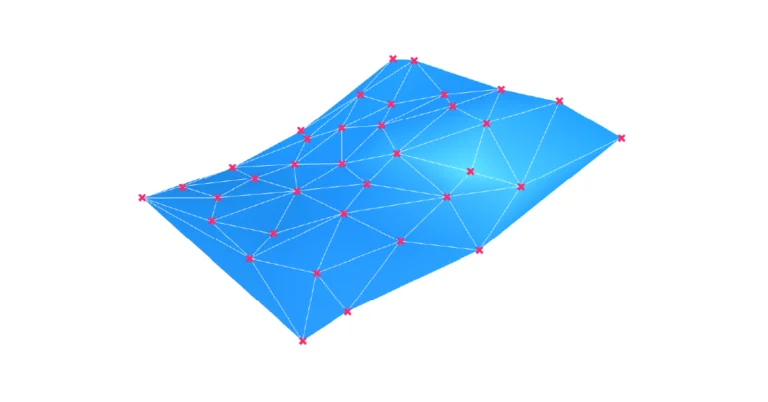
You can internalize data on any component input. But in most cases it will be data container components, such as the Points, Surfaces, or Geometry container components that reference geometry from the Rhino file.
Here are the steps to internalizing referenced geometry:
- First, create your geometry in Rhino.
- Then reference the geometry to a component input in Grasshopper
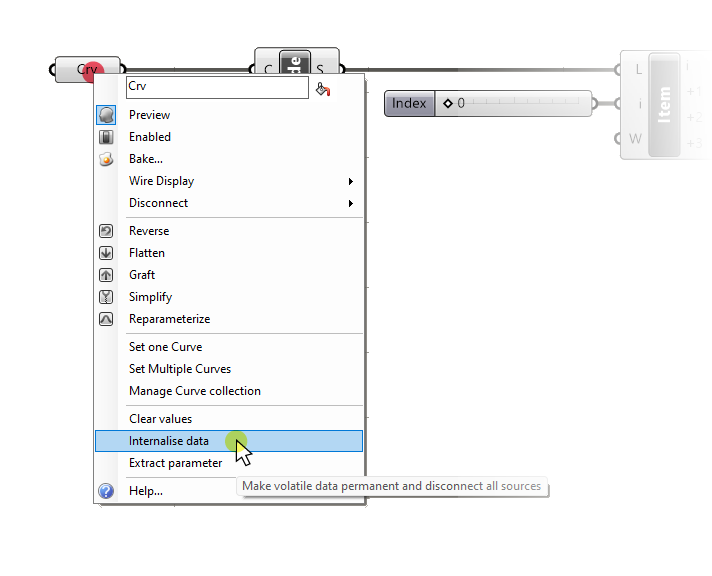
- Then right-click on that input and select ‘Internalize’.
- You may now delete the original Rhino geometry.
Keep in mind that you can’t change internalized geometry once it’s internalized.
If you deleted the original reference geometry in Rhino and you want to recover it, select the data container and bake its contents. You can do so by right-clicking and going to ‘Bake‘, or by simply hitting the ‘Insert‘ button on your keyboard while the component is selected.
Doing so won’t automatically re-reference the component to the actual Rhino geometry! You’ll have to manually right-click on the component and re-reference the Rhino geometry.
How to Remove Internalized Data
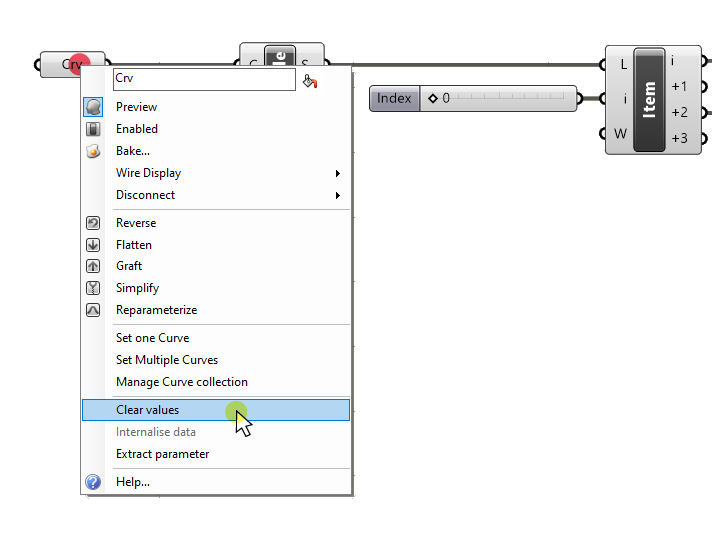
To remove the internalized data, simply right-click on the data container component in question, and select ‘Clear Values’.
Connecting any new input will also override the internalized data. But keep in mind that the internalized data is still saved, and if you remove the wire connection, Grasshopper will fall back to the internalized data.
Referencing new geometry to the input will also permanently remove any internalized data.
When Is It Best to Internalize Data in Grasshopper?
Now you may wonder, when should you internalize data? The answer is: it depends. Here are some use-cases:
Simple geometric guides
Sometimes you’ll need a simple line or curve to define a direction for the rest of the script. If you don’t need to change it in the future and you want to keep your Rhino file clean, you can internalize that curve or line and delete it from the Rhino document.
Sharing Scripts
If you are sharing a simple script with someone, it might be easier to internalize any referenced data. That way whoever receives it can see the fully working script without needing the matching Rhino script. Make sure to mark the internalized components in this case, to avoid confusion.
Best Practices When Internalizing Data in Grasshopper
One thing to consider when internalizing data in Grasshopper, is that the Grasshopper file can become quite heavy. In addition, keeping track of which components have internalized data can become tricky. Here’s a list of best practices when internalizing data in Grasshopper:
- Only internalize data that you are certain won’t need to be changed in the future.
- Clearly mark any components that contain internalized data, for example by adding a group in a specific color.
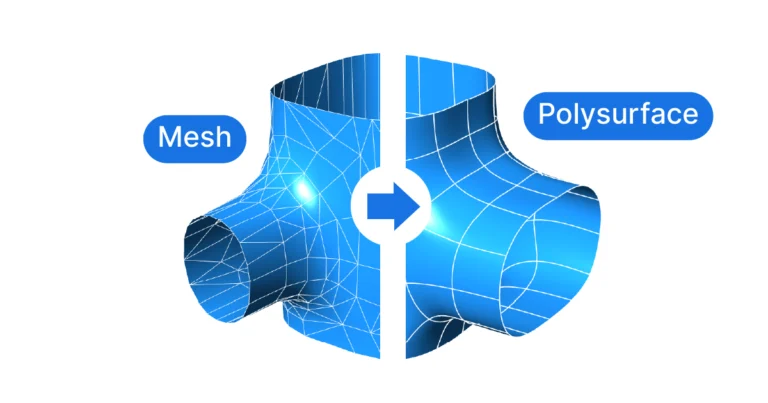
- Avoid internalizing ‘heavy’ geometry like polysurfaces or hundreds of objects – this will start to affect the performance (and saving time) of your Grasshopper script.
Internalizing Data in Grasshopper – Final thoughts
Knowing how to internalizing data is essential for becoming an advanced Grasshopper user. Still use this feature with caution, because it can cause confusion. If you share the script with someone else or if you yourself revisit it later, you may be struggling to figure out where certain inputs come from.
I hope this guide makes your Grasshopper projects more manageable and efficient.
Happy designing!