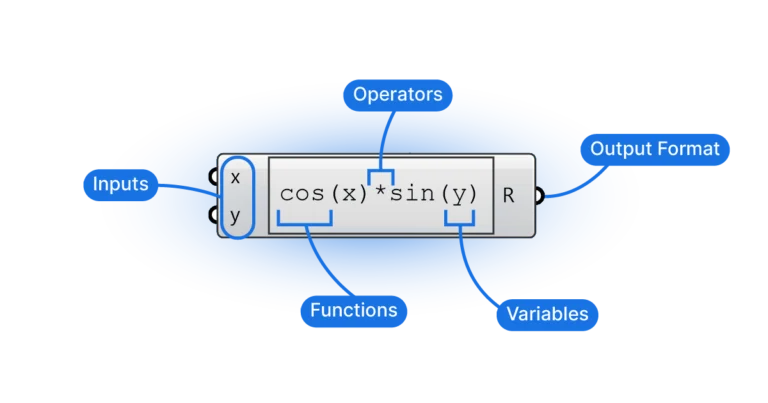
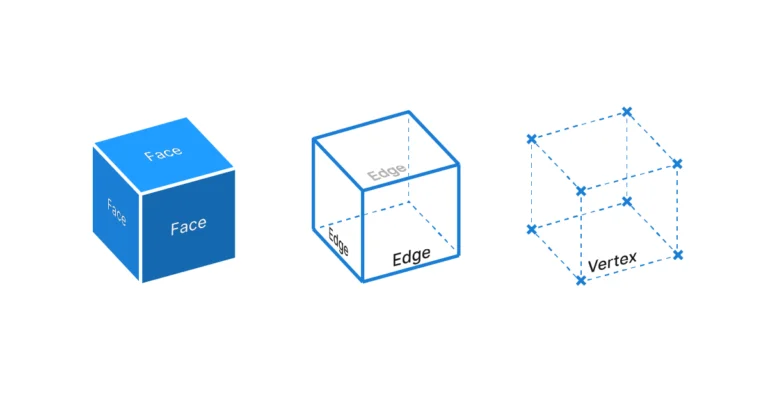
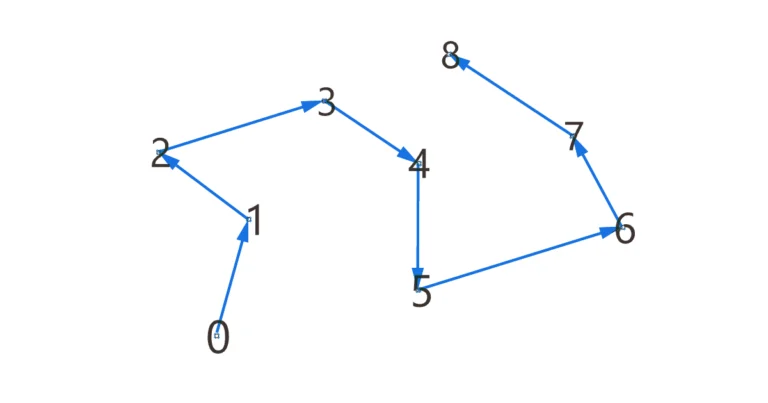
Transforming curves into surfaces is a fundamental feature in Grasshopper that you’ll need over and over again. In this post I’m going to show you two practical ways of how to create a surface from closed curves in Grasshopper, for different situations.
In this post I’m going to introduce several methods of doing so, for different use cases.
There are two methods:
1. The Boundary Surface component
2. Using the Surface container component
1. The Boundary Surfaces Component
The ‘go-to’ method for generating a surface from a closed curve is with the Boundary Surfaces component. Just like Rhino’s PlanarSrf command, this tool has a singular purpose – creating a surface out of a curve. While the component has a different name, it does the exact same thing.
To add the component to your script, double-click onto an empty spot on the Grasshopper canvas and type ‘Boundary Surfaces‘. Select the first result to add it.
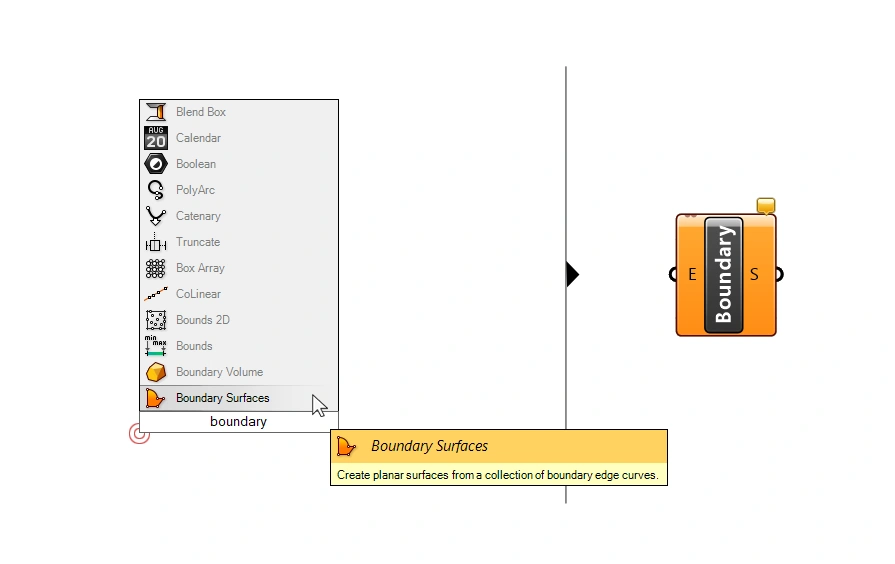
The component structure is simple. Connect the curves you want to convert on the left (E) and voila – on the right you receive the surface output (S).
Nevertheless, two conditions must be met for the component to work:
- The curves must be closed
- The curves must be planar – meaning all control points of the curve lie on the same plane, resulting in a flat curve.
As soon as the input curve is even just slightly 3-dimensional, the Boundary Surfaces component will fail.
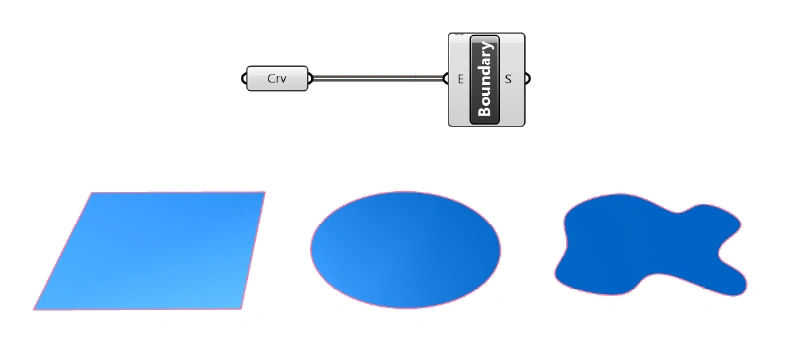
As long as the curve is planar and closed, any curve outline will be turned into a surface.
In case the outline is not rectangular, behind the scenes, a surface will be fitted to cover the input curve, and the curve will become the surface’s trim curve.
Should the component fail, check if the curves you are trying to convert are in fact closed. If they happen to be open, find and close the open curves.
The Boundary Surfaces Component: Extra Feature
While typically used for transforming single closed curves into surfaces, the Boundary Surfaces component has more tricks up its sleeve. Feed it with curves nested within each other, and it will interpret the interior curves as ‘openings’, resulting in a perforated surface!
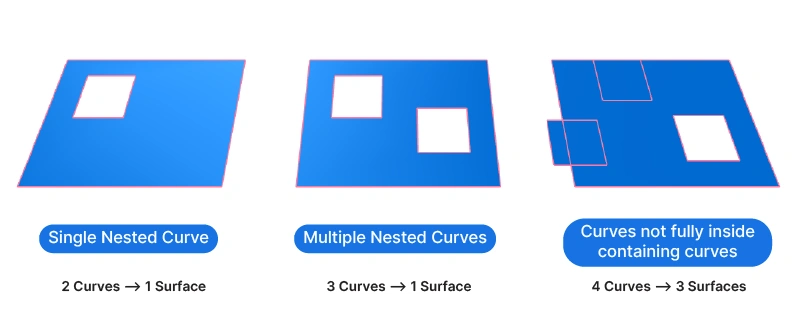
This can be a huge time-saver when doing quick subtractions to model perforated surfaces.
Keep in mind however, that this automatic subtraction only works if the interior curve(s) are fully inside another curve. If the curves share an edge, the interior curve will not be subtracted, and will be converted into a surface as well.
How to Merge or Subtract Curves Before Creating a Surface
If you want more control over which curves are merged or subtracted, you can use the equivalent of Rhino’s curve boolean commands in Grasshopper. In Grasshopper they go by the name of Region Union, Region Difference, and Region Intersection.
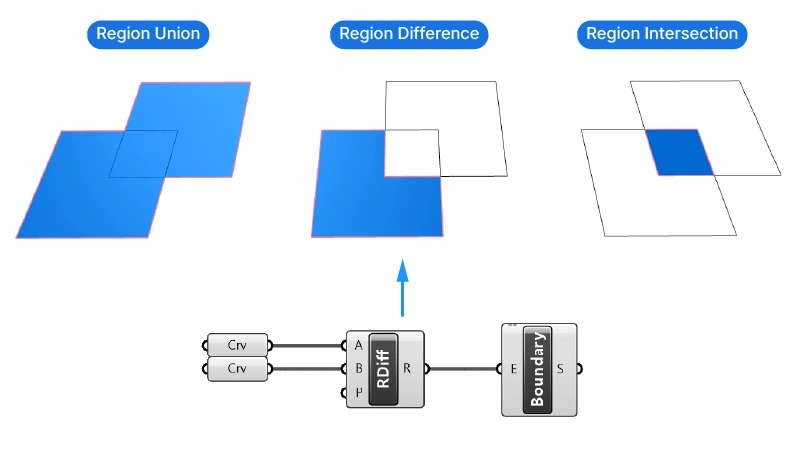
Use the correct Curve Boolean operation for your needs.
The result of the Region components is a closed curve. Once you are happy with the resulting curve, you create a surface from it with the Boundary Surface component like before.
2. How to Use the Surface Container to Turn Curves into Surfaces
If we only want to convert simple, individual rectangular curves to surfaces in Grasshopper, we can also make use of Grasshoppers automatic data-type conversion functionality:
By connecting curves to a surface container component, Grasshopper will try its best to turn those curves into surfaces.
This method works well for closed and planar curves, and even certain non-planar curves.
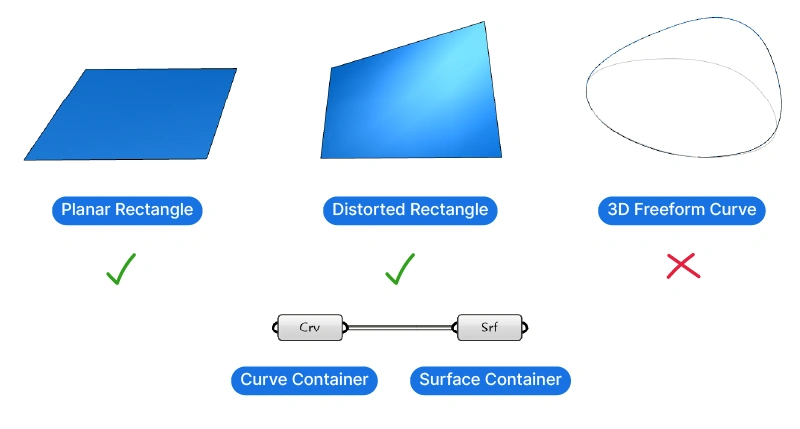
Note, however, that it doesn’t automatically subtract curves when nested, unlike the Boundary Surfaces component.
The main benefit of using this technique over the Boundary Surface component is speed.
On a sample of 500 closed curves, the automatic conversion with the Surface container component just took 12 ms compared to the Boundary Surface components 460 ms, as shown by the profiler below. That’s almost 38x faster!
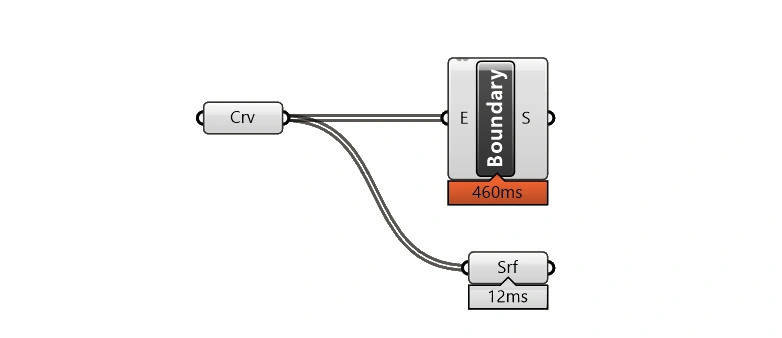
The more curves you operate on concurrently, the bigger this difference in processing time will be.
Common Application of the Boundary Surface Component
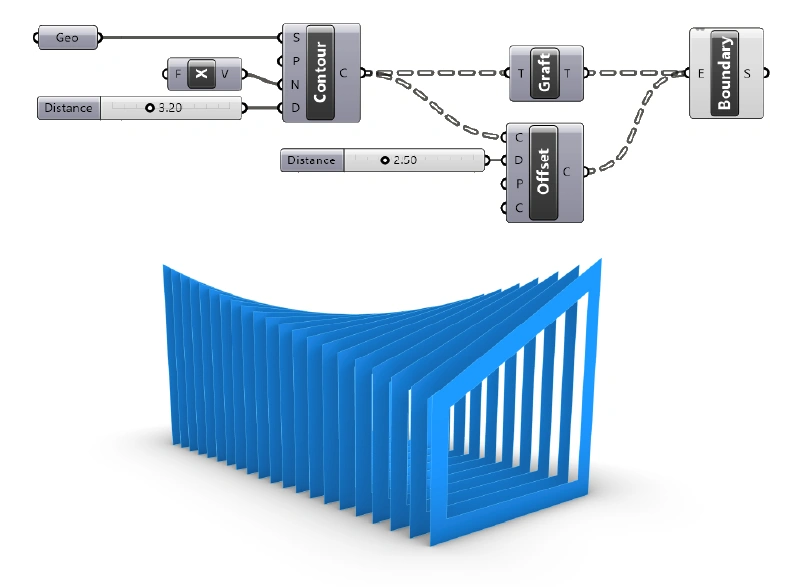
The most common use of the Boundary Surface component is to generate surfaces from contour outlines.
The contour component generates a series of equidistant section lines. If the geometry we are running the contour command on is a closed volume, the resulting contour curves will be closed, and turning them into surfaces (for example to create floor slabs) is easily done with the Boundary Surfaces component.
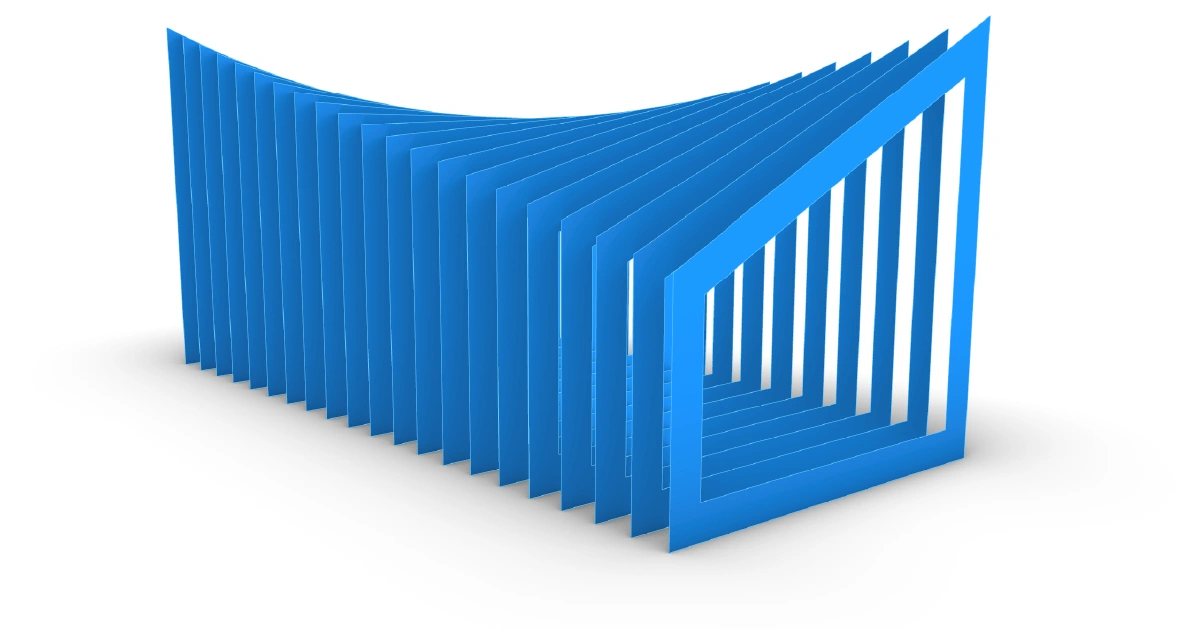
In the example below, I’m contouring a twisted box along the X-axis. I’ve offset the resulting curves to create a frame. To make sure that both the original contour curve and the offset curve are in the same data branch, I added a Graft component to the contour lines, before feeding them into the Boundary Surfaces component.
Since the offset curve is entirely inside the original curve, the Boundary Surfaces component subtracts it from it and creates a perforated surface.
The Bottom Line
Understanding how to create a surface from closed curves is critical in Grasshopper. The Boundary Surfaces and Surface Container components are two effective methods, each with their unique strengths.
I hope you’ve found this article helpful!
Happy designing!

