If you’re an architect using Rhino, you’ve seen what people build with Grasshopper, and you want to know how to get there yourself, and how long it’s going to take.
I’ve used Grasshopper in architectural practice for well over a decade. I learned it the slow way, on my own, and I’ve since taught it to a lot of architects. This post is everything I’d tell you if you asked me over coffee: why Grasshopper feels hard, what to learn in which order, how long each stage takes, and which way of learning fits your situation.
The short answer: you can learn the basics of Grasshopper in an afternoon. Getting to the point where you build your own scripts for real projects takes most architects around 50–100 hours of focused practice: a few weeks with a structured path, a lot longer on your own. And the order you learn things in matters more than the hours you put in.
Is Grasshopper Hard to Learn?
Before they start, almost everyone thinks Grasshopper is “real” programming, and that you need great maths skills to use it. Sounds familiar? 😉 It isn’t, and you don’t.
But it is harder than most software, for a different reason. Rhino, Revit and AutoCAD are modelling tools: you pick a command and the software does the geometry for you. Grasshopper is a visual programming environment. Behind its friendly interface, you’re building a small design algorithm, and to do that on your own you need three skills at the same time:
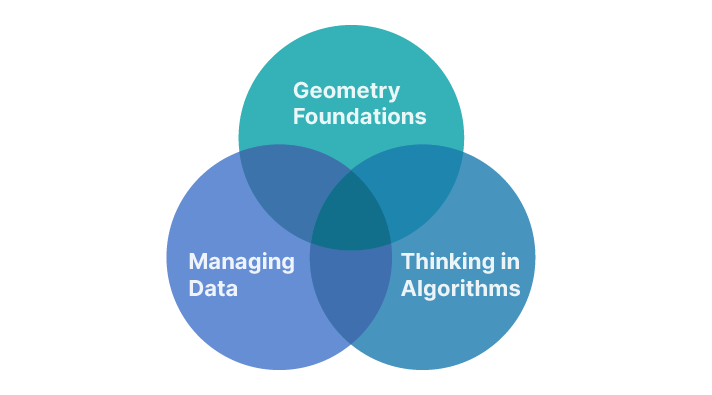
1. Geometry. Grasshopper uses the same NURBS geometry as Rhino, but it hands you what Rhino’s commands normally hide: how a curve is defined, how control points shape it, how a point’s location along a curve is described, what a tangent or a surface normal is. To build what you have in mind, you need to understand geometry at that level.
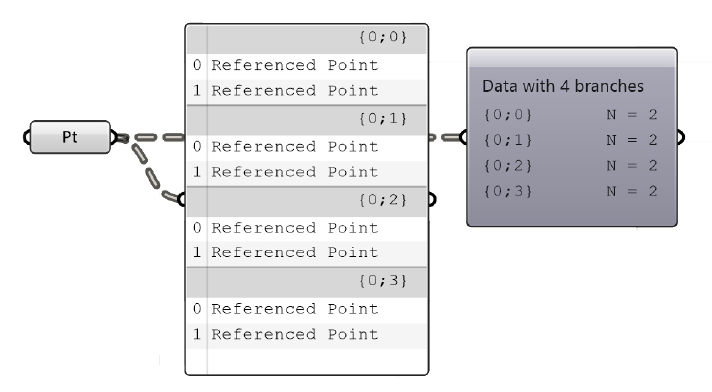
2. Data. Grasshopper can change thousands of objects at once, each with its own parameters. That only works if it knows exactly which value belongs to which object. Imagine five circles with random radii: you intuitively know which radius goes with which circle, but the computer needs it spelled out, in lists. The first item of one list is matched with the first item of the next. Now imagine several groups of objects, each with their own set of parameters, and you can see how it gets complex quickly.
3. Algorithms. In Rhino you create an object, then modify it. If a main feature changes, you start over. In Grasshopper you avoid that by building a parametric model, but you can’t just chain the Rhino commands you already know and expect the same result. You have to decide which parameters drive the design and build the script around them. Thinking this way takes practice.
Here’s where most people get stuck. Designers who know their geometry expect to be productive once they’ve learned the basics. Then they run into data, and they stall. It’s not a talent problem. Usually it’s the learning material: scattered tutorials that show you which components to connect, without the logic behind each step. Learn the skills in the right order and the frustration mostly goes away.
The Roadmap: What to Learn, in What Order
In my experience teaching Grasshopper, the order in which you learn things makes all the difference to how quickly it all starts to make sense. Here’s the sequence I recommend, with free tutorials for every stage.
One rule applies to all of them: apply what you learn straight away, on something you actually need. A real design task teaches you more than any number of tutorials.
Stage 1: Get to know the interface
Learn how to add and remove components, how to connect and disconnect them, and how a script flows: from referencing geometry in Rhino, through a simple parametric model, to baking the result back into Rhino. Get into the habit of hovering over inputs and outputs. The tooltips are built-in documentation, and they’re especially useful when you start out.
Start here:
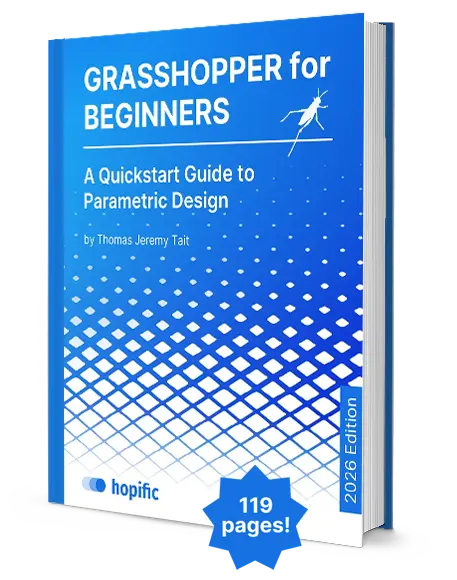
- The free Grasshopper for Beginners ebook
- How to Open Grasshopper in Rhino and Mastering the Grasshopper Interface
- How to Reference Rhino Geometry and How to Bake Geometry
- The Number Slider and the Panel, the two components you’ll use in almost every script
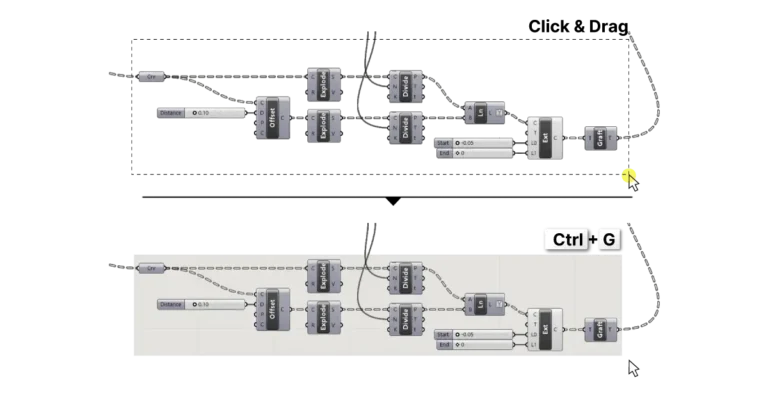
- Essential Grasshopper Shortcuts
Stage 2: Learn to think in data
Data is the elephant in the room. Every component in every script holds data, and you’ll run into lists and data trees even in the most basic scripts. Many beginners try to avoid it. Face it head-on instead, and everything after this stage will make so much more sense.
Learn how everything in Grasshopper is stored in lists: how to pick items, sort them, reverse them. Then learn how several lists are stored in one component as a data tree, and finally how Grasshopper matches data from different lists, so you control which items get processed together.
- Understanding Data Tree Matching
- Sort List and Cull Pattern
- Point List and Point Order, to see the order of your data in the viewport
Stage 3: Learn the core geometry
Once you can handle data, learn the geometric building blocks: how curves, surfaces and volumes are defined, and all the ways to create, modify and subdivide them. Then learn to extract their properties (length, area, tangents, surface normals, points along a curve) and use them to drive other parts of your design.
Everything you build in Grasshopper is made of these few geometry types. Know them well and you’re in full control of what you design.
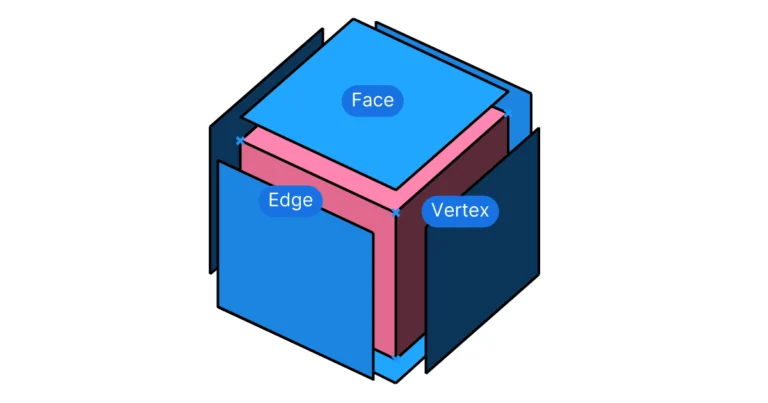
- What is a Brep?
- How to Divide a Curve and How to Extract Points from a Curve
- How to Subdivide a Surface
- Vectors and Construction Planes
Stage 4: Learn the algorithms architects actually use
Now you have everything you need to put together your own component sequences, or algorithms. In architecture, a handful of them come up again and again, for effects that are hard to model by hand:
- Randomness: generating and controlling it, and populating geometry with objects → Random Points
- Gradients: a field of objects that changes gradually across a façade → The Graphmapper
- Attractors: geometry that responds to a point or curve → Attractor Points and Remap
- Evaluating your design: extracting quantities like floor areas → Mass Addition
- Optimisation: letting Grasshopper search for the best variant → Galapagos
Stage 5: Build your own projects
At this point you can build a parametric model of almost anything you can think of. Every project poses its own challenge, and no two scripts are the same. The more you use Grasshopper, the more choosing the right algorithm becomes second nature.
For a first complete project, follow the Parametric Tower tutorial. It walks through the whole process, from design logic to finished script. Then try a façade study like Creating a Perforated Surface. Plugins can wait until you’re comfortable with the core; when you’re ready, here’s how to install them.
How Long Does It Take to Learn Grasshopper?
Learning Grasshopper happens in stages. Here’s roughly how long each one takes:
| Level | Time | What you can do |
|---|---|---|
| Novice | 0 hours | You think Grasshopper is programming and you’ll never get it. (You will.) |
| Beginner | 1–2 hours | Add, connect and disconnect components, and follow a tutorial |
| Intermediate | 50–100 hours | Build your own scripts for real projects |
| Expert | 500+ hours | Script almost as fast as you’d model by hand, use plugins, extend Grasshopper with Python |
The jump from beginner to intermediate is the big one. Knowing what a component does is one thing. Knowing how to put components together in a sequence to get a specific result is something else entirely, because Grasshopper is completely open-ended: every script you write is a design algorithm you developed yourself.
Not everyone needs to become an expert. At the intermediate level you already benefit a lot in your daily work, and I believe everyone who is serious about architectural design should get there. In the more reputable firms, I see it becoming almost a requirement when new staff are hired.
How long it took me, and how long it took my colleagues
When I started, Grasshopper was still in beta. There wasn’t even an Undo button! I learned it the way most architects who know Grasshopper did: as a student, with lots of time and insatiable curiosity, spending hours upon hours figuring out components.
Looking back, it took me 2–3 years of using it on projects, somewhere around 500–1,000 hours, before I’d call myself proficient. I don’t regret a minute of it. But it’s not a route I’d recommend to anyone already working in practice.
Years later, colleagues started asking me how I got things done so quickly. That turned into two hours of teaching every Saturday, from the basics to advanced techniques. The most dedicated of them were using Grasshopper independently on their own projects after 4–6 weeks.
Same software, same goal. The difference was structure: learning things in the right order, with small assignments to put each step into practice straight away. The students who used Grasshopper on real project work right away progressed the fastest.
The good news: Grasshopper pays you back
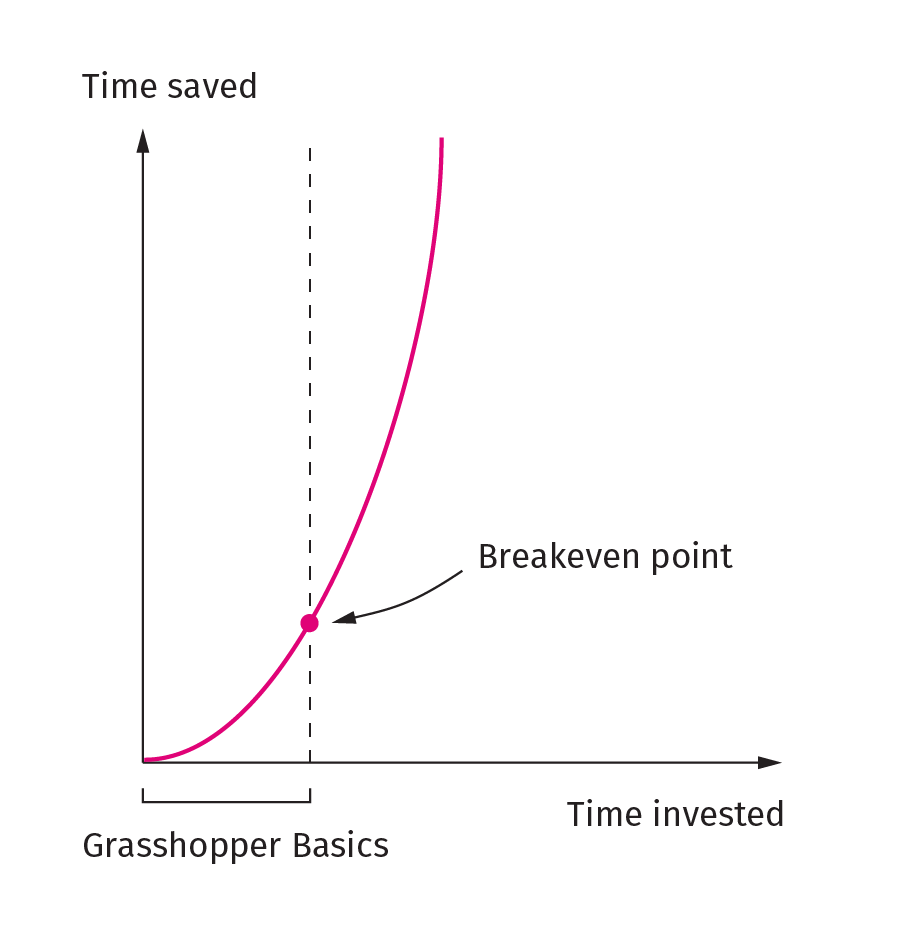
Once you’re past the basics, every hour you invest comes back as time you don’t spend modelling by hand. You can get your first script onto the canvas within minutes and use it to automate a task you do over and over, and you’ll save more time the better you get. Many architects want to learn Grasshopper for the geometry it can produce. In the end, the speed is worth even more: there’s no need to work through the night when a design change comes in at the last minute.
Self-Taught, Bootcamp or Online Course?

There are three main ways to learn Grasshopper, and each one suits a different situation.
| Self-taught | Bootcamp | Online course | |
|---|---|---|---|
| Format | YouTube, forums, guides, trial and error | 1–5 days in person, in a group, led by a trainer | Self-paced video lessons with exercises |
| How long | Longest: for me, 2–3 years | A few intensive days | A few weeks, at your own pace |
| Best for | Students with time on their hands who like figuring things out | A kick-start, often paid for by your firm | Working architects who can set aside a few hours a week |
| Watch out for | Free resources thin out fast after the beginner stage | Confidence fades if you don’t use it right after | You have to hold yourself accountable |
Self-taught is the hardest and slowest route, but also the most rewarding (it’s how I learned!). The catch: there’s an endless supply of tutorials about getting started, but fewer and fewer as you move towards intermediate and advanced. You’ll spend a lot of your time looking for the next resource, and my biggest problem was that I didn’t know what I didn’t know. If you go this way, follow a roadmap like the one above.
Bootcamps are great for a focused boost, but there’s too much information to absorb in a few days. Once the bootcamp ends and you try something on your own, you often don’t know where to start. They work if two conditions are met: you use Grasshopper right after, and you have an experienced user nearby to ask when you get stuck.
Online courses give you the structure of a bootcamp at the pace of self-teaching. Learning a bit at a time means you remember it far better. After all, we learned to walk by trying a bit every day, not by trying hard all day long. A good course gives you a map of everything you need to learn, in order, so you don’t spend your time hunting for resources.
Whichever you pick, learn it for architecture
Grasshopper is used by jewellery designers, product designers, structural engineers and architects. The software is the same, but each field uses very different techniques. Designing a diamond ring and designing a façade are not the same problem!
General Grasshopper material teaches you a bit of everything and leaves you to bridge the gap to your own work. Learn from material made for architecture and you’ll pick up the core techniques you’ll use in practice from day one: façades, patterns, panelisation, massing studies.
Can’t AI Just Write the Script for Me?
It’s 2026, so this question comes up in almost every conversation I have about learning Grasshopper. AI tools can suggest components, explain errors and write Python code, and they can be genuinely useful.
But to ask for the right thing, you need to know what you’re building. And to check the result, you need to understand what came back. A script you can’t read is a script you can’t change, and changing the design is the whole reason to build a parametric model in the first place.
AI can speed up the building part. It can’t do the thinking part for you: turning your design intent into logic. That’s still the skill that makes you good at Grasshopper, and it’s what this whole roadmap builds towards.
FAQ
No. Grasshopper is visual programming: you connect components instead of writing code. Python only comes in at expert level, if you want to extend Grasshopper yourself, and it’s entirely optional.
No. You need to understand geometry, not to solve equations. When you do need a formula, Grasshopper gives you simple tools for it. See Mathematical Formulas in Grasshopper.
Grasshopper runs inside Rhino and comes included with it, so you should be comfortable with Rhino’s basics: navigating viewports, layers, curves and surfaces. You don’t need to be a Rhino expert. Grasshopper will teach you a lot about Rhino’s geometry along the way.
Yes, that’s how I learned it. There are over 100 free Grasshopper tutorials on Hopific alone, plus the free Grasshopper for Beginners ebook. What you pay for with a course isn’t the information, it’s the order and the time you save.
Concluding Thoughts
No other software that I’ve learned in my life as an architect has advanced my career (and improved my work-life balance!) more than Grasshopper.
There’s no one-size-fits-all way to learn it, so pick the route that fits your situation. Whichever you choose, start with something you actually need to build, follow the stages in order, and don’t skip data. It’s what everything else rests on.
Happy designing!
Grasshopper Pro
This roadmap shows you the order. Grasshopper Pro takes you through it.
Grasshopper Pro is a four-module course for architects, built on one method: Design → Logic → Grasshopper. Start with the design intent, turn it into logic, then build it. You’ll work on massing studies, façades and patterns, from a blank canvas.
70% of students who finish rate their Grasshopper skills as intermediate or advanced · 22 Trustpilot reviews, every one 5-star
See the curriculum →$197 one-time · lifetime access · 30-day refund